
Start By Checking Why The Part Failed
Before any stainless component is repaired, the first job is to find out why it failed. A crack in a food-grade bracket, pump cover or guard is often the result of vibration, poor fitment, repeated cleaning with harsh chemicals, or heat from earlier work. If the cause is not sorted, the same part can fail again even after a tidy repair.
On visible stainless work, we also check for surface scratches, staining, old filler, and distortion around the damaged area. In Pretoria and Centurion, we often see parts that have been stored in humid yards or near open workshop bays, and that can leave tea staining or light corrosion that needs cleaning before welding.
Why Heat Control Matters On Stainless
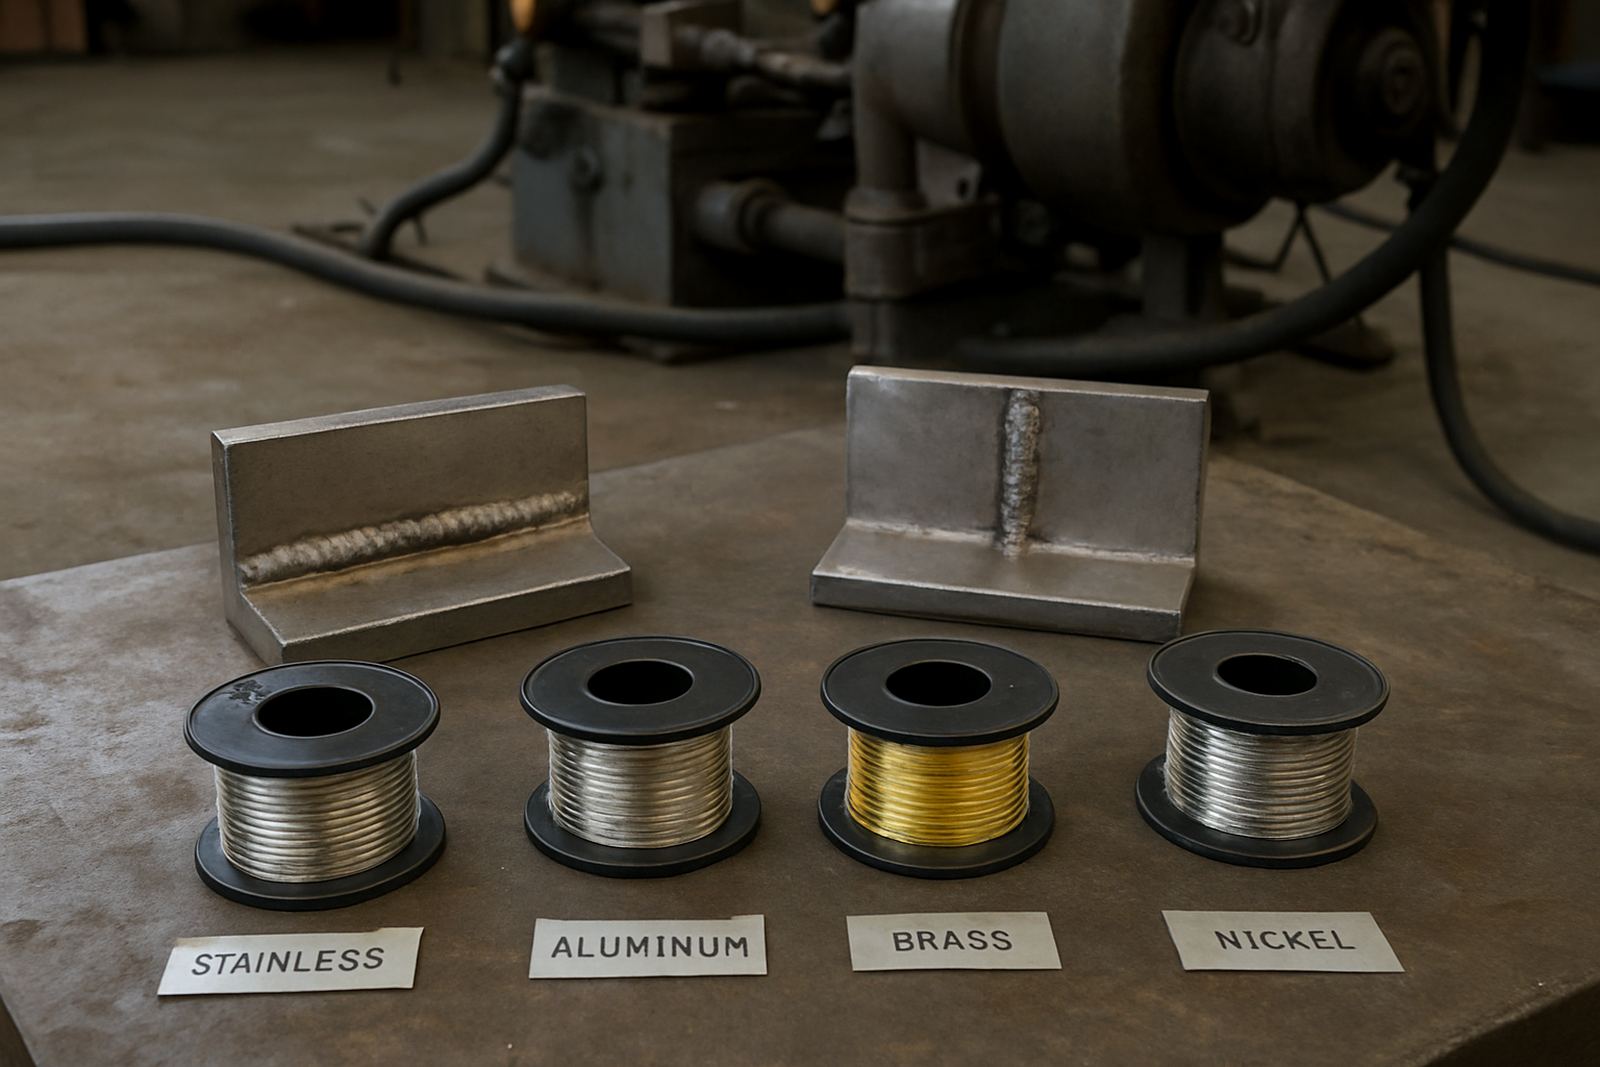
Stainless can move quickly under heat, so the repair method has to match the thickness and shape of the part. Too much heat can warp covers, pull holes out of round, or leave heavy discolouration that is hard to remove. Thin sections are especially sensitive, and this is where careful laser welding helps because the heat affected zone stays narrow.
For neat visible finishes, the aim is to repair without burning through the parent metal or leaving a wide repair mark. That usually means good clamping, short runs, and proper cooling between passes. If the part is long or awkward, we may work in stages rather than trying to force one full repair in a single pass.
- Check wall thickness before starting
- Clamp to keep the part true
- Use short controlled runs on thin areas
- Allow cooling time between sections
What Makes A Stainless Repair Look Clean
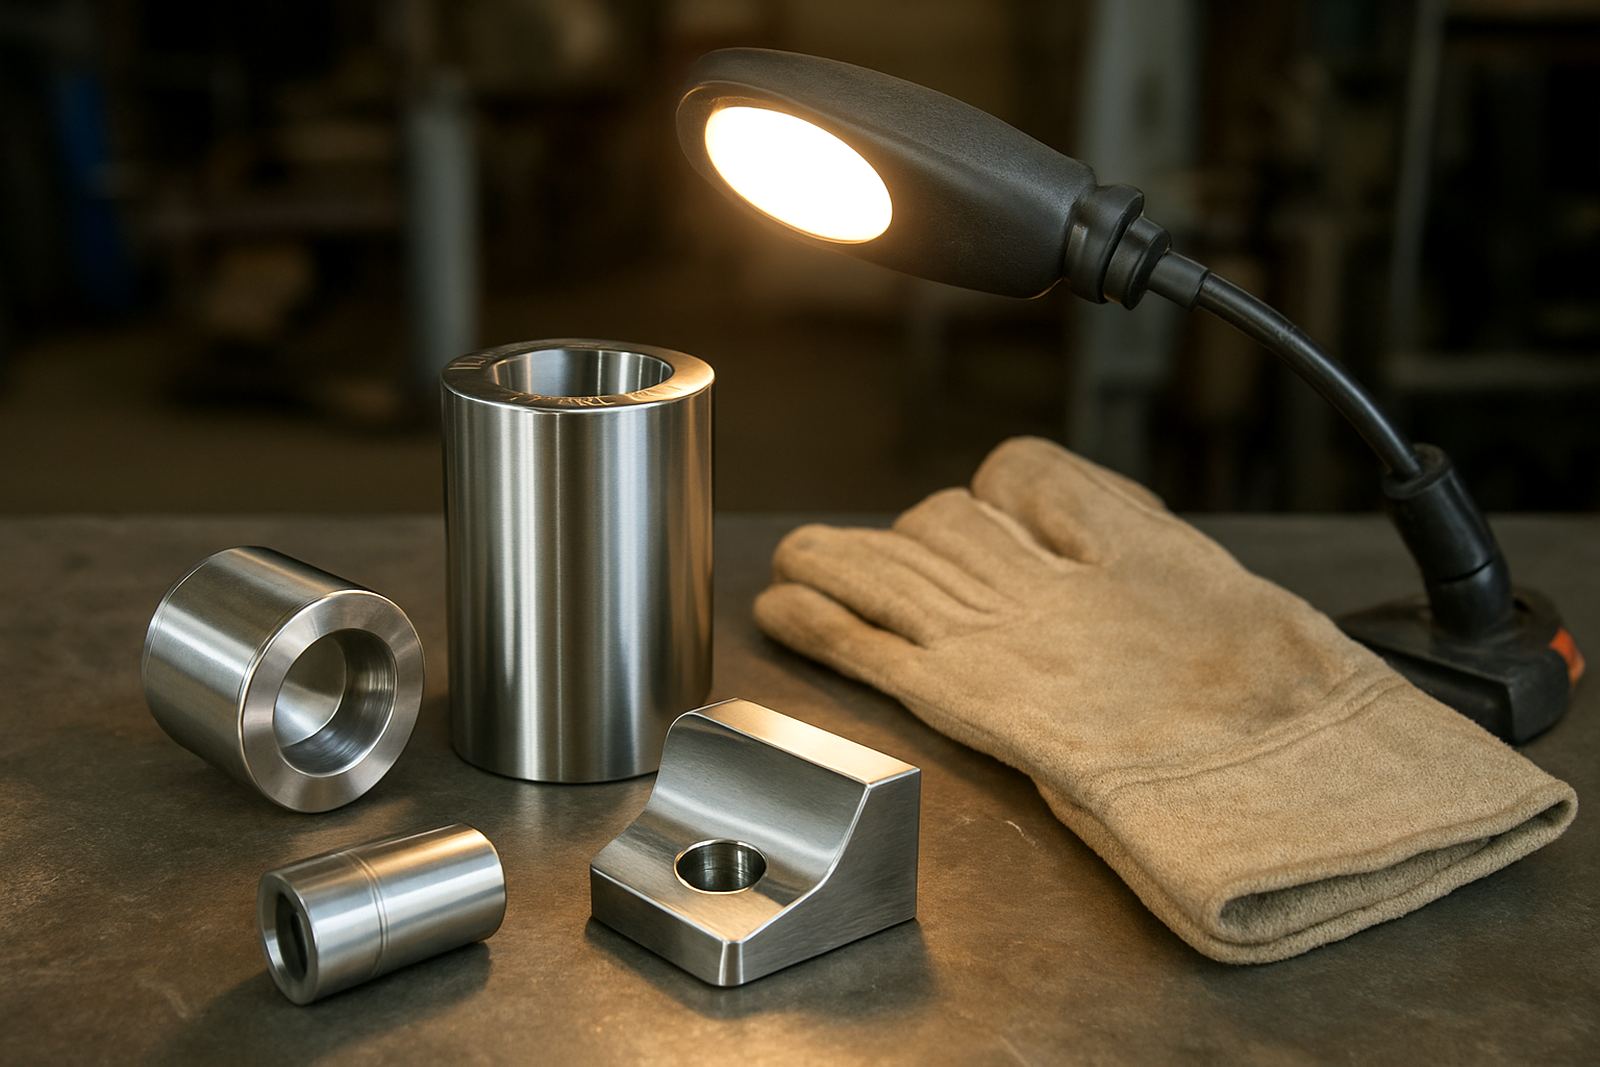
A strong repair is not enough when the part will be seen by clients, operators or inspectors. The finished surface must blend into the surrounding metal as far as possible. That means paying attention to edge build-up, weld bead size, and how much dressing is needed after the join. On a polished cover or cabinet panel, even a small ripple can stand out from a metre away.
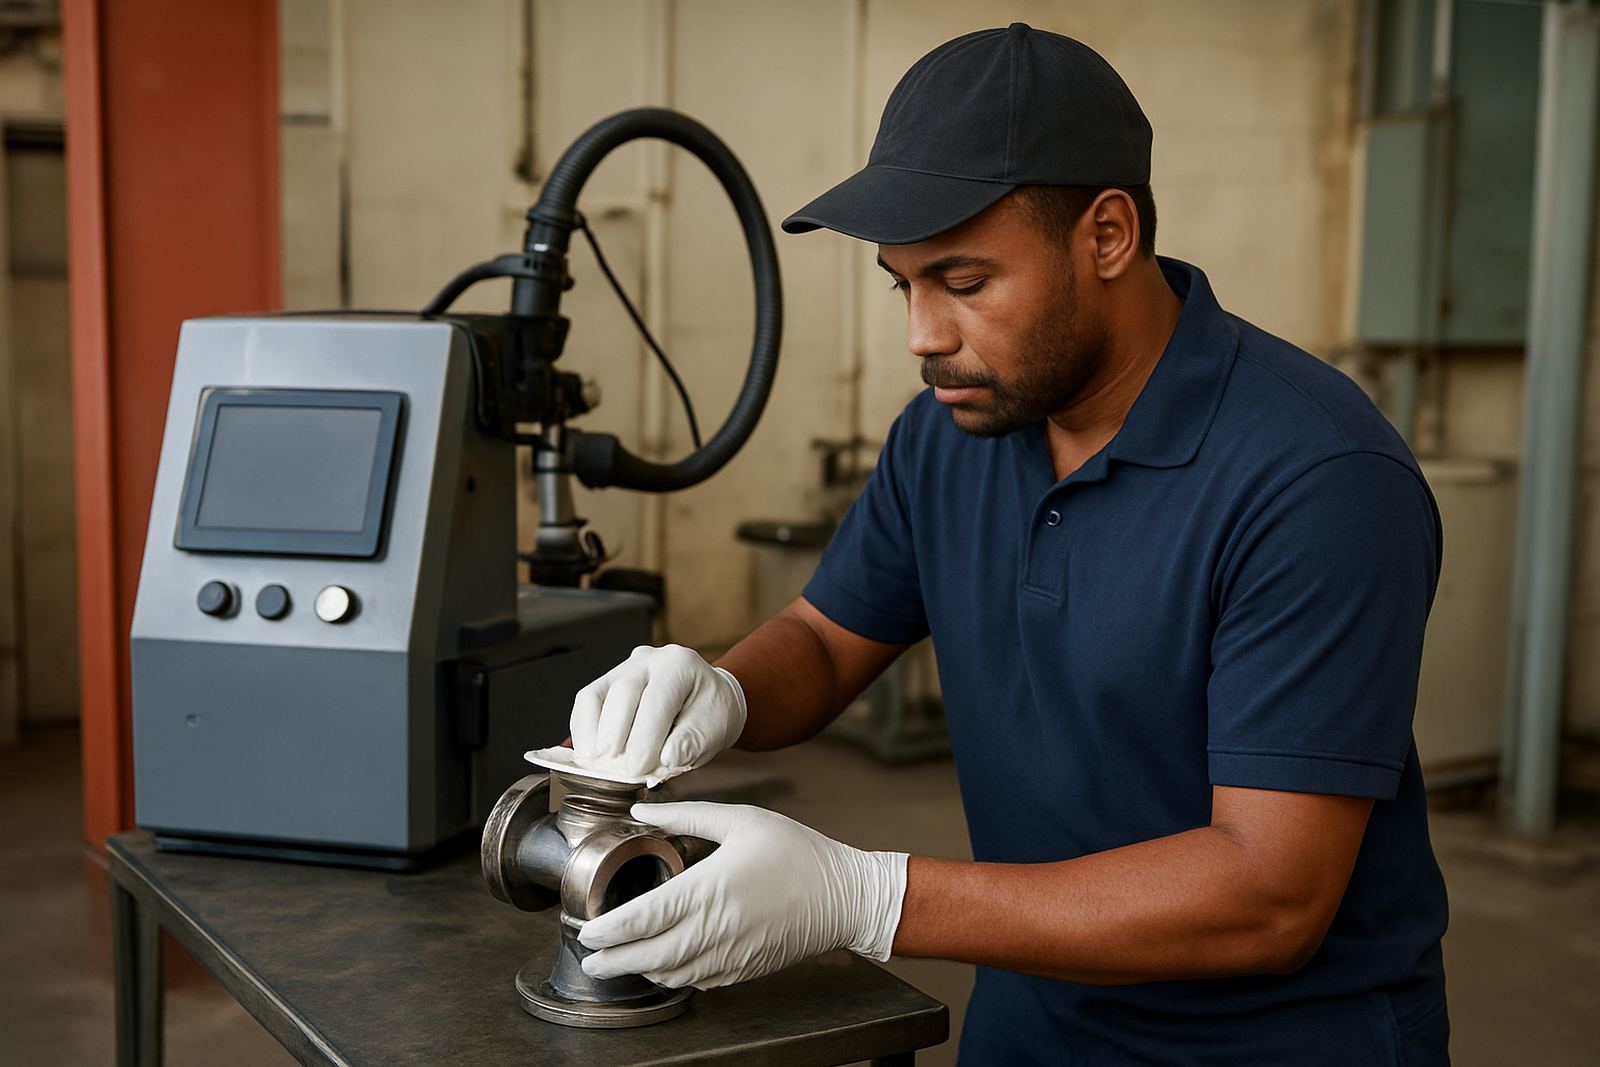
The cleaner the prep, the better the finish. Grease, marking paint, adhesive residue and old grinding marks all show through if they are not removed first. In some cases we will restore the damaged section and then do light dressing, followed by polishing or a brushed finish to match the rest of the part.
- Remove oils and residues before welding
- Match the existing finish, not just the colour
- Keep weld build-up low on visible faces
- Blend repair marks into the surrounding grain
Common Stainless Parts That Need Careful Restoration
We see stainless parts from a wide range of industries, including food handling, medical rooms, machine guarding, architectural fittings and factory equipment. Some pieces are small and delicate, while others are long panels, trays or frames that need straightening after the repair. Mismatched repair methods can leave a part usable but untidy, which is a problem when appearance matters.
Typical repair work includes cracked hinges, worn mounting points, broken tabs, pinholes, thin edges and damaged corners. If the item has a mirrored, brushed or matte finish, the repair approach changes again. A good workshop must be able to adapt to the part, not just follow one fixed process.
- Machine covers and guards
- Stainless brackets and frames
- Food and packaging components
- Trays, panels and housings
- Small fittings with visible faces
Visible Finish Problems To Watch For
When clients bring in stainless parts for repair, the visible finish is usually the first thing they ask about. The main problems are heat tint, pitting, surface distortion and repair marks that do not match the original finish. If the part has been used outdoors or near coastal air, especially around Durban work or stores that receive stock from the coast, corrosion marks can sit in the grain and need extra cleaning.
It is also worth checking whether the component is truly stainless throughout or whether it has been plated or coated in the past. Coatings can contaminate the weld and spoil the finish, and if old paint or polish remains in the joint, it can create porosity or staining. That is why prep is not a quick step, it is part of the repair itself.
A Pretoria Example: When Finish Matters More Than Speed
A Centurion client recently brought in a set of stainless machine covers with cracked corners and worn fixing points. The parts still had to look clean because they sit on a visible production line, and the customer does routine inspections with overseas buyers. We repaired the cracks, rebuilt the fixing points, and kept the heat input low so the panels did not ripple.
After welding, the repaired areas were dressed and finished to match the existing surface. The job took longer than a rough field repair would have, but the result was a part that went back into service without drawing attention. That is the standard many local factories want now, especially when replacement lead times are long and shutdown windows are short.
How To Send Stainless Parts For Job-Shop Repair
For job-shop work, the best results come when the part arrives clean, labelled and with the problem area marked. Include photos if the item is awkward or if only one section needs attention. If the component must be collected from Midrand, Rosslyn or Jet Park, let us know whether it is a one-off or part of a batch so the handling and turnaround can be planned properly.
Nationwide courier jobs are often the most practical option for small stainless parts that need specialist repair. Pack the item so edges do not rub in transit, and if the finish matters, avoid wrapping it in material that can scratch polished surfaces. A clear description of the fault, the material and the required finish saves time and helps the workshop quote accurately.
- Send clear photos of the damage
- Note the required finish: brushed, polished or plain
- Mark critical dimensions before dispatch
- Tell us if the part must match an existing set