
Start With A Proper Part Check
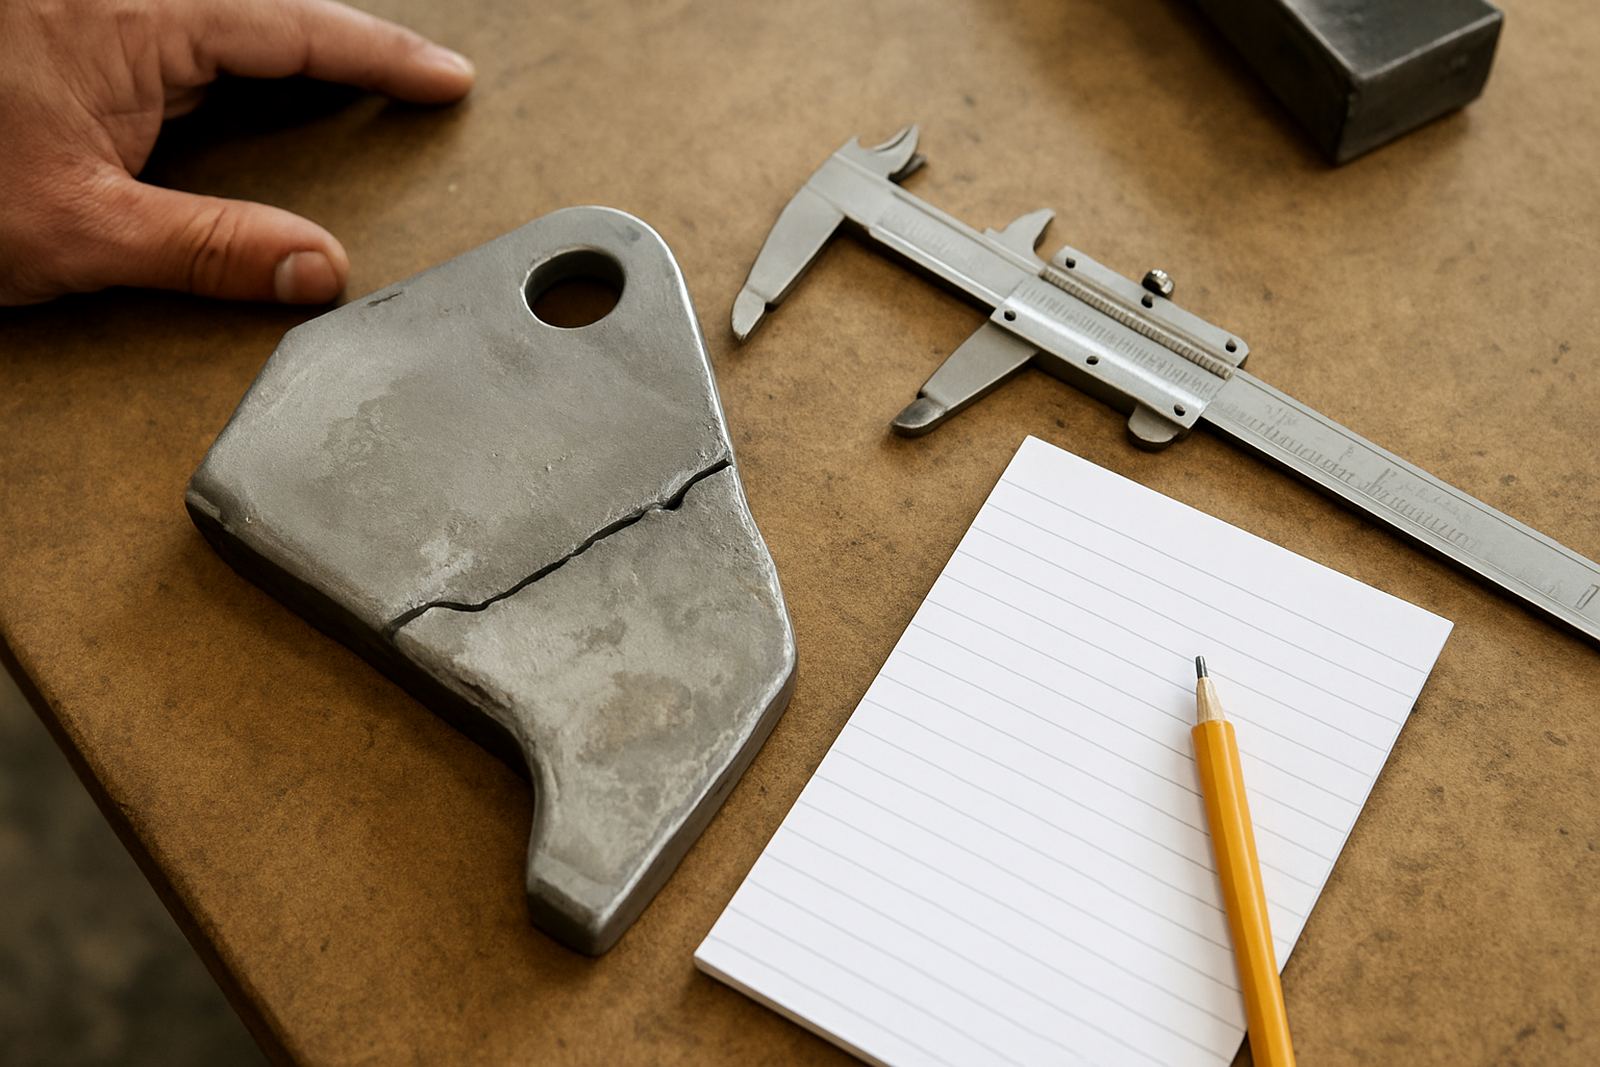
Before a stainless component comes into the workshop, look closely at what needs fixing and what must stay unchanged. Check the thickness, the size of the damaged area, the type of crack or wear, and whether the part has already been bent, ground or heated before. On many jobs, the real issue is not the visible damage but distortion hidden along a flange, edge or mounting point.
If the part is used in a food area, chemical process line, coastal installation or outdoor structure, note that as well. Rust staining on stainless is often caused by contamination, not the material itself. That matters because a repair near the Vaal, the coast or any humid plant room may need extra cleaning and post repair care to prevent new marks showing up within days.
Bring the part in with a brief note if you can. Mention where it fits, what loads it carries and whether the repair must match an existing surface. That saves time and helps the technician decide if the job needs crack repair, edge build up, thin section welding or full part restoration.
Clean Off Oil, Dirt And Surface Contamination
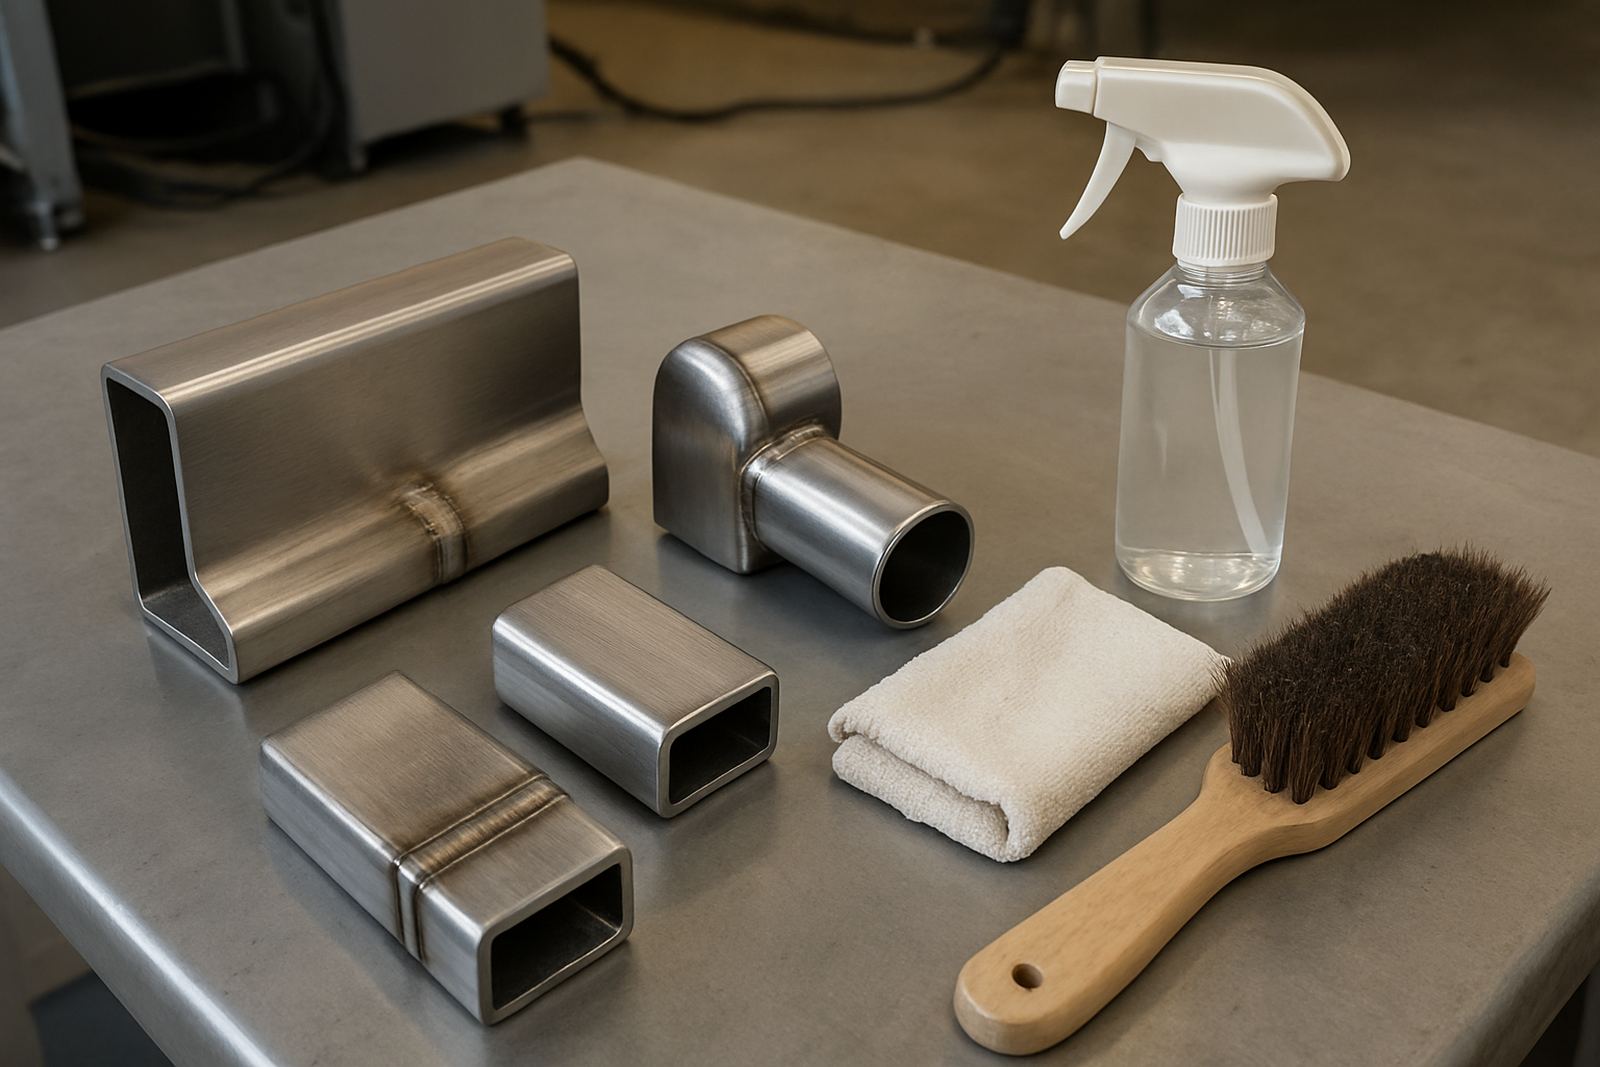
Stainless welding is very sensitive to contamination. Oil, grease, coolant, paint, marker ink and even fingerprints can affect the weld pool and leave a dirty finish. Clean the part properly before handover with a suitable degreaser and a lint free cloth. If there is heavy grime, remove it in stages rather than scrubbing it deeper into the grain.
Do not use the same grinding disc, flap wheel or wire brush that was used on mild steel. That cross contamination can leave iron particles in the stainless and lead to brown staining after welding. Keep stainless tools separate and store them clearly. If a part has been handled in a mild steel area, wipe it down again before repair.
- Remove oil and coolant from all sides, not only the damaged area
- Strip off paint, lacquer, adhesive and old filler near the repair zone
- Use stainless-only abrasives and brushes
- Dry the part fully before it enters the weld area
A clean part gives a cleaner weld bead and less finishing work afterwards. It also reduces the chance of porosity, which can turn a small repair into a repeat job.
Mark The Exact Repair Zone
Good preparation includes clear marking. Show where the repair must start and stop, where any build up is needed, and which faces must stay flat. On stainless parts that fit into assemblies, a few millimetres can make the difference between a neat repair and a part that no longer lines up properly.
Use a fine marker or light scribing where needed, but keep markings away from the actual weld area if they may leave residue. If the item has a visible surface, indicate the areas that matter most for appearance. That helps the workshop plan the sequence so the final blending is better matched to the rest of the surface.
- Mark damaged edges, holes, cracks and worn corners clearly
- Note critical dimensions such as bolt holes, locating faces and sealing surfaces
- Identify cosmetic faces that must be kept neat
- Flag any areas that must not be ground down too far
For batch work, send one sample part first if possible. That makes it easier to agree on the repair finish before the full quantity is done.
Check Thickness, Heat Sensitivity And Fit-Up
Stainless does not all behave the same. Thin sheet, tube, plate and machined sections each need different handling. If the material is very thin, or has already been repaired before, it may need backing, clamping or careful heat control to stop warping. A part that looks small can still move a lot once heat is applied.
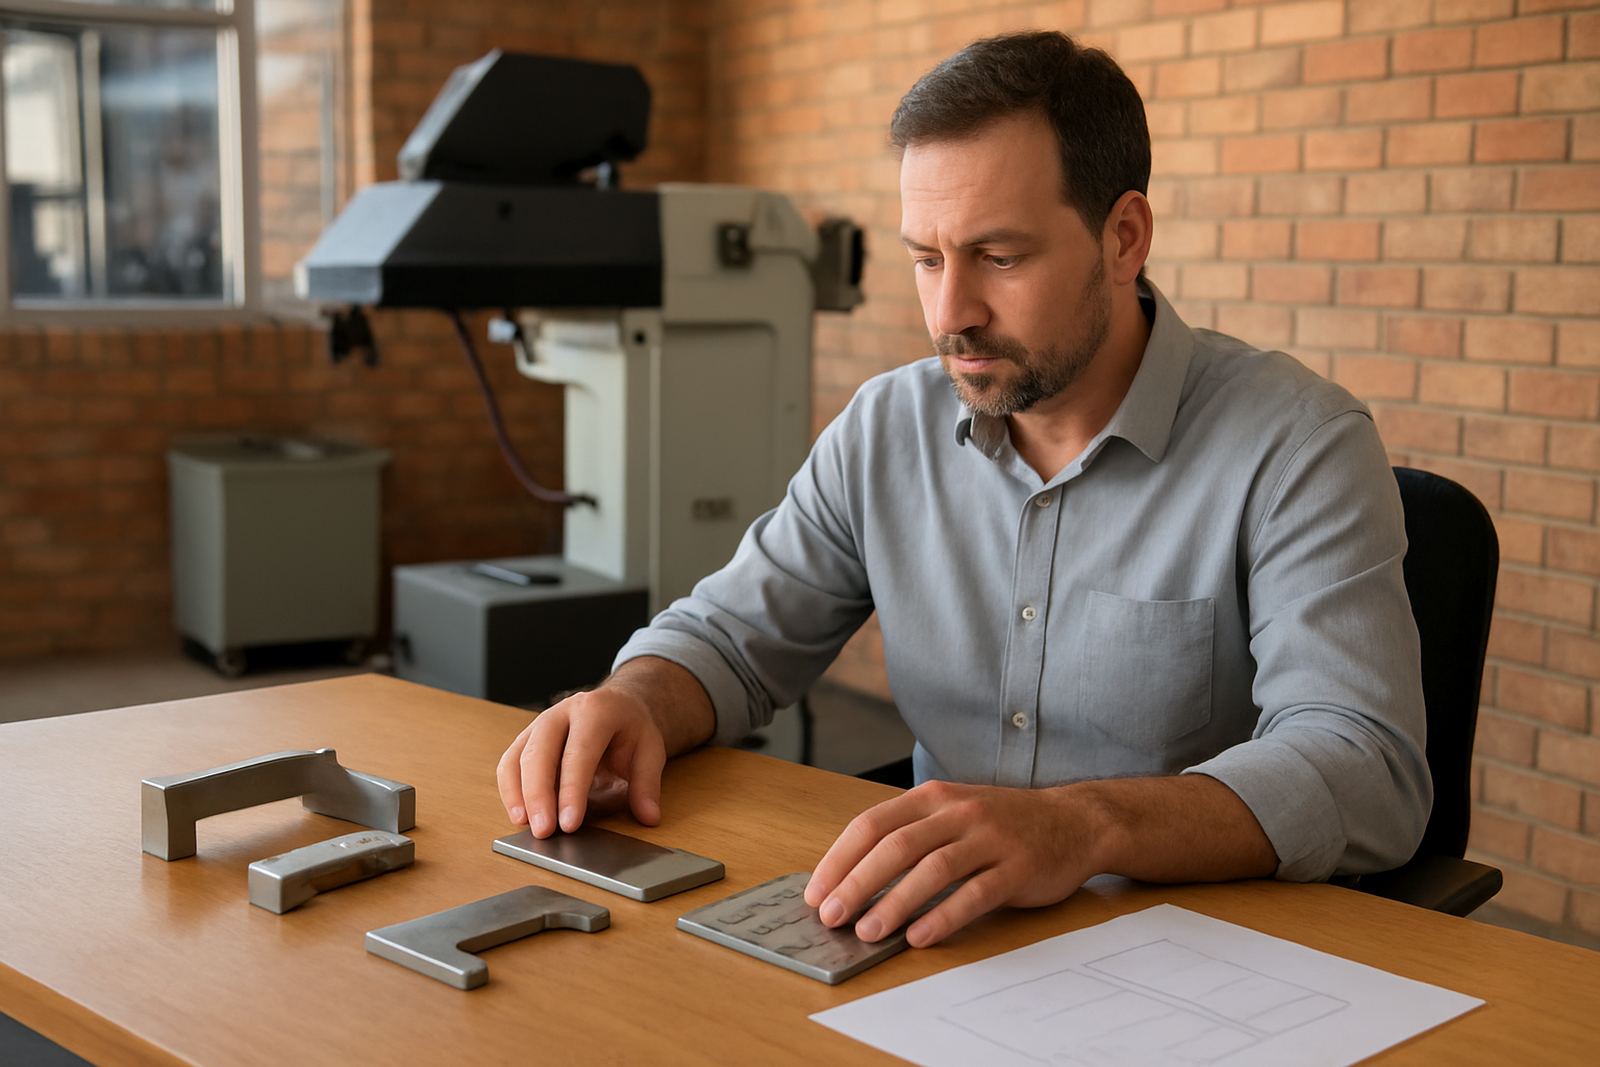
Make sure the piece is stripped enough for proper fit-up. Loose brackets, trapped inserts, old fasteners and cracked supports can all affect alignment. Where possible, send mating parts as well, especially on housings, guards, frames and custom fittings. It is much easier to match the repair to the real assembly than to guess from one damaged item alone.
In many cases, the job-shop approach works best for parts with awkward access or mixed repair needs. Some areas may need a build up, while others need only a light touch and clean blending. That kind of work depends on the technician having a clear view of the full component, not just the broken section.
Packaging Tips For Delivering Stainless Parts To Workshop
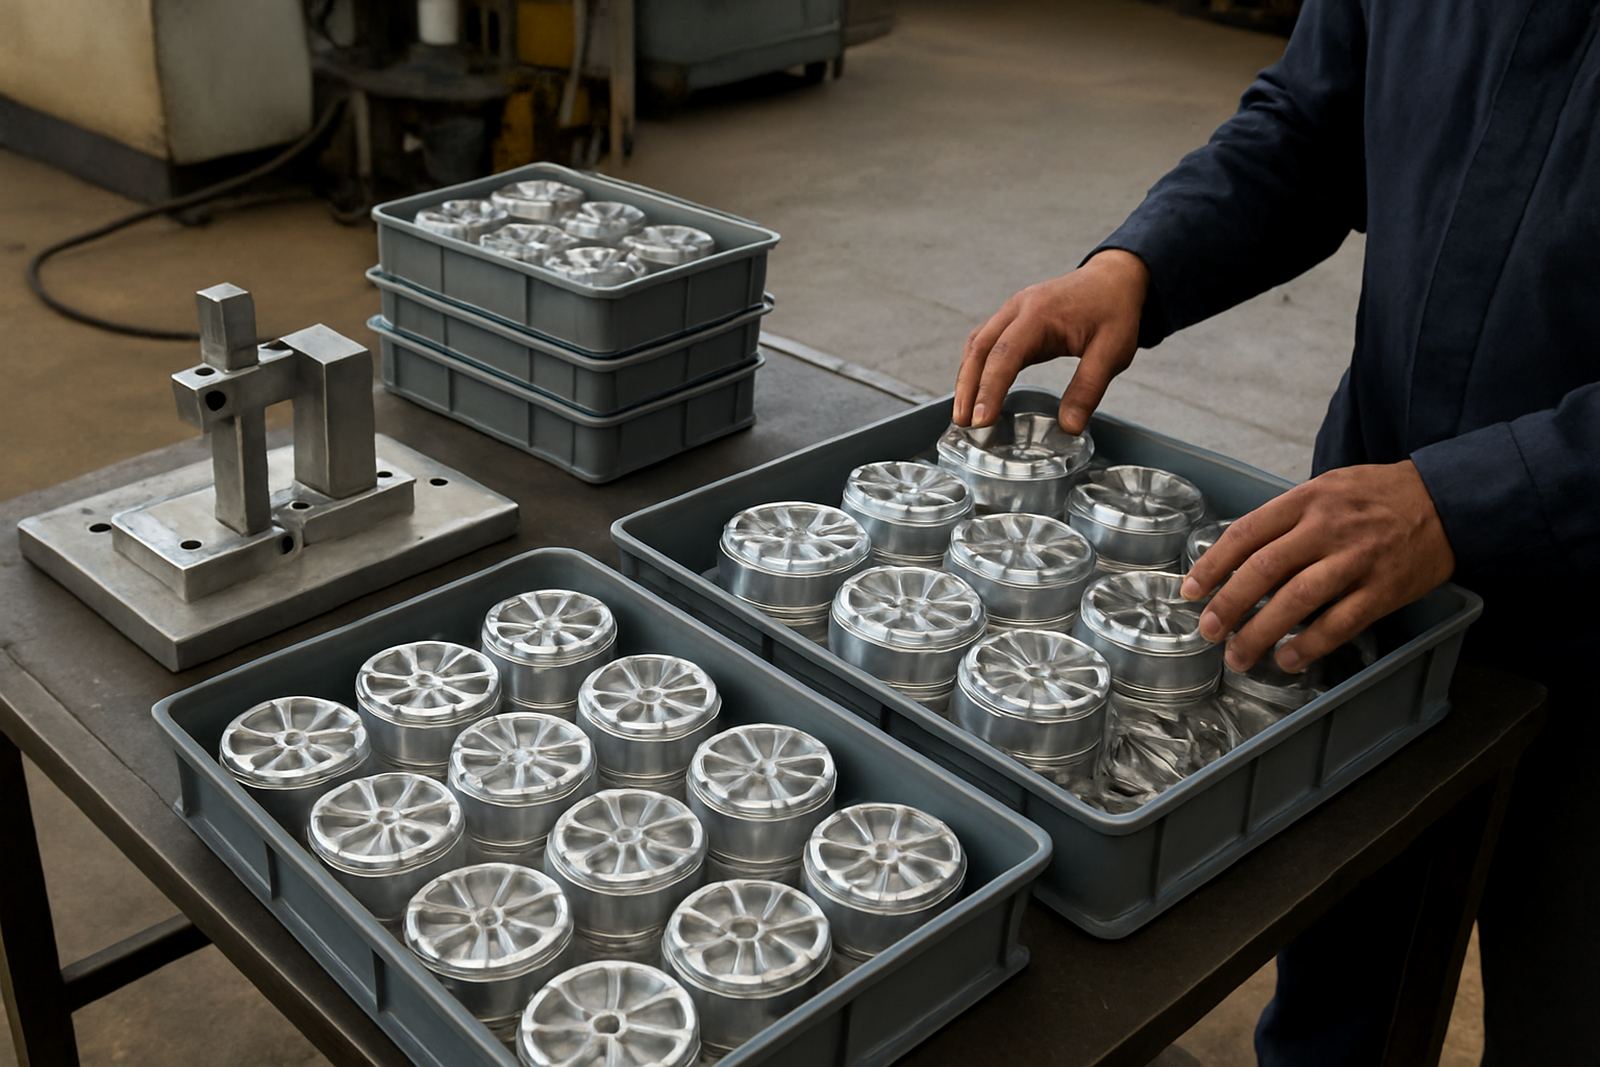
Good packaging protects both the finish and the repair schedule. Stainless scratches easily when it rubs against other metal parts in transit. Wrap the component in clean material, separate sharp edges and keep small fittings in a marked bag. If the part is polished or brushed, protect the visible face first. A neat part can still arrive looking rough if it moves around in the box.
For Centurion, Pretoria East, Midrand, Rosslyn and Jet Park collections, pack the part so it can be unloaded quickly and checked on arrival. For courier jobs from other provinces, include a note with your contact details, collection address and preferred return method. If the part is heavy, awkward or can trap moisture, let the team know so it can be received safely and stored correctly.
- Use clean wrapping, not reused oily rags or dirty cardboard
- Separate parts so they do not knock against each other
- Include a written note with the fault description and required finish
- Keep bolts, clips and loose fittings in labelled packets
If the part is travelling from a coastal town, dry it before packing and avoid sealed wet wrapping. Trapped moisture can leave marks before the repair even starts.
What A Neat Final Finish Needs After Welding
A good stainless repair does not end when the weld is complete. Final appearance depends on how the weld is dressed, blended and cleaned afterwards. Some parts need a functional finish only, while others need the repair to disappear into the original surface as far as practical. Tell the workshop which outcome matters most, because the finishing method changes with the use of the part.
For visible items, avoid expecting a mirror look where the original material is already brushed or worn. A matching grain, consistent colour and even surface usually matter more than trying to over-polish one spot. On food or handling equipment, sharp edges and trapped slag are a bigger issue than shine. On machinery parts, the important thing is that the repair stays sound under vibration and repeated cleaning.
If the part must go back into service quickly, ask about the likely turnaround and any post repair handling instructions. Some jobs can be fitted back the same day, while others need controlled cooling or a final check before release. A little patience at this stage helps the part stay straight and looking right.
Quick Stainless Handover Checklist
Use this checklist before sending a stainless component for repair. It keeps the handover simple and gives the workshop the information needed to do the job properly.
- Clean the part and remove oil, dust and loose corrosion staining
- Mark the damaged areas and the faces that must stay accurate
- Confirm whether the part is thin, load bearing or cosmetic
- Send any matching components, brackets or mating pieces if available
- Pack the item to avoid scratches, knocks and moisture during transport
- State the required finish, whether functional, brushed or neat visible repair
When stainless is prepared properly, the weld has a better chance of sitting cleanly and the finished part needs less work afterwards. That saves time, keeps costs under control and it does'nt leave everyone guessing about the final result.