
Start With the Material and Thickness
Thin sheet welding starts with knowing exactly what you are working with. In our Centurion workshop we see everything from 0.5 mm covers and brackets to 2 mm housings, plus mixed repairs where old parts have been handled before. That matters because a sheet that looks similar in size can behave very differently once heat goes in.
Check the material grade, thickness, existing damage and whether the part has coatings, oil or previous welds. Stainless, mild steel and aluminium each respond differently and the heat input that works on one can pull the next one out of shape. On thin material, even a short run can create distortion, so planning before the torch starts saves time and rework.
- Measure thickness in several spots, not just one edge.
- Look for stretch, dents, old repairs and hidden cracks.
- Confirm whether the part must stay flat, square or cosmetic.
- Note any coating, plating or contamination that must be removed first.
Prepare the Joint So the Weld Can Stay Small
Thin-gauge jobs usually fail at the prep stage before they fail at the weld. Clean edges, tight fit-up and steady clamping help keep the weld narrow and the finish controlled. A gap that is acceptable on thicker steel can quickly become a burn-through point on sheet metal.
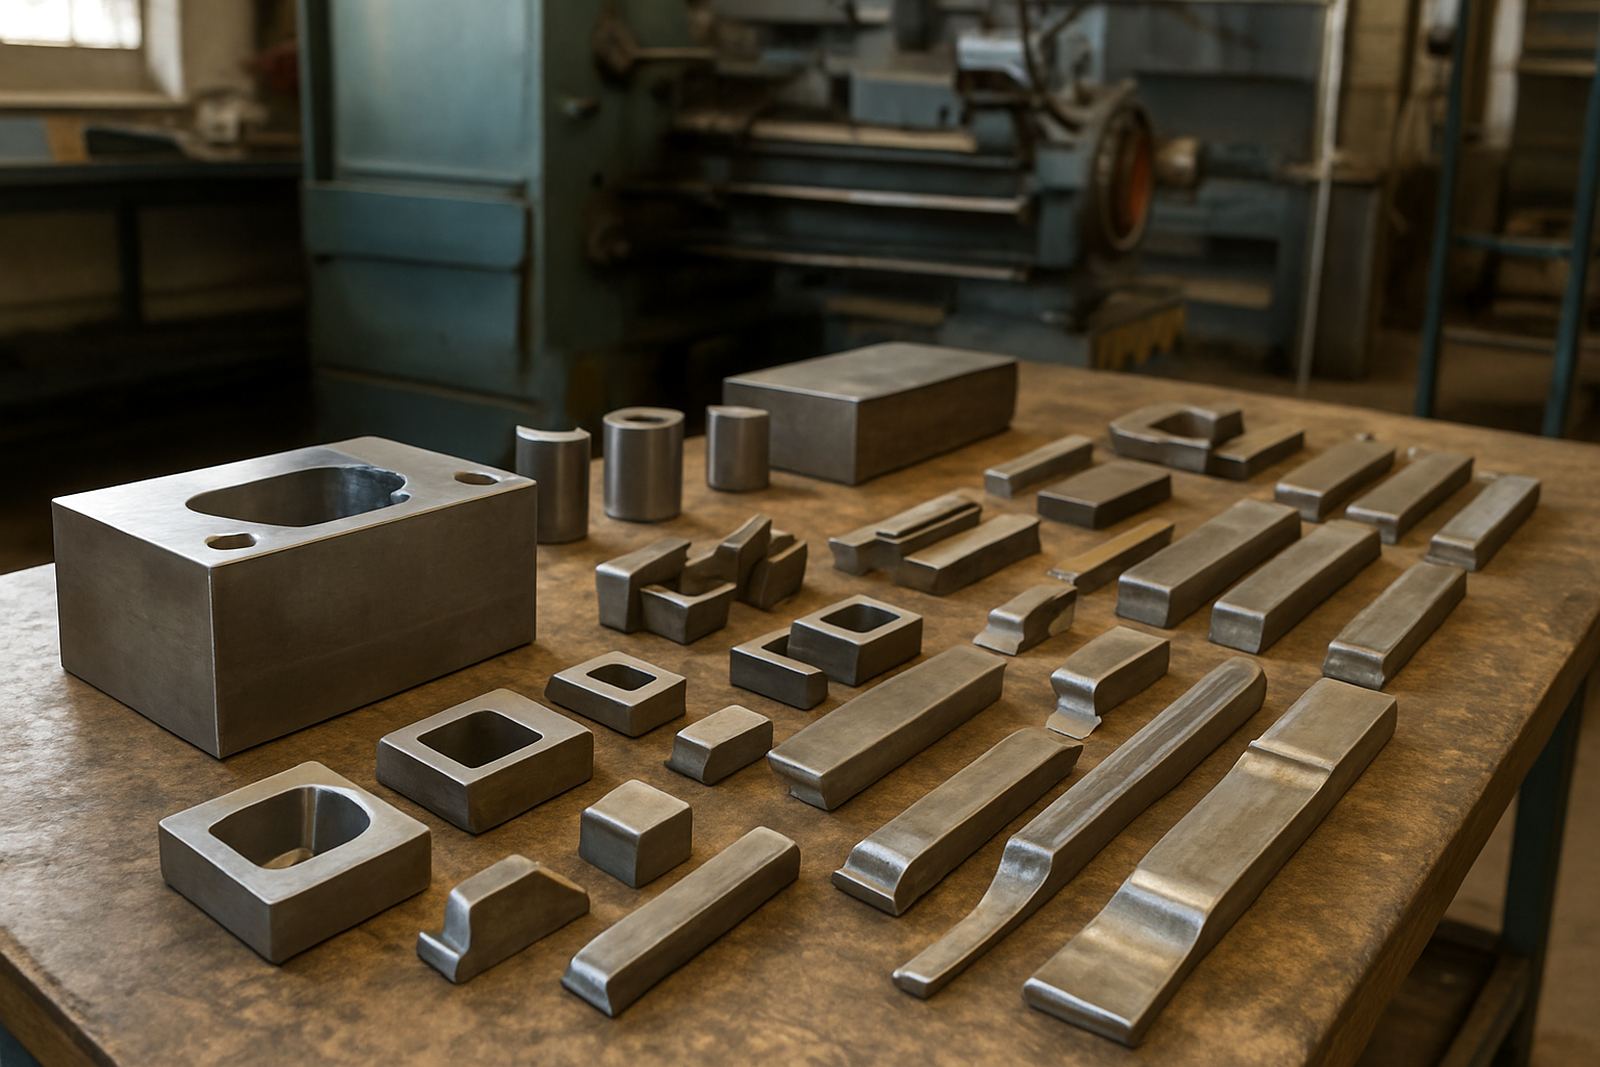
For repairs, remove paint, oil, oxidation and old filler from well beyond the repair line. Use clean tooling and handle the part carefully after degreasing because fingerprints and workshop dust can affect the result. If the part will be painted, powder coated or polished later, tell us early so the joint can be planned for the final finish. On some jobs the nicest result is a series of small, controlled spots rather than a long seam, depending on the load and appearance required.
- Dress edges until they sit together with even contact.
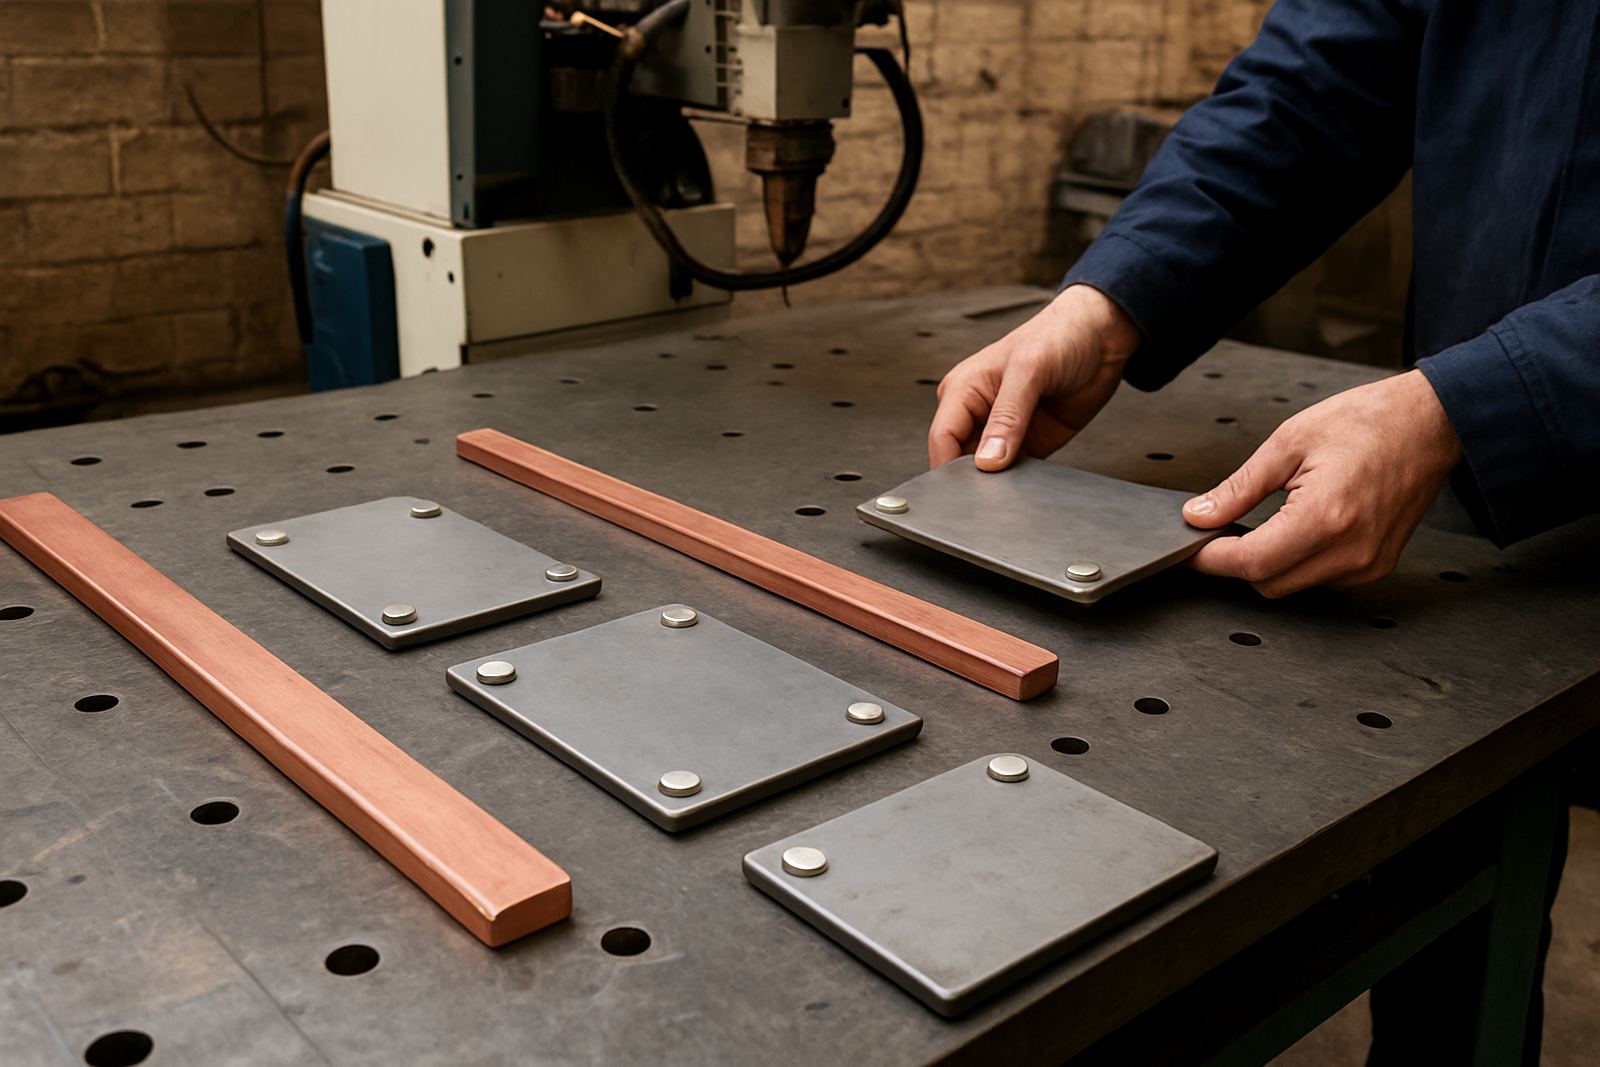
- Use copper backing or other heat control where the shape allows it.
- Clamp in a jig or fixture before the first tack.
- Mark the repair zone so the heat path stays as short as possible.
Control Heat Before Distortion Starts
With thin sheet, heat control is not something you fix later. It needs to be managed from the first tack. Small welds, short bursts and cooling pauses are usually better than trying to complete the job in one pass. The aim is to join the part while keeping panels flat and edges true.
We often advise customers to think about heat sink, access and sequence before delivery. If the part is attached to a larger assembly, nearby joints and brackets may also need protection from excess heat. In some cases the best approach is to weld alternate points, allow cooling, then return for the next section. That keeps movement down and helps avoid a ripple finish that takes hours to correct. A good plan is less about speed and more about control, and small parts are less forgiving than they look.
- Use short weld bursts rather than long continuous runs.
- Allow cooling between sections instead of forcing the job through.
- Work from the centre outwards where the shape allows.
- Protect adjoining seals, bearings and finished surfaces from heat.
Match the Method to the Finish You Need
Not every thin sheet repair needs the same approach. A cosmetic crack on a visible cover may need a very neat, low-profile weld, while a hidden reinforcement may focus more on strength and fit. The method must suit the part, the thickness and what happens after welding.
For example, a thin stainless panel in a kitchen or food-area application usually needs a cleaner finish than a service cover inside a machine frame. Aluminium can require extra care because it moves quickly with heat and shows distortion fast. Thin mild steel may be more forgiving, but it can still warp or edge-burn if the joint is too open. If the part has to line up with other components, bring the mating pieces along so the fit can be checked on site or in the workshop.
- Decide whether the weld will be left visible or finished after.
- Bring mating parts where alignment matters.
- State if strength, appearance or both are the priority.
- Ask for the job to be assessed before cutting away original material.
Use the Right Checks Before Delivery
Thin sheet welding should be checked while the part is still in hand, not after it gets back into service. A quick inspection can catch movement, pinholes, edge pull and incomplete fusion before the job leaves the workshop. For larger batches, one sample part may be tested first so the method can be confirmed before the rest are done.
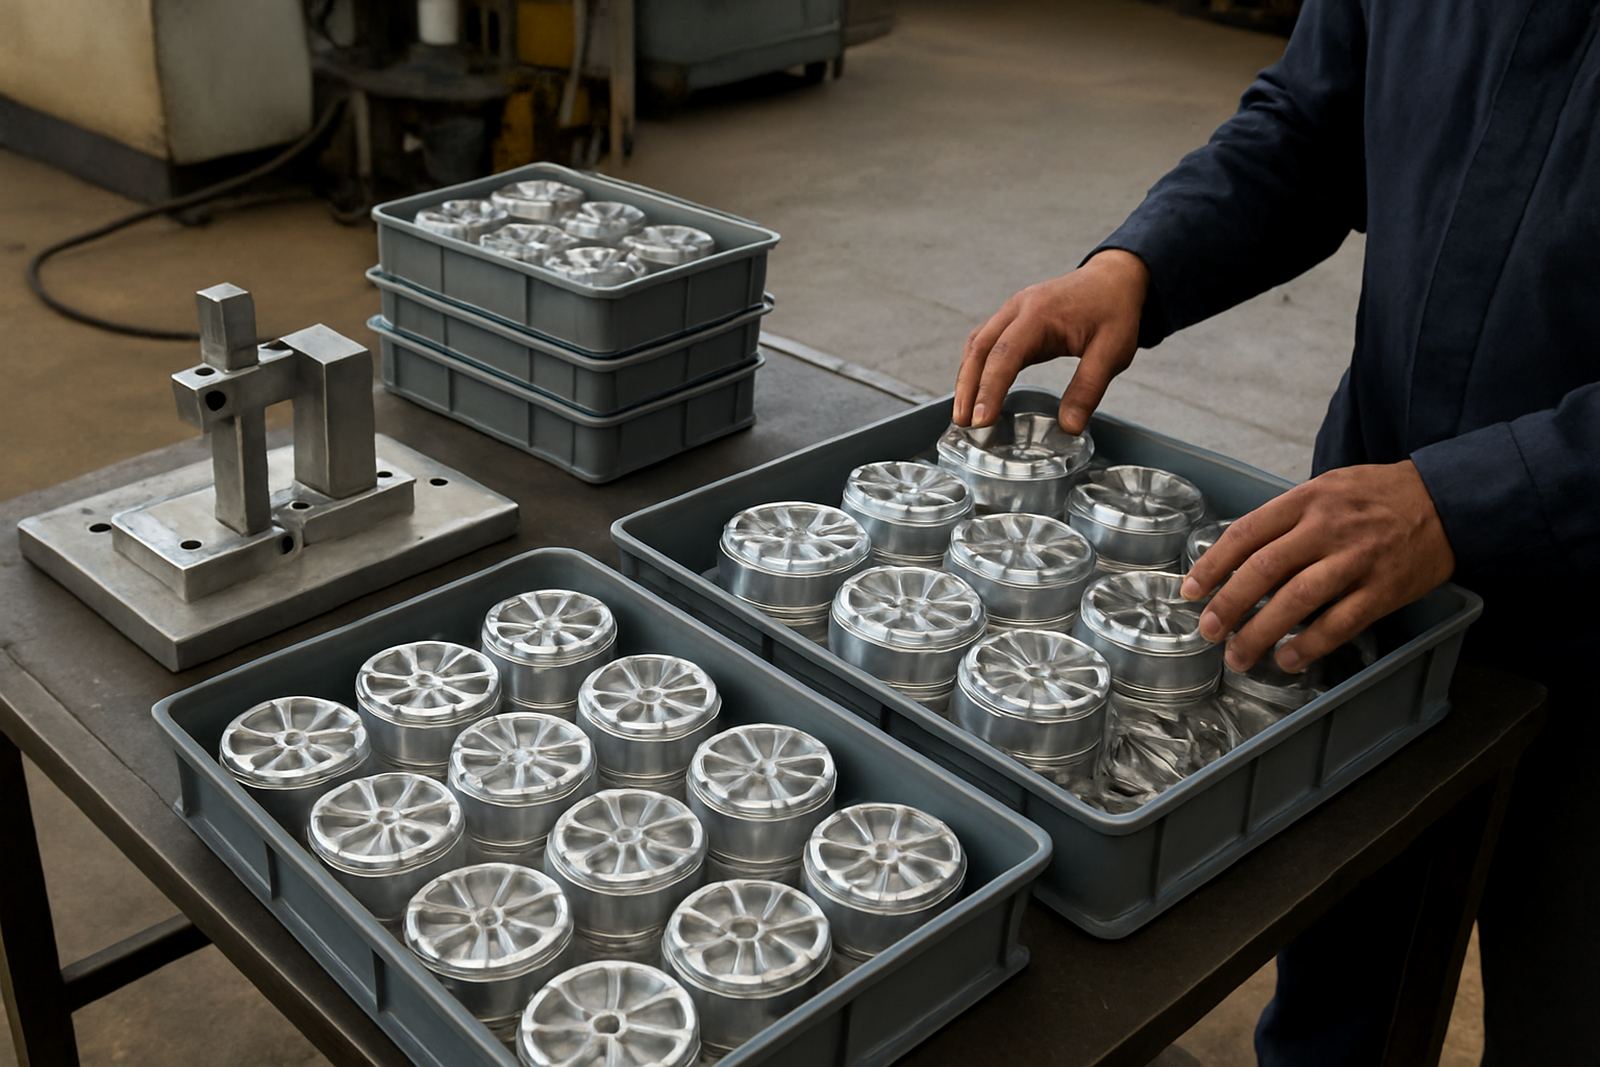
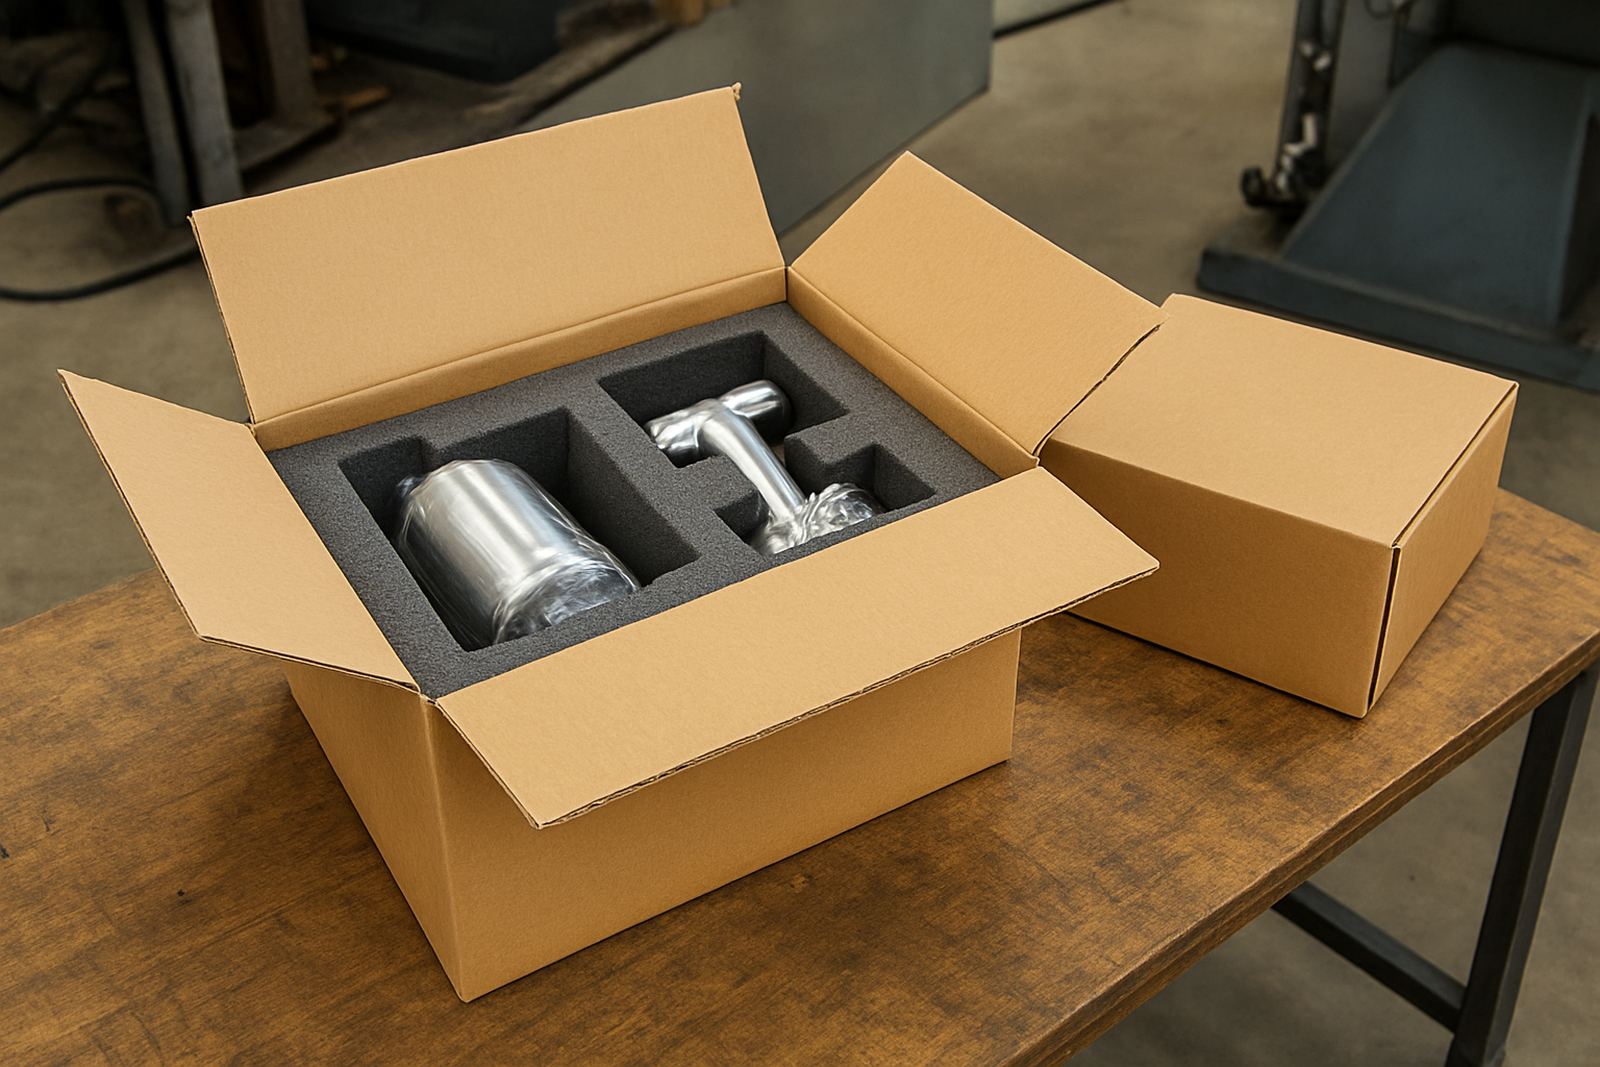
Look at flatness, edge line, hole alignment and whether any fittings still sit correctly. If a part has been repaired after a crack, make sure the crack has been fully removed or stabilised and that the repair zone is not under fresh stress. For jobs going to site in Pretoria, Midrand, Rosslyn or further afield, we can also package parts so they are protected from rubbing during transport. Thin work scratches easily and a good weld can be spoiled by poor handling, its worth taking that extra step.
- Inspect both sides of the joint if access allows.
- Check for distortion while the part is still on the jig.
- Confirm all fixing holes and edges still line up.
- Protect finished surfaces before collection or courier transport.
When Thin Sheet Should Be Sent In Early
Some jobs are suitable for last-minute repair, but thin sheet usually benefits from early review. If the part is cracked near a bend, has been stretched by previous heat or must match an exact profile, early assessment can prevent avoidable damage. This is especially useful on items that must return to production quickly, where even a small mistake causes downtime.
For nationwide work, send clear photos, thickness details and measurements before dispatch. If you are near Centurion, Pretoria East, Midrand, Rosslyn or Jet Park, collection or drop-off can often be arranged around the job size. For courier work, pack the part so it cannot flex in transit and include the mounting orientation. The more detail we have, the easier it is to plan the weld sequence and finish. It also helps to note whether the part must fit a machine, vehicle or housing with very tight clearances.
- Send photos of both sides of the part.
- Include thickness, material type and the exact fault location.
- Tell us whether the repair is structural, cosmetic or both.
- Advise if the part must return to service fast.