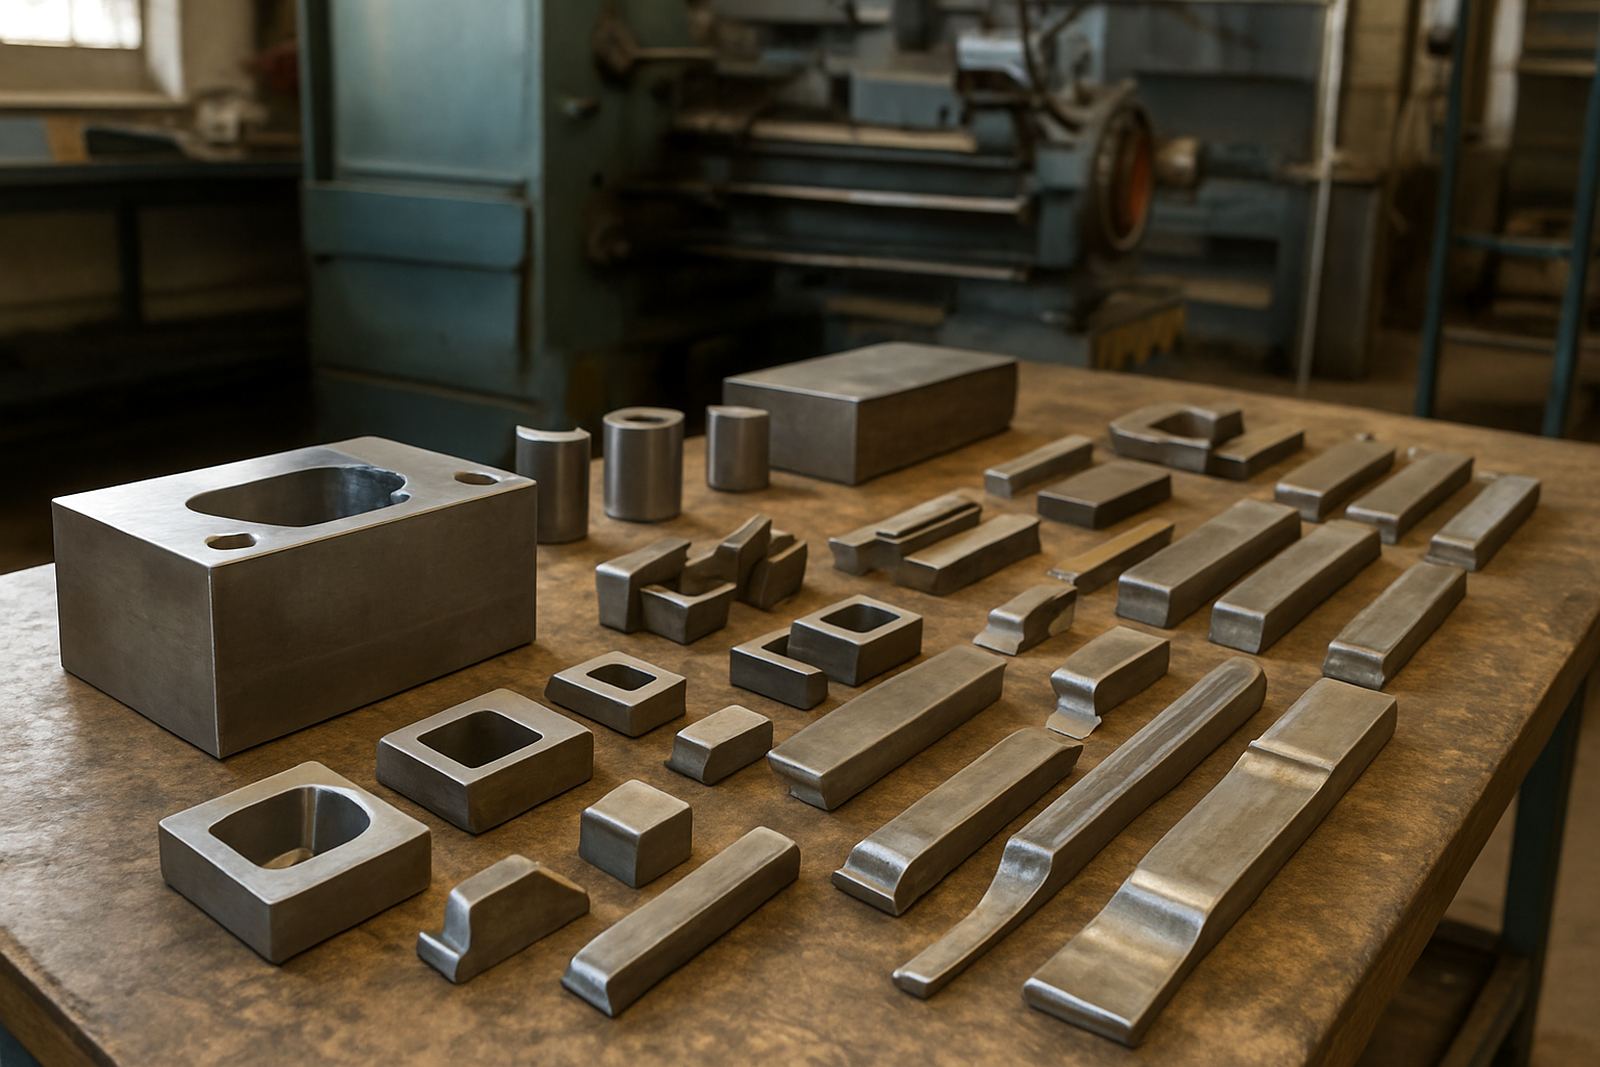
Start With a Proper Strip Down And Visual Check
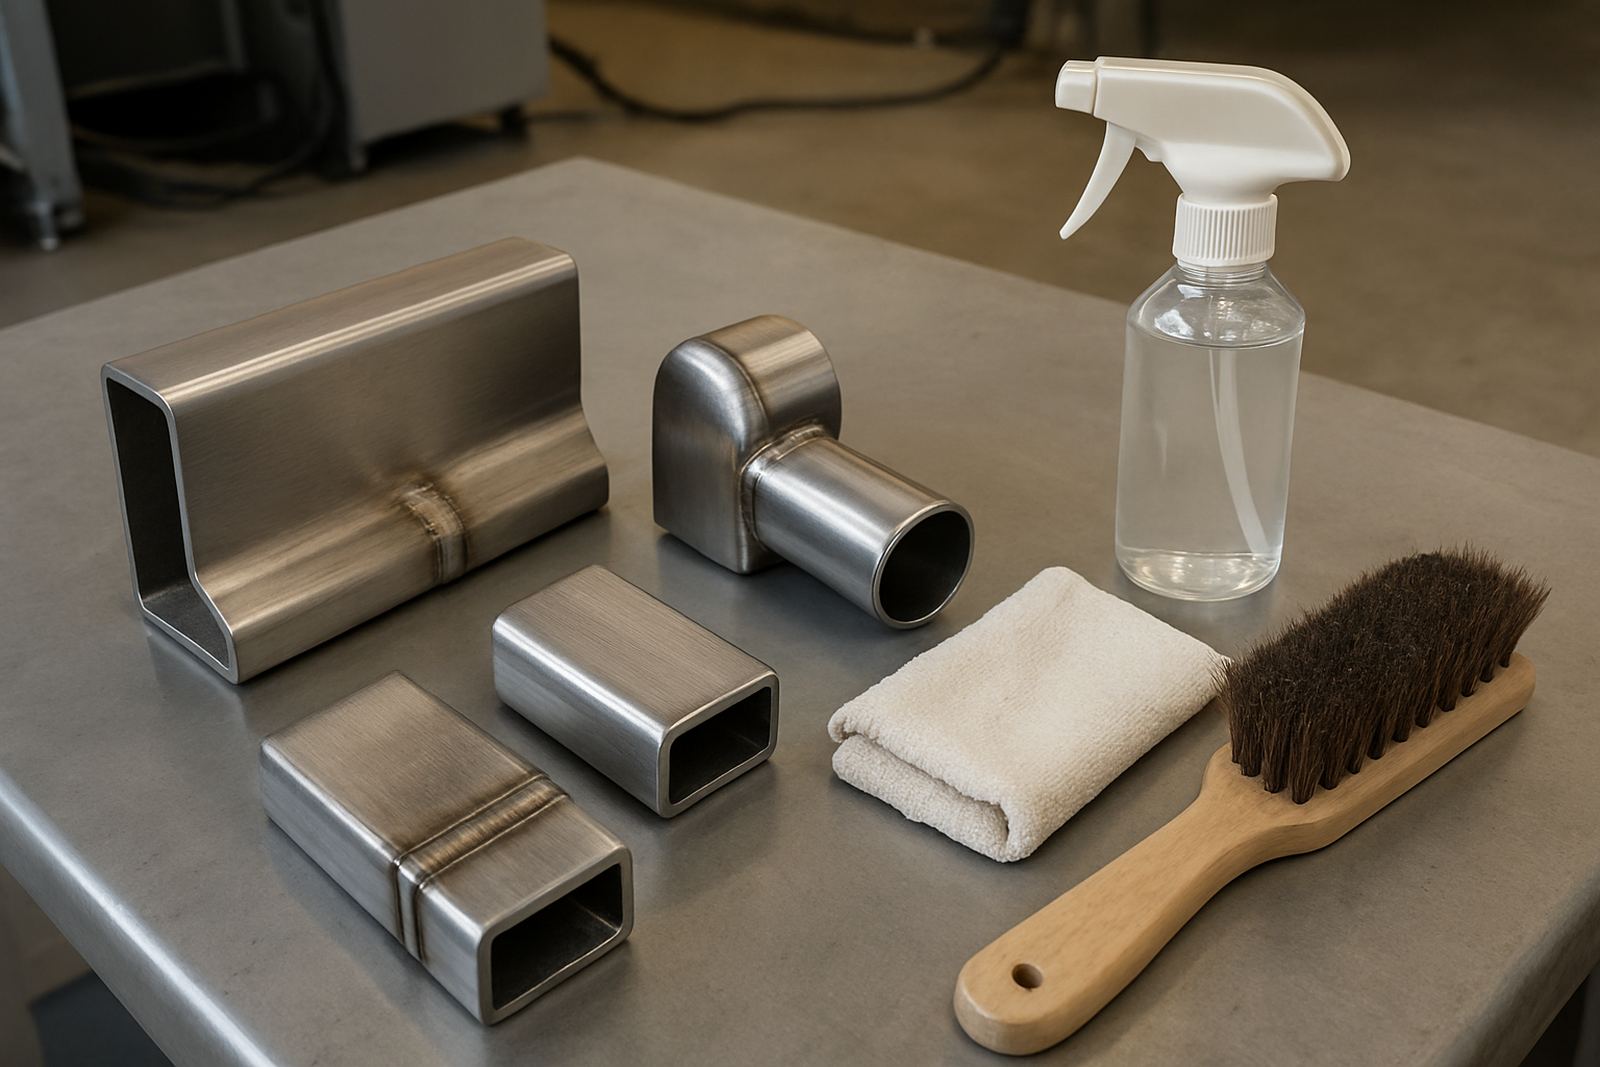
Before you decide on a repair, clean the tool properly and strip off residue, grease, release agent and loose scale. In a Centurion workshop we often see parts that look worse than they are because cutting fluid, polymer build-up or rust has hidden the actual damage. A clean surface makes crack lines, wear zones and chipped edges much easier to spot.
Use bright white light, a magnifier if needed, and check all faces slowly. Pay special attention to corners, radii, gate areas, shut-off faces, ejector pockets and thin sections. If the tool has worked in a humid coastal plant, or sat in storage through a wet Pretoria winter, surface corrosion can spread under the finish and the true repair area may be a bit larger than expected.
- Remove oil, dirt and oxide from all accessible surfaces
- Check for visible cracks, chips, dents and broken edges
- Look for heat marks, galling, peening and smeared metal
- Note any previous repairs or hard facing that may affect welding
Measure Wear Before You Authorise Any Repair
Good tooling repair starts with numbers, not guesswork. Measure the worn section against the original drawing, a known good insert, or the mating half of the tool. If a cavity has opened up by 0.3 mm or a die edge has pulled back by 0.8 mm, that changes the repair approach and the amount of build-up needed. On precision tooling, even small changes can affect fit, flash, finish and release.
Record the wear depth, crack length, and any distortion. If the tool has been running hot, check for soft spots or movement around the repair area. For thin inserts, the actual damage may run deeper than the surface, so a quick measurement on the edge alone is not enough. Keep a simple sketch with dimensions, because it saves time when the part arrives at the workshop and avoids back-and-forth later on.
- Measure all damaged sections in millimetres
- Compare with a sample part or matching cavity where possible
- Check flatness, straightness and alignment faces
- Mark any areas that must stay within tight tolerance after welding
Know Which Damage Suits Laser Repair
Laser welding is well suited to localised repairs where the surrounding tool still has value. Typical cases include chipped corners, cracked edges, worn shut-off faces, damaged ejector cut-outs, parting line wear, and small sections that need to be built back up before re-machining. It also works well on fine detail areas where you cannot afford a lot of heat input.
Not every fault should go straight to repair. If the tool is badly warped, heavily heat checked across wide zones, or has deep structural damage through a critical load area, you may need a fuller engineering review first. A good rule is simple: if the damage is local and the base tool is still sound, laser repair is usually worth assessing. If the damage is widespread, the part may need more than a quick fix.
For moulds and dies, this is especially useful where the tooling is expensive or lead times are tight. Repairing a single insert can often save a full remake, provided the remaining body still has enough strength and the repair surface can be cleaned back to clean metal.
Use a Checklist Before Sending Parts In
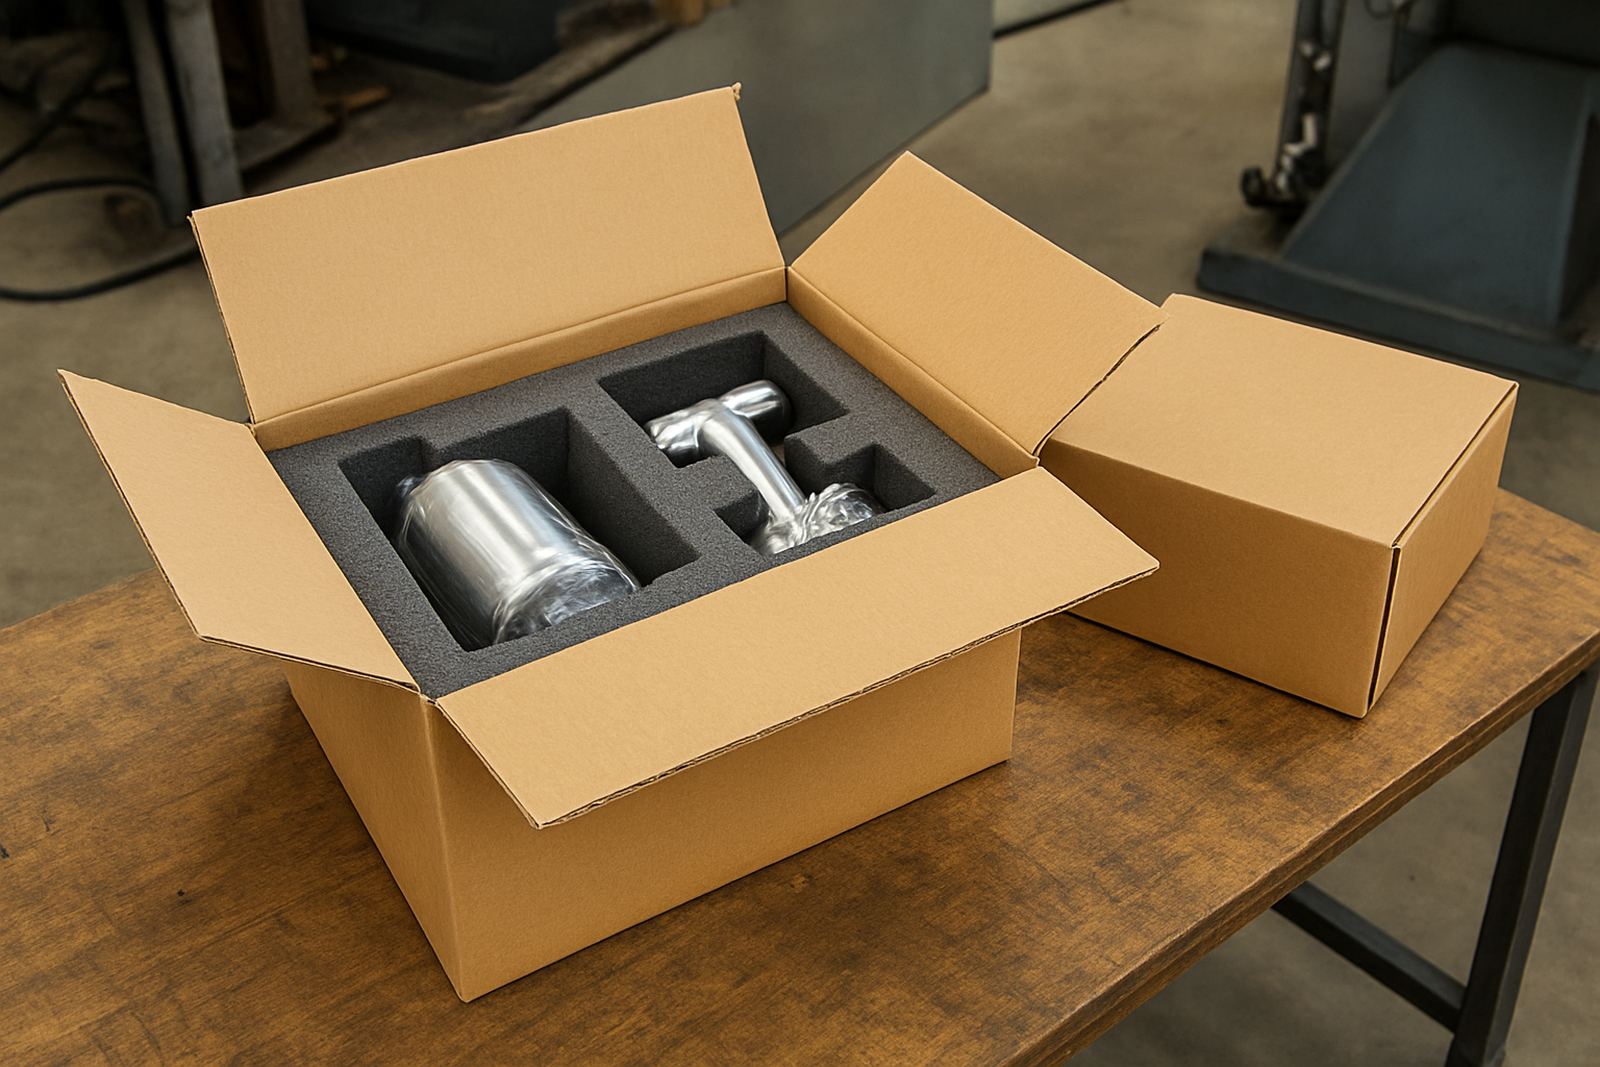
Sending the right information with the tooling helps the job-shop team quote and plan correctly. If you can, include a drawing, sample part, previous repair notes and clear photos of the damaged areas. A few extra minutes at your side can save a full day of uncertainty in the workshop, especially when parts move between Pretoria, Midrand, Rosslyn and Jet Park by courier.
Where possible, identify the base material and any coatings. Stainless, tool steel, aluminium and mixed-material assemblies each need different handling and process settings. If the component has been exposed to coastal humidity, chemical cleaners or repeated wash cycles, say so. That tells the technician what to expect when the part is prepared for welding.
- Part description and quantity required
- Material type if known, plus any coating or surface treatment
- Exact damaged area marked with pen or tape
- Required finish, machining allowance and tolerance
- Preferred turnaround and site location for collection or delivery
What Good Preparation Looks Like in the Workshop
Once the part arrives, proper preparation matters just as much as the weld itself. The area should be cleaned to bare metal, with oils removed and cracks opened enough to inspect fully. If the part has trapped contamination or hidden porosity, the repair may fail later when the tool heats and cools in service. That is why preparation cannot be rushed, even when a client wants the job done quickly.
For precision tooling, the repair zone is usually worked in small sections so the heat affected area stays controlled. Thin inserts and sharp edges need more care because they distort easily. After welding, the part is normally allowed to cool in a controlled way before any grinding, machining or spotting. In practice, this means the repair is only one step in the process, not the whole job.
Some jobs also need post-repair finishing such as re-machining, re-polishing or fit checking against a mating component. If the part will return to a production line, make sure the final acceptance point is clear before work starts. That avoids surprises when the repaired tool gets back to the machine, where there is never much time for rework.
Decide Whether Repair or Replacement Makes Better Sense
There are times when repair is the sensible option and times when replacement is safer. If an insert is badly eroded, cracked through multiple directions, or too thin to accept enough build-up, a new part may be the better call. The same applies where repeated repairs have already reduced the material too much, or where the tool runs under heavy load and cannot tolerate a weak section.
Ask three questions: is the surrounding body still sound, will the repair hold under operating temperature, and can the final dimension be recovered without risking fit? If the answer is yes to all three, repair is worth serious consideration. If not, you may save money short term but lose it later through machine downtime and repeat failures.
For job-shop work across South Africa, a practical approach is often the most cost effective. Repair the sections that are worth saving, replace only what truly needs replacing, and keep the production line moving. That is often the difference between a short stoppage and a full shutdown.