When a tool is still worth saving
Toolmaking repairs usually start with one of two problems: a feature has worn out after repeated cycles, or a part has cracked after heat, impact or poor release conditions. In many Pretoria, Centurion and Gauteng workshops the real issue is not the whole tool, but a small section that now causes scrap, poor fitment or inconsistent output. Laser welding suits these jobs because it puts material exactly where it is needed, with little heat spread and very little distortion.
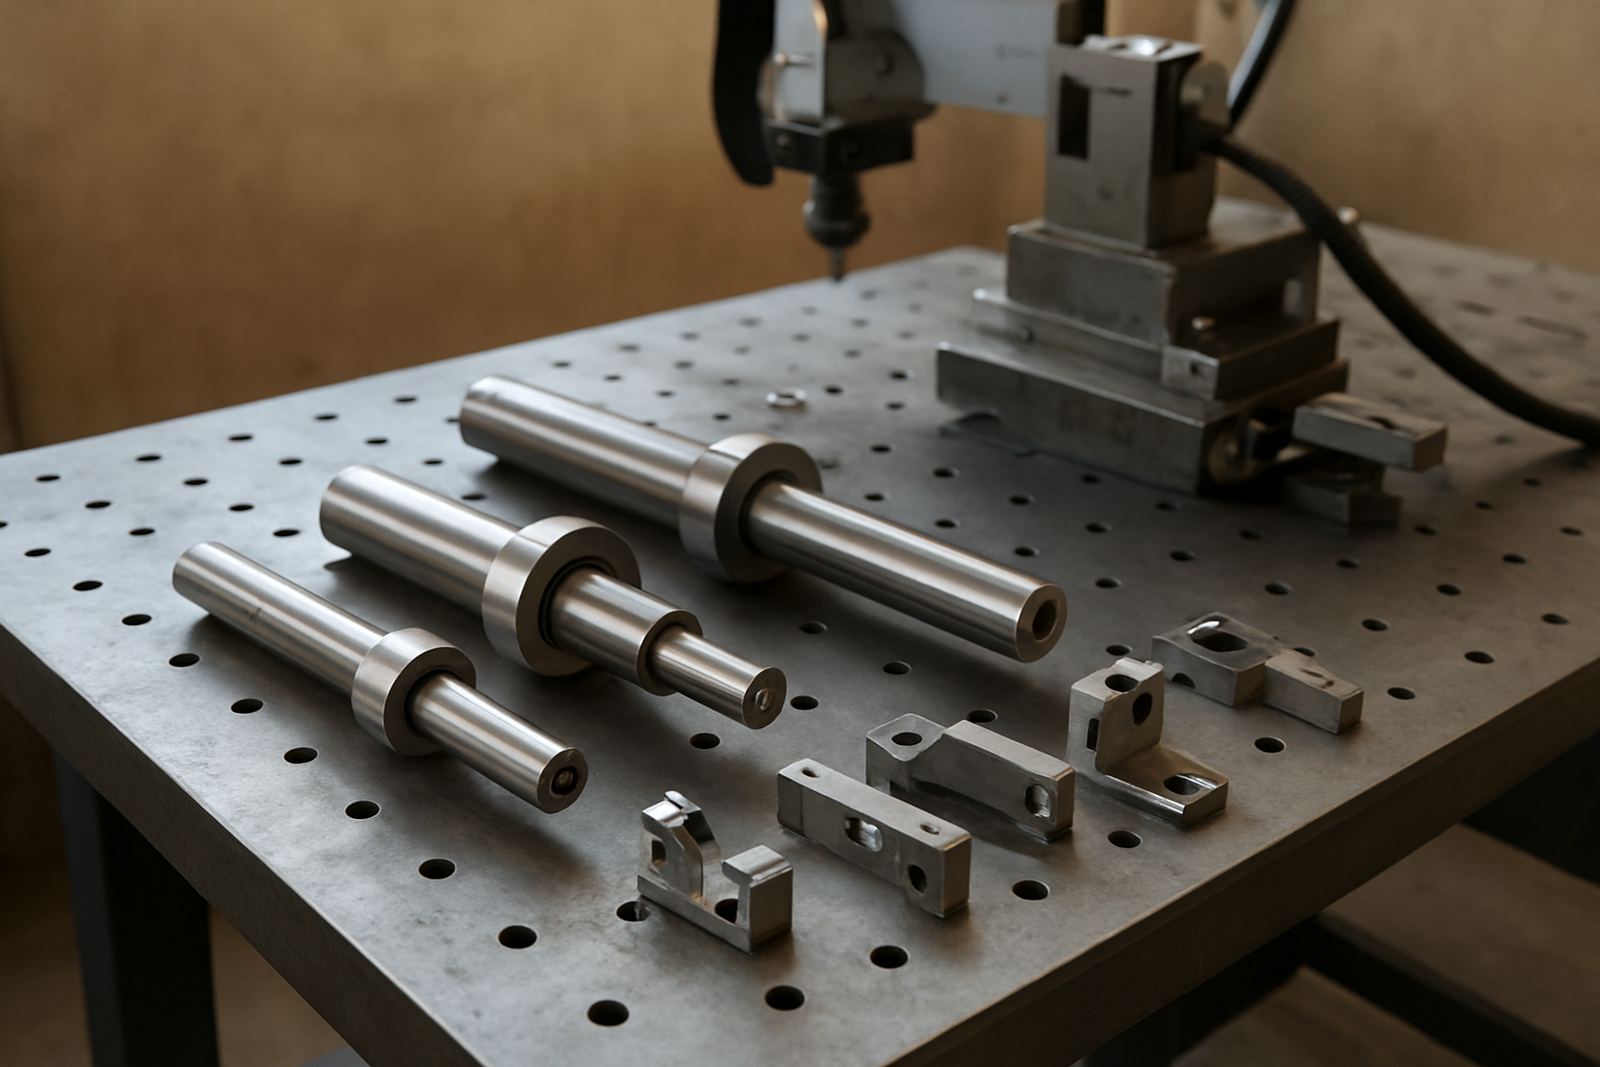
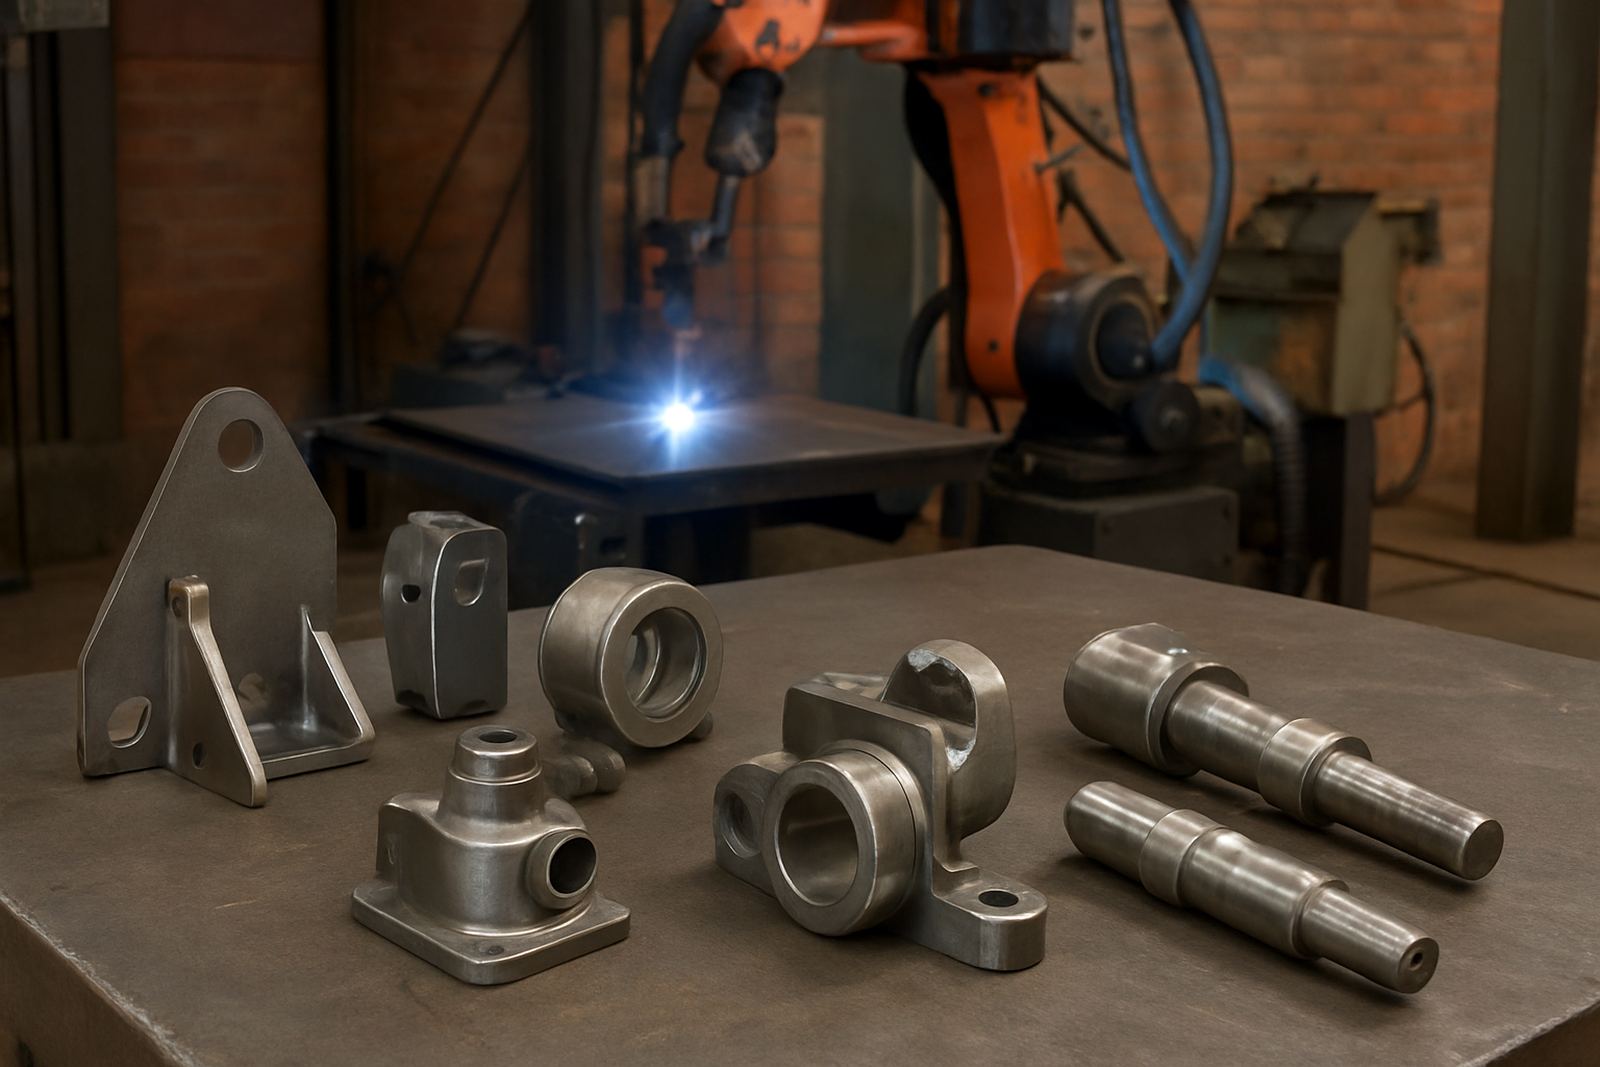
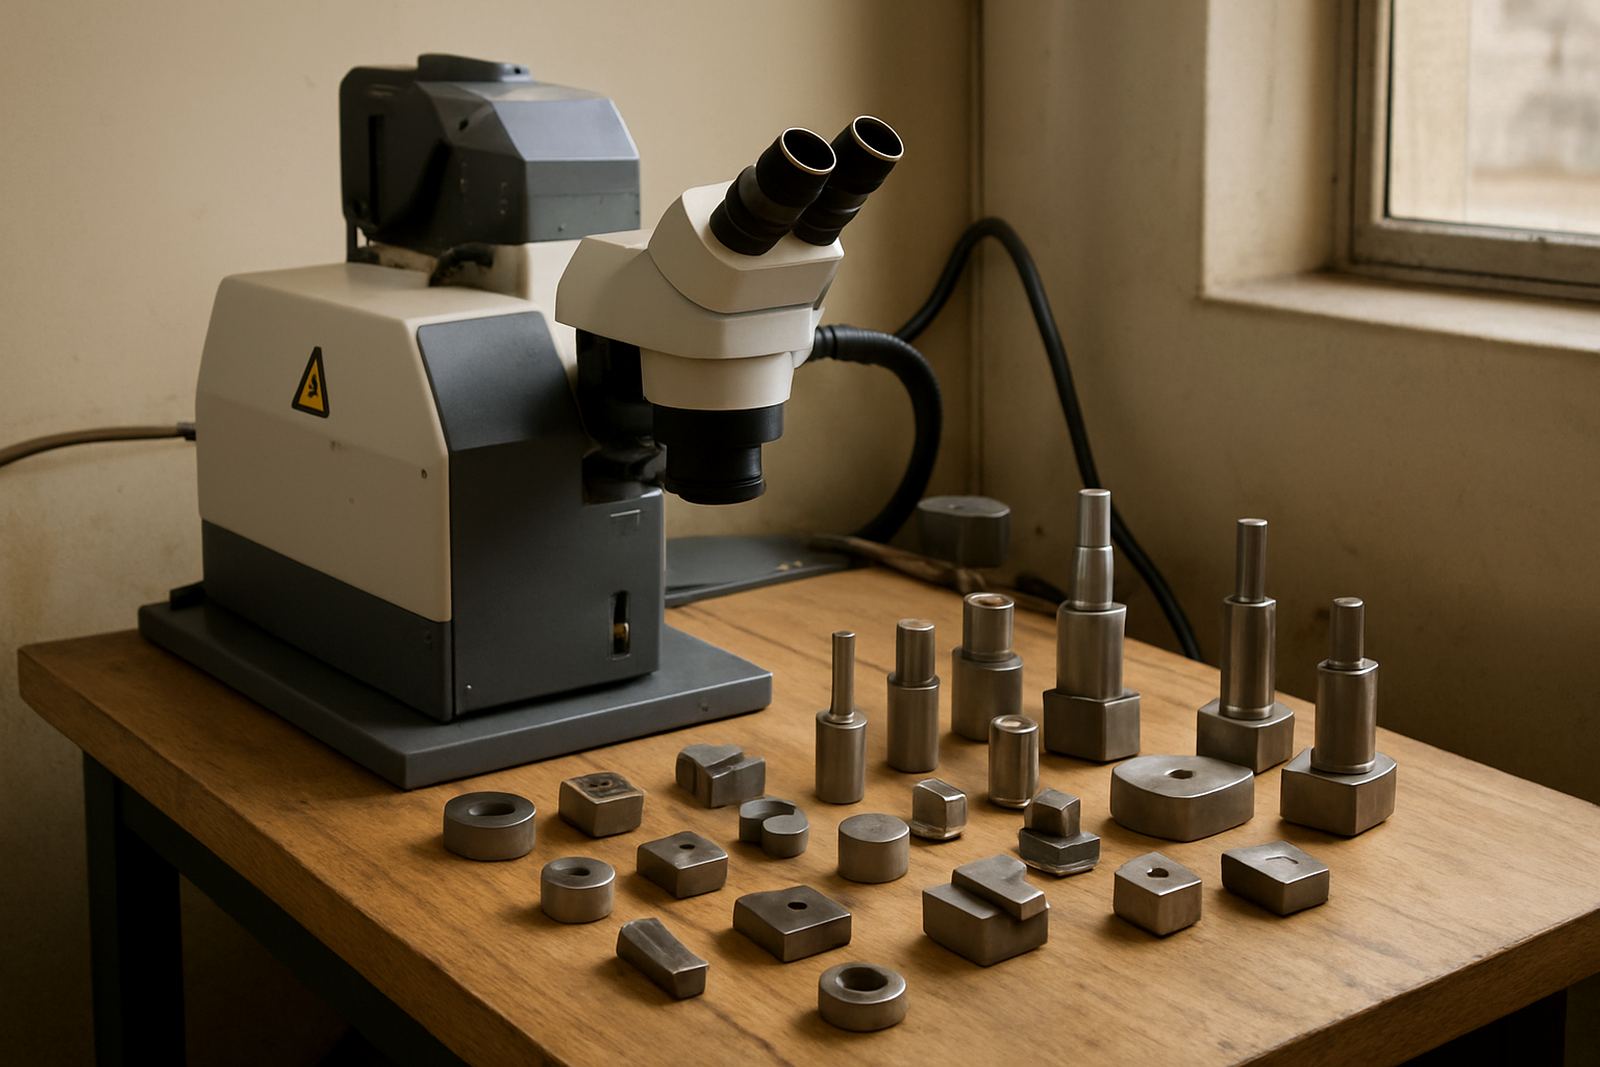
We see requests for repair on mould inserts, die sections, locating pads, guides, punches, trimming edges and fine cavities. When a tool has already been machined to tight tolerances, replacing the full component can take time and add unnecessary cost. A targeted repair often gets the part back into production faster and keeps the original geometry usable.
Typical tooling problems we repair
Tooling in South Africa works hard. Dust, vibration, moisture at coastal sites and stop-start production during load-shedding can all affect wear patterns. The most common repair calls come in after a tool starts producing burrs, short shots, mismatch or poor edge definition. Once the problem starts showing in production, the damaged area is usually already past the point of a simple polish or re-set.
- Worn gate areas and shut-off faces
- Cracks at corners, radii and thin sections
- Chipped edges on dies and trim tools
- Build-up on worn guide or stop surfaces
- Restoration of small cavities and fine detail
Laser welding is especially useful where the toolmaker needs repair work that can be blended, re-machined and checked back to size. It is also useful for jobs that need one-off attention rather than full batch replacement.
How we plan a repair around the part
Before any welding starts, the part needs a proper assessment. We look at the base material, the level of wear, whether the crack is active, and whether the damaged area has enough sound structure left to hold a repair. On larger tooling jobs we also consider how the component fits into the full set up, because a repair that works on its own but changes alignment can cause more trouble later.
Good planning means setting a repair area that can be finished properly after welding. That may include leaving machining allowance, protecting reference faces and deciding whether the part should be stripped down before delivery to our Centurion workshop. For clients in Rosslyn, Midrand or Pretoria East, collection or courier can help keep the job moving without unnecessary downtime.
- Identify all worn and cracked features before work starts
- Confirm the base material and any heat treatment condition
- Leave enough allowance for post-weld machining or spark erosion
- Mark reference points so the tool can go back in square and true
What a well prepared tooling repair looks like
A good toolmaking repair is not just weld and go. It should allow the fitter or toolmaker to machine, stone, polish or finish the part back to spec with no surprises. In practical terms, that means clean edges, controlled build-up and a repair zone that does not wander outside the damaged section. With laser welding, the operator can work on fine detail and small corners that would be difficult to restore with heavier processes.
For mould and die work, the finish needs to support repeatability. For example, a repaired insert may need to hold polish in a cavity, or resist wear on a high-contact edge. On batch jobs we also check whether the same fault is appearing on multiple parts. If so, the repair may need a small process change, not just more filler. This saves money over time and avoids repeat call-backs.
Common mistakes that make tooling repairs expensive
The most costly errors are usually made before the part reaches the workshop. A cracked tool kept in service too long can turn a neat repair into a much larger rebuild. Another common mistake is sending a tool without noting the original dimensions, hardening condition or the side of the tool that carries the load. That slows the job and can lead to overwork. Sometimes a client also asks for a repair on a surface that should have been replaced as a wear insert, not rebuilt, which is not always the best use of budget.
We also see parts arrive after unplanned grinding or welding attempts. That can harden the material in patches and make the final finish more difficult. If the tool has already been heated, bent or badly dressed, tell us upfront so we can plan the repair properly. It is better to be honest at the start than chase problems later, nogal.
- Do not keep running a tool once the crack has opened
- Do not remove reference faces unless they are clearly marked first
- Do not assume every worn section must be rebuilt in the same way
- Do not send a part without photos or measurements where possible
Budget ranges for toolmaking repairs in Rand
Toolmaking repairs are priced according to size, material, access and the level of finishing required. Small crack repairs on a simple insert can start from around R650 to R1,800, while more detailed edge build-up or cavity restoration may run from R2,000 to R6,500. Larger mould or die repairs that need careful setup, multiple passes and post-weld finishing can range from about R7,000 to R18,000 or more, depending on the condition of the part.
If a tool needs stripping, transport, inspection and re-fitting, the total cost will move accordingly. For nationwide clients, courier transport is often still cheaper than replacing a full section or importing a replacement part. A clear brief with photos, measurements and the expected finish helps us quote properly and avoid unnecessary work on the job.