
Why laser weld defects happen even on good parts
Laser welding is unforgiving in a good way. It will show up poor fit-up, contamination, wrong settings and movement in the part faster than many other processes. That is useful because you can find the problem early, but it also means a small issue can show as a visible defect on the finished weld.
In practice, most defects are not caused by the laser alone. They start with the joint. A part that has oil, oxide, paint, dust or machining burrs will not give the beam the clean surface it needs. If the clamp pressure is uneven, the components can lift or move during the weld and leave a line that looks neat from a distance but fails in use.
On thin stainless covers, tool steel inserts and aluminium sections, the margin for error is very small. A change of a fraction of a millimetre in gap or focus can alter penetration, bead shape and colour. That is why a proper inspection before welding saves time later, especially on repair work where the original damage is already there.
Porosity: the small holes that weaken a weld
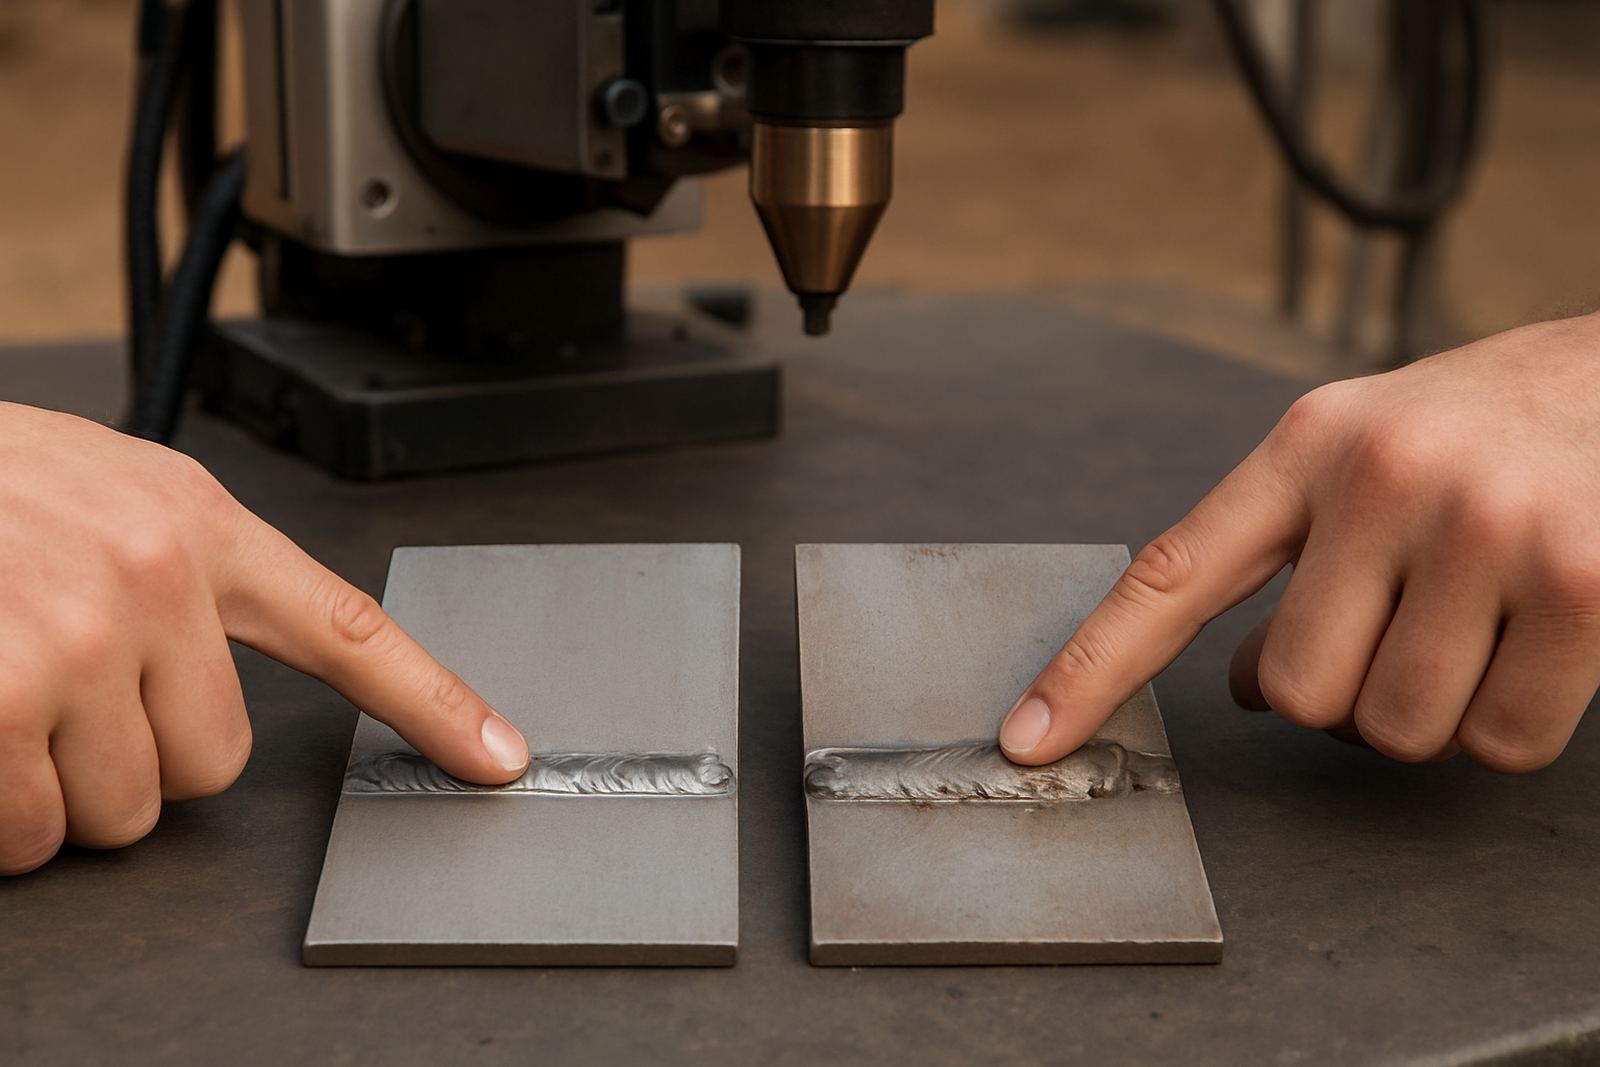
Porosity is one of the most common laser weld defects. It appears as tiny holes or pinpricks in the weld bead and usually means gas, moisture or contamination was trapped while the metal solidified. In a repaired part, porosity is often linked to oil left in a crack, coolant residue, or old plating that was not cleaned back fully.
You may not see porosity immediately on every job. Sometimes it only shows after machining, polishing or pressure testing. That is why visual inspection on its own is not enough for critical parts. If the job will be machined after welding, the weld must have enough sound material beneath the surface to survive the cut and not break into a pocket.
- Clean the joint with the right solvent and remove all residue before welding.
- Dry the part properly, especially after washing or ultrasonic cleaning.
- Check for trapped fluids in blind holes, cracks or porous castings.
- Use the correct shielding setup and keep the nozzle path clear.
On aluminium repairs, porosity can be worse in humid coastal conditions because the material and the workshop air both carry more moisture. Even in Pretoria, where the air is drier, a part moved from a cold store room into a warm workshop can sweat and cause trouble if it is welded too soon.
Underfill and shallow bead profile on repair work
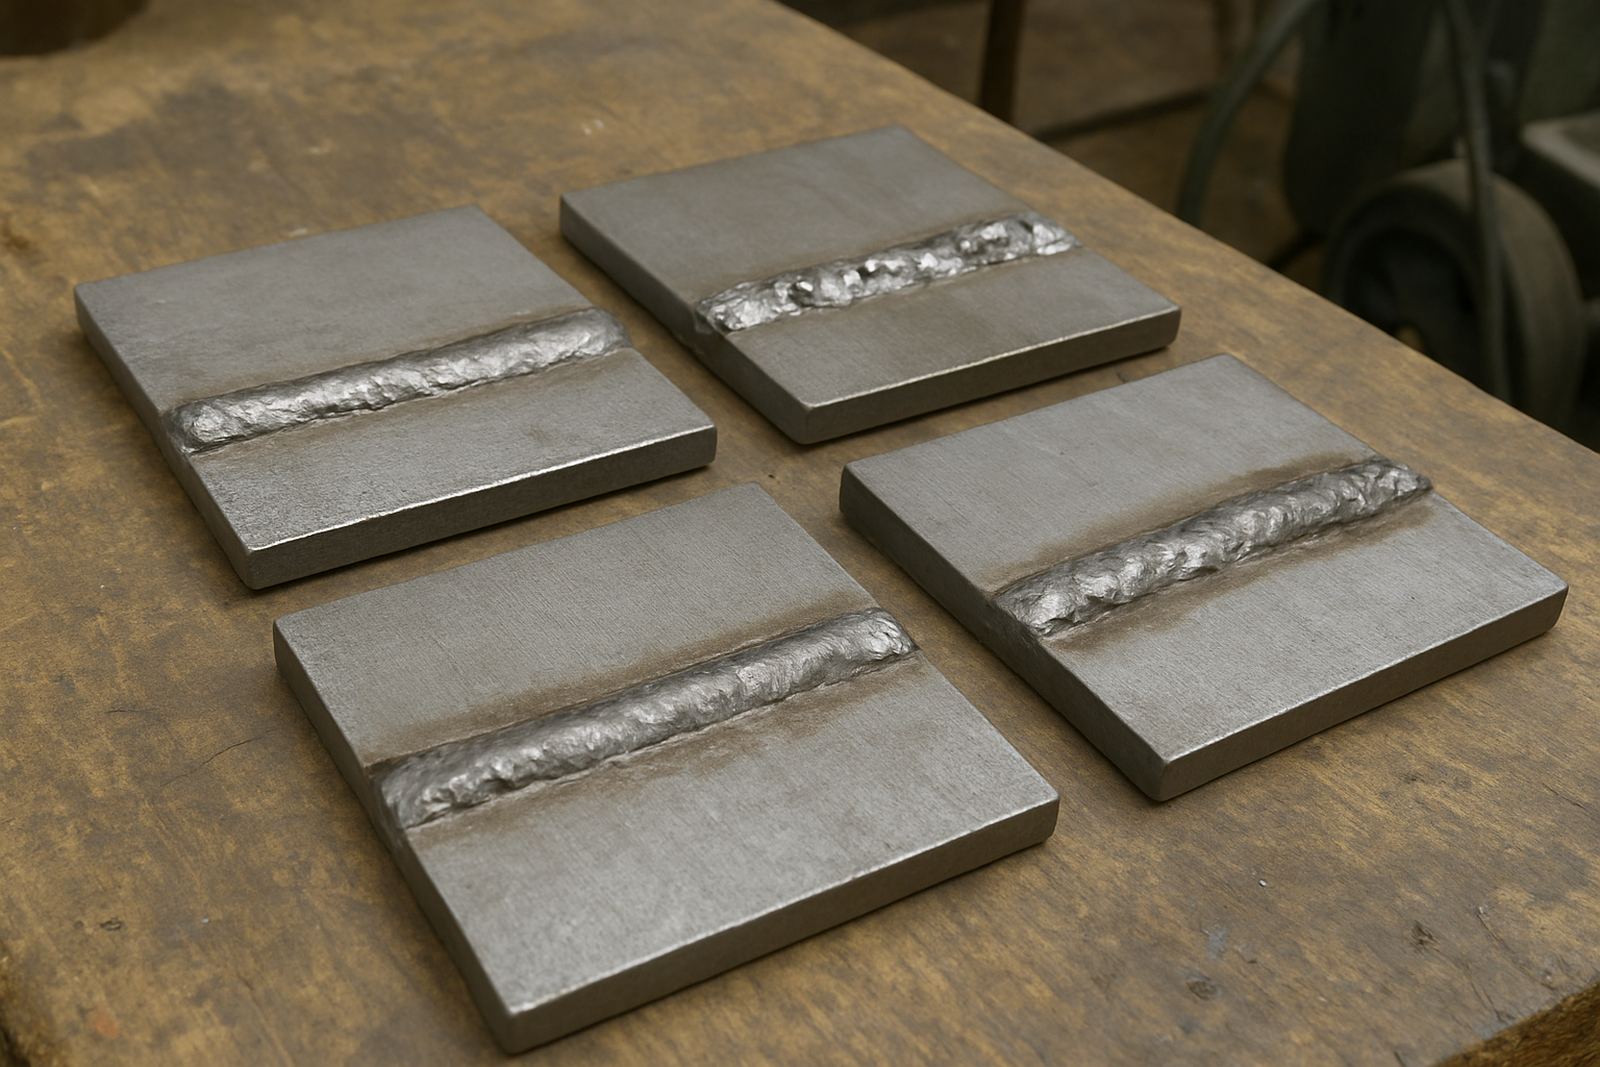
Underfill means the weld does not restore enough material to bring the surface back to the required level. It is easy to miss on a rough repair because the area may look filled at first glance, but once it is ground or machined, the low spot appears. In mould and die work, that can mean extra rework or a part that no longer matches the original profile.
With laser welding, underfill usually comes from one of three causes: too little material added, travel speed that is too fast, or a joint gap that is wider than expected. On edge build up jobs, the operator may need to add material in layers rather than trying to fill the whole area in one pass. That approach takes longer, but it gives far better control over shape and hardness.
- Measure the worn section before welding, not after the grind.
- Use controlled passes for edge build up and crack repair.
- Allow for post-weld finishing, not just the weld bead itself.
- Confirm the final profile against the mating part or drawing.
A common mistake is to overgrind after welding and then blame the process for the low spot. In reality, the weld may have been sound but too little allowance was left for finishing. Good job-shop practice means planning the final size before the first pulse is fired.
Alignment issues that show up as crooked beads or mismatch
Alignment problems are often less dramatic than porosity, but they can be the most expensive. If the parts are not held square, the weld line can drift, the build-up can sit off centre and the finished item may not fit its mating component. This is especially important on prototype joining and small batch work where repeatability matters.
Laser welding relies on precise positioning. A small angular error can create a visible ridge on one side and almost no fusion on the other. In repair work on shafts, bush housings, dies and fine mechanical parts, that kind of mismatch can cause noise, wear or immediate failure once the part is back in service.
Before welding starts, the following checks help avoid alignment trouble:
- Confirm the clamp points are holding the full joint, not just one edge.
- Check that the part is level and not twisted under pressure.
- Use reference marks so the operator can track movement during the job.
- Recheck alignment after tack points or initial pulses, because heat can pull the part.
In our Centurion workshop, jobs often arrive after a first repair failed because the component was held by hand or clamped too lightly. Once the heat enters, the metal moves. That movement may be tiny, but on precision parts it is enough to throw the whole assembly out.
Heat, power and speed need to match the metal
Many defects are really setting issues. Too much heat can widen the bead, distort thin sections and pull in more contamination. Too little heat can leave lack of fusion or a surface that looks fused but is not properly tied into the base metal. The trick is not to chase one setting for every job.
Different materials react differently. Stainless needs control to avoid colour changes and distortion. Aluminium can reflect heat and move quickly if the joint is not prepared well. Tool steel and mould components often need fine control so that the repaired area can still be machined without hard spots or cracking.
Good technicians adjust for the part, the thickness and what happens after welding. If a component must go back into service in an hour, the process choice will differ from a part that can be cleaned, checked and machined the next day. Load-shedding can also interrupt planning, so it helps to sequence jobs that are sensitive to temperature and timing when stable power is available.
A Pretoria example: one small crack, three hidden faults
A typical local case is a worn mould insert sent in from Pretoria East. The visible issue was a crack on the edge, but once cleaned and set up, the real problems were clear: a slight alignment error, old residue in the crack and underfill from a previous repair. Any one of those could have caused another failure after machining.
The fix was not complicated, but it needed order. First the part was cleaned back to sound metal, then the alignment was corrected in the fixture, and the weld was built up in controlled stages. After that the surface was checked again before finishing. The result was a part that could be machined back to size without breaking into a hollow or leaving a low line at the edge.
That is the point with common laser defects. They usually travel together, not alone. If you solve only the visible one, the hidden cause remains in the job and the repair does not last.
How to reduce defects before the part reaches the workshop
Most defect prevention happens before the weld starts. Clear photos, measurements and a proper description of the fault make a real difference when a part is sent in from Midrand, Rosslyn or further afield. If the part is delicate, wrap it properly and avoid mixing it with oily or rusty items in the same box.
A useful prep list for clients is simple:
- Remove grease, paint and loose scale where possible.
- Mark the exact area that needs repair.
- Send measurements, thickness and any drawing or sample part.
- Tell the workshop if the item will be machined, polished or assembled after welding.
For nationwide courier jobs, a clear handover saves back-and-forth and helps the team plan the right fixture, filler and finishing steps. The fewer unknowns on arrival, the less chance there is of porosity, underfill or alignment trouble in the final weld.