
Why thin parts move so easily under heat
Any weld puts heat into metal, and metal expands before it cools again. If that heat is not managed, one side of a part shrinks more than the other and the job starts to pull, twist or bow. On thin sections, small brackets, covers, frames and repaired components this movement can be enough to cause fitment problems after just one pass.
In a Centurion workshop, we often see parts that looked fine while they were still warm, then showed their true shape once they reached room temperature. That is why distortion control starts with understanding the material thickness, the joint type and how the part is held. It is not only about avoiding ugly welds. It is about keeping tolerances where they should be so the part still works once it leaves the shop.
For jobs sent in from Pretoria East, Midrand or as courier work from further out, the same rule applies. A repair on a small die section or stainless enclosure can still move a few mm if the heat input is not managed carefully, and a few mm is often enough to cause trouble later.
Fit-up and clamping do most of the early work
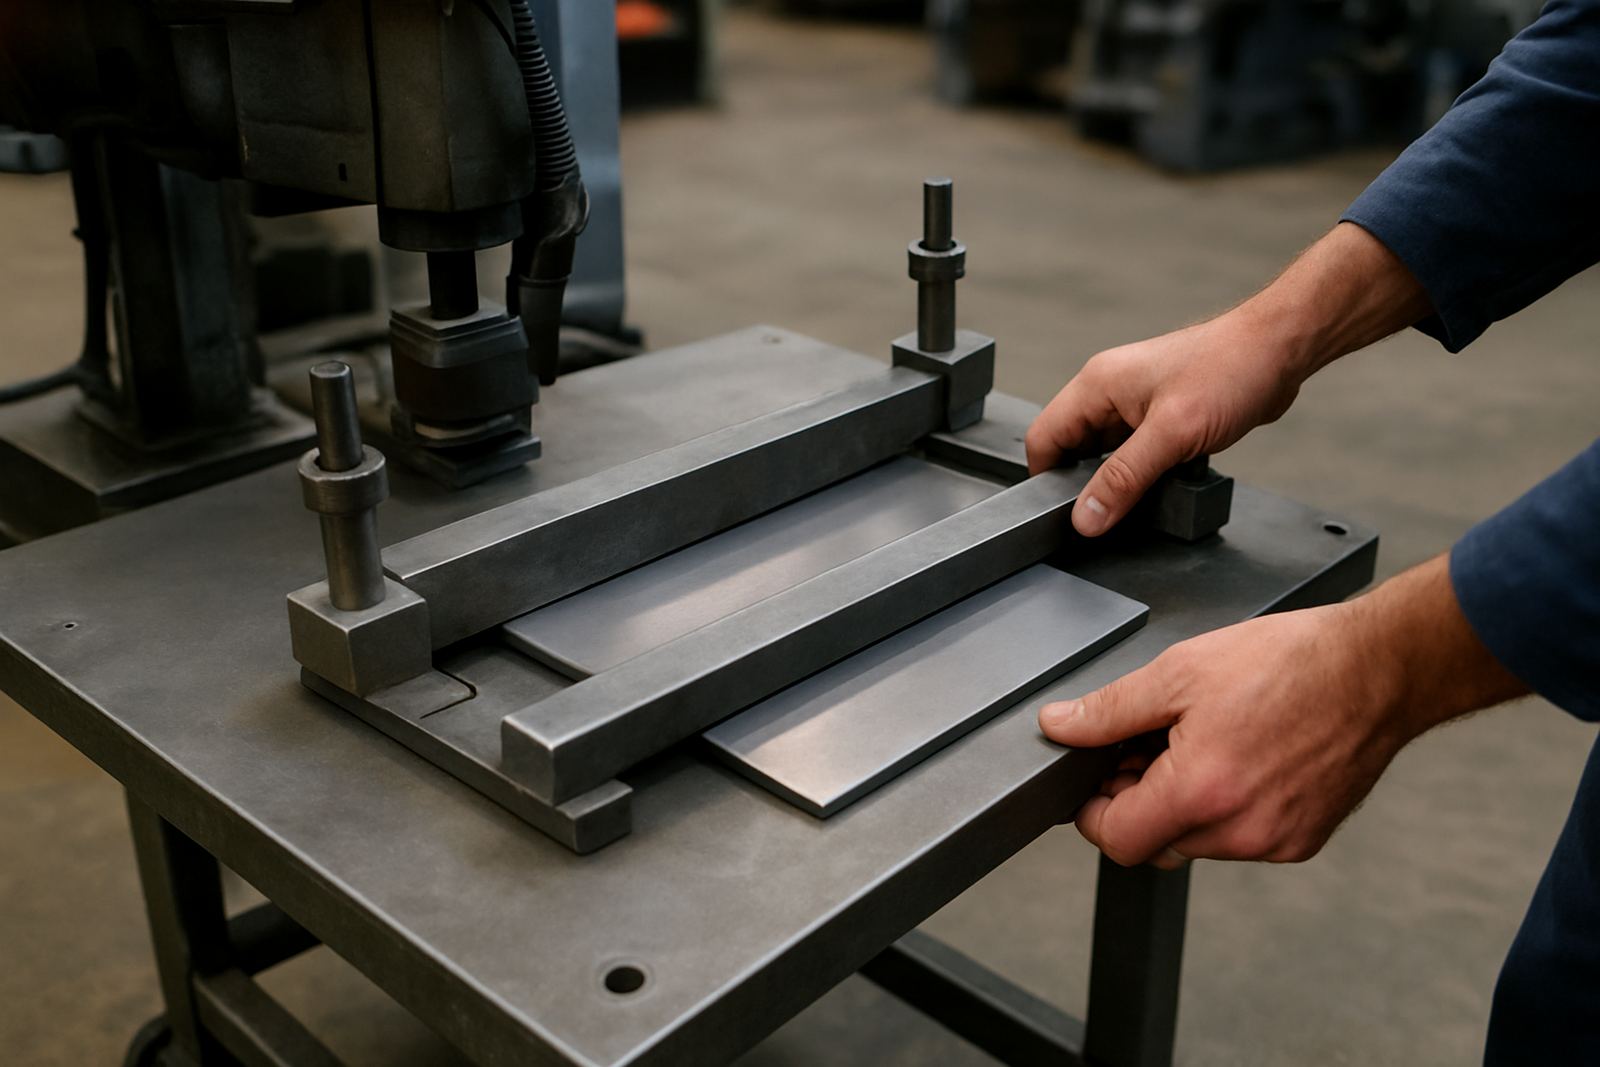
Before the first weld goes down, good fit-up already reduces the risk of warping. Parts that sit tight and square need less heat to bridge gaps, and less heat means less movement. When pieces are clamped properly on a flat table or a dedicated jig, the weld has less freedom to pull the part out of line.
Strong clamping does not mean squeezing everything in one place. It means supporting the part where it needs support, while still allowing access for the torch and keeping pressure even. On larger batch jobs, we often set holding points along the length of the part so the load is spread out. That matters on long strips, thin brackets and mould components where the centre can sag if the ends are the only points fixed down.
- Use a clean contact surface so the part sits naturally before welding starts
- Clamp close to the joint, but not so close that the torch cannot work cleanly
- Support thin areas from underneath to stop drop-through and local bending
- Check alignment from more than one angle before tacking
Heat control methods that keep the job in shape
Heat control is the real core of distortion control. The aim is to put in only the heat needed for fusion, then move on before too much builds up in one area. Short weld sections, controlled pauses and the right sequence often work better than trying to finish one long run in a single go.
On precision repair work, laser welding helps because the heat zone is very small and the surrounding metal stays cooler. That is useful on mould edges, thin stainless sections and aluminium parts where broad heating would mean extra straightening later. Still, technique matters. If the operator lingers too long or keeps returning to one point without a plan, movement can still happen.
Back stepping is another useful method. Instead of welding in the same direction as the full joint, the operator places short welds in a pattern that balances the pull. Intermittent welds can also help where a full continuous bead is not needed. On some jobs, allowing each section to cool before the next one is added is the best way to limit build-up. It takes more time, but it saves time on correction work.
Material choice changes how much movement you must expect
Not every metal responds the same way. Stainless can hold heat and show movement around long seams if the operator is not careful. Aluminium conducts heat quickly, so the weld area can spread warmth further than expected, even when the bead looks small. Carbon steel, depending on thickness, can move less or more than people expect, especially where the part has already been cut, drilled or ground before repair.
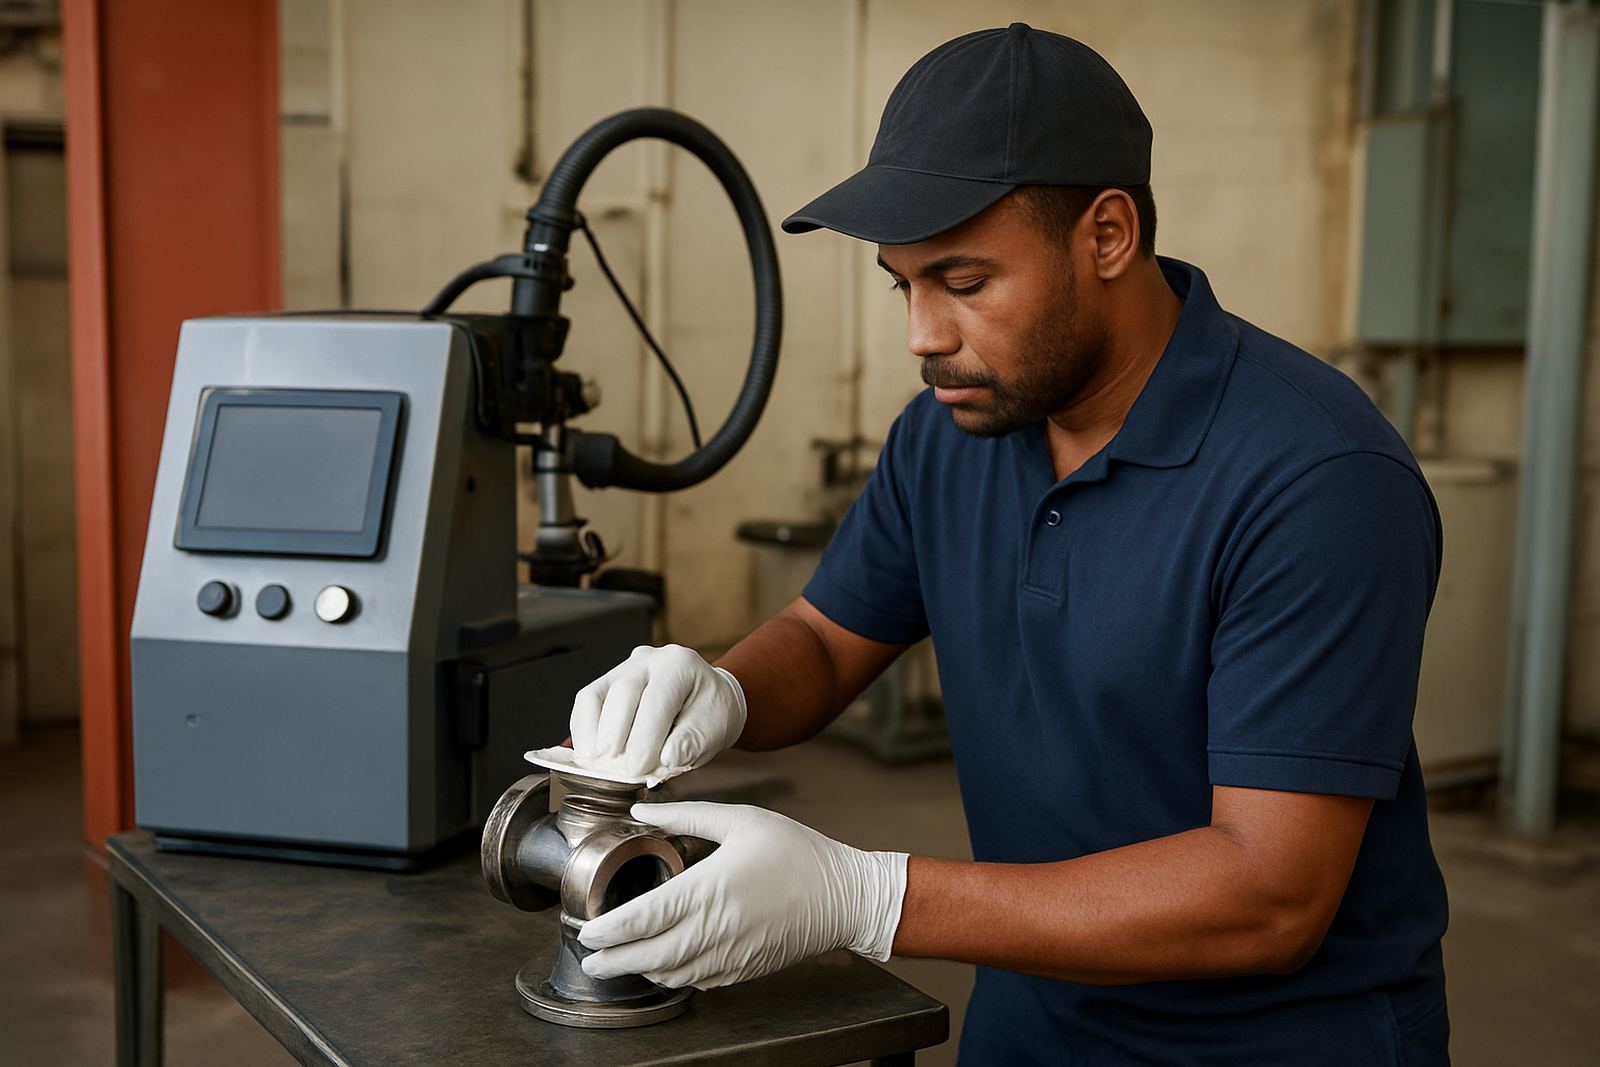
When material type is known before the job starts, the process can be planned better. That includes choosing filler where required, deciding whether the part needs pre-cleaning, and checking whether the job should be split into smaller stages. In coastal areas like Durban or the North Coast, surface moisture can also affect setup because condensation and contamination change how a part behaves during heating. In Gauteng, dry air is less of a problem than dirt, oxide layers and previous repair work that has left the edges uneven.
- Clean oxide, oil and paint from the joint before starting
- Match the welding method to the thickness and section size
- Avoid overheating areas that have already been repaired once before
- For aluminium, allow for faster heat spread across the component
Sequence planning can save a part from twisting
The order of welding is as important as the weld itself. If one side of a frame is fully welded first, the part will usually pull towards that side. A better plan is to balance the sequence so heat is distributed across the component in stages. On rectangular parts, that might mean working opposite corners first, then filling in shorter runs between them.
For batch jobs, a set sequence also makes repeat results easier. Once the order is set and tested on the first part, the rest of the batch can be handled the same way. That is especially helpful for manufacturers in Rosslyn, Jet Park and Midrand where parts often need to fit into a larger assembly without extra grinding or straightening.
There is also a simple rule many workshops still follow: if a part starts to show movement, stop and check it before continuing. Catching a slight bow early is much easier than trying to force the last pass onto a part that has already shifted. A small pause can save a lot of rework, and sometimes a whole component.
Checking tolerances before the part leaves the bench
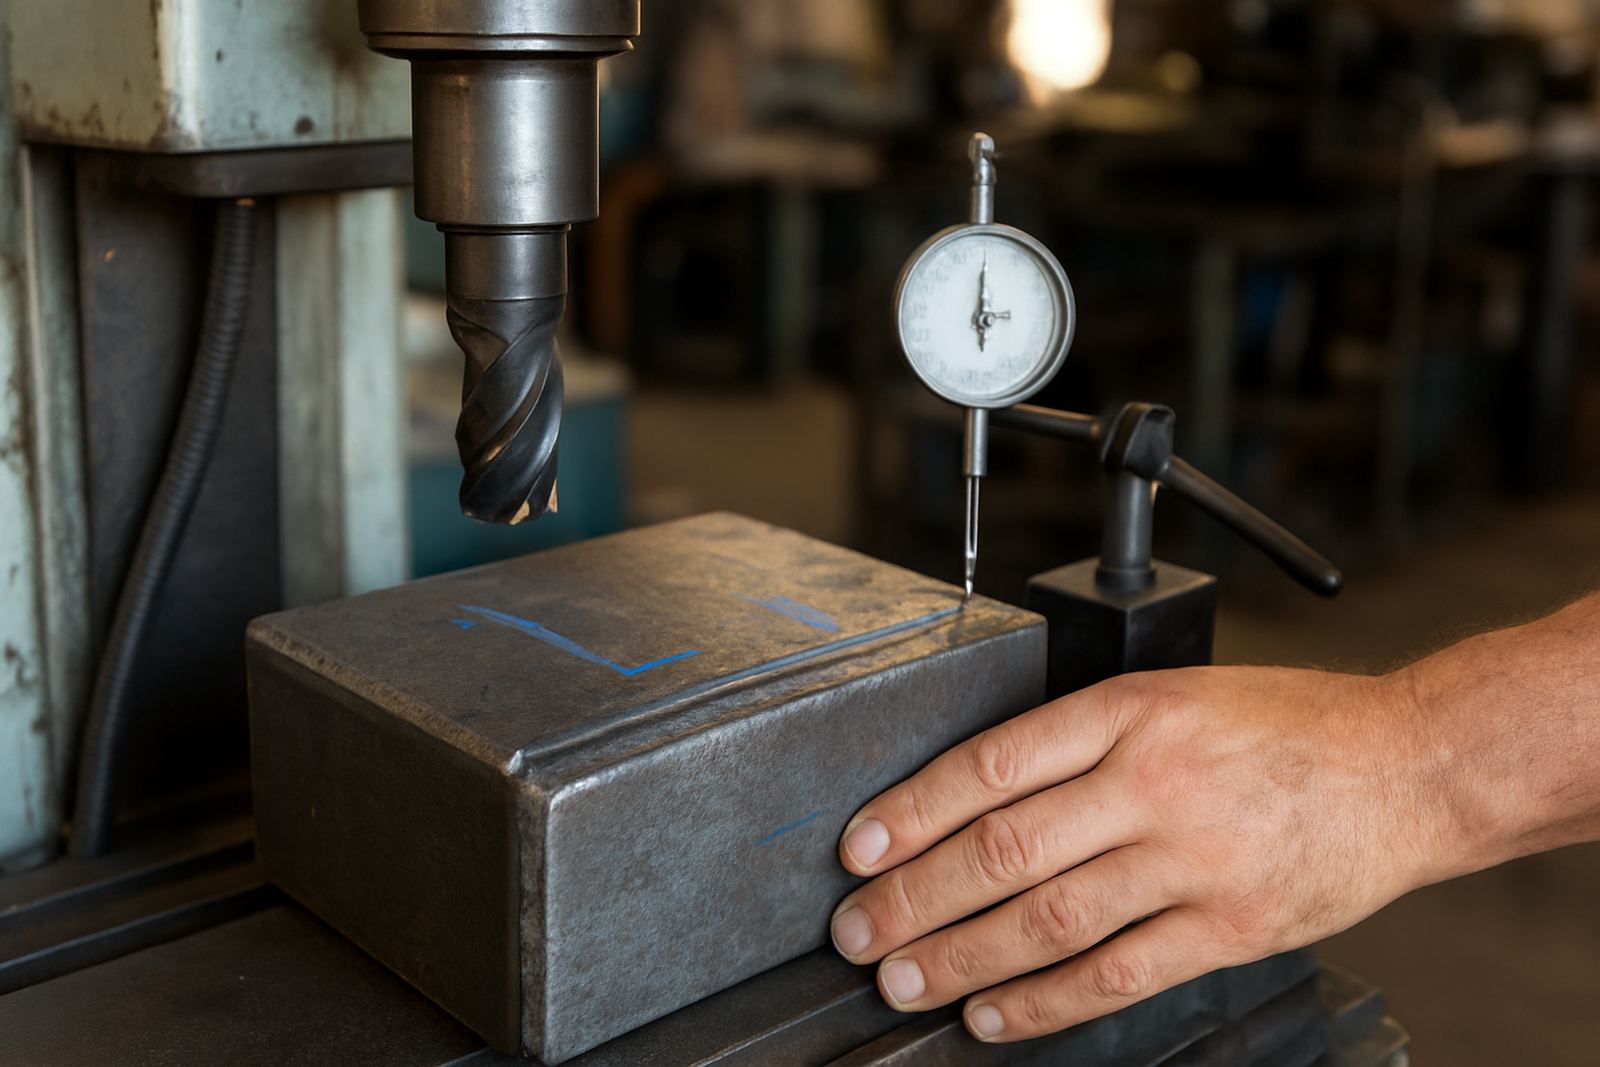
Distortion control does not end when the weld cools. The part still needs to be checked against size, flatness and fitment. Good measurement at this stage shows whether the job is ready or needs a small correction. Simple straight edges, verniers, squares and flat surface checks can pick up problems before the client gets the piece back.
For workshop repairs, the final check is usually just as important as the welding itself. A crack may be fixed, but if the hole spacing has shifted or a mating edge no longer sits flush, the repair is only half complete. That is why inspection should be built into the process from the start, not left for the end as an afterthought.
At Laser Welders Jobshop in Centurion, we see distortion control as part of quality work, not a separate step. Whether the job is a mould and die repair, a thin section weld or a small restoration piece sent in by courier, the aim is the same: keep the part true, keep the finish clean, and avoid making the next stage harder than it needs to be.