
Why a repaired part often still needs machining
Laser welding is ideal when the goal is to restore material with minimal heat input and keep distortion low. Even so, repair welding usually leaves a small excess of material at the rebuild area, especially on shafts, sealing faces, die corners, threads, locating surfaces and worn edges. That extra material is useful because it gives the machinist something to work with, but it also means the part is not yet ready for final use.
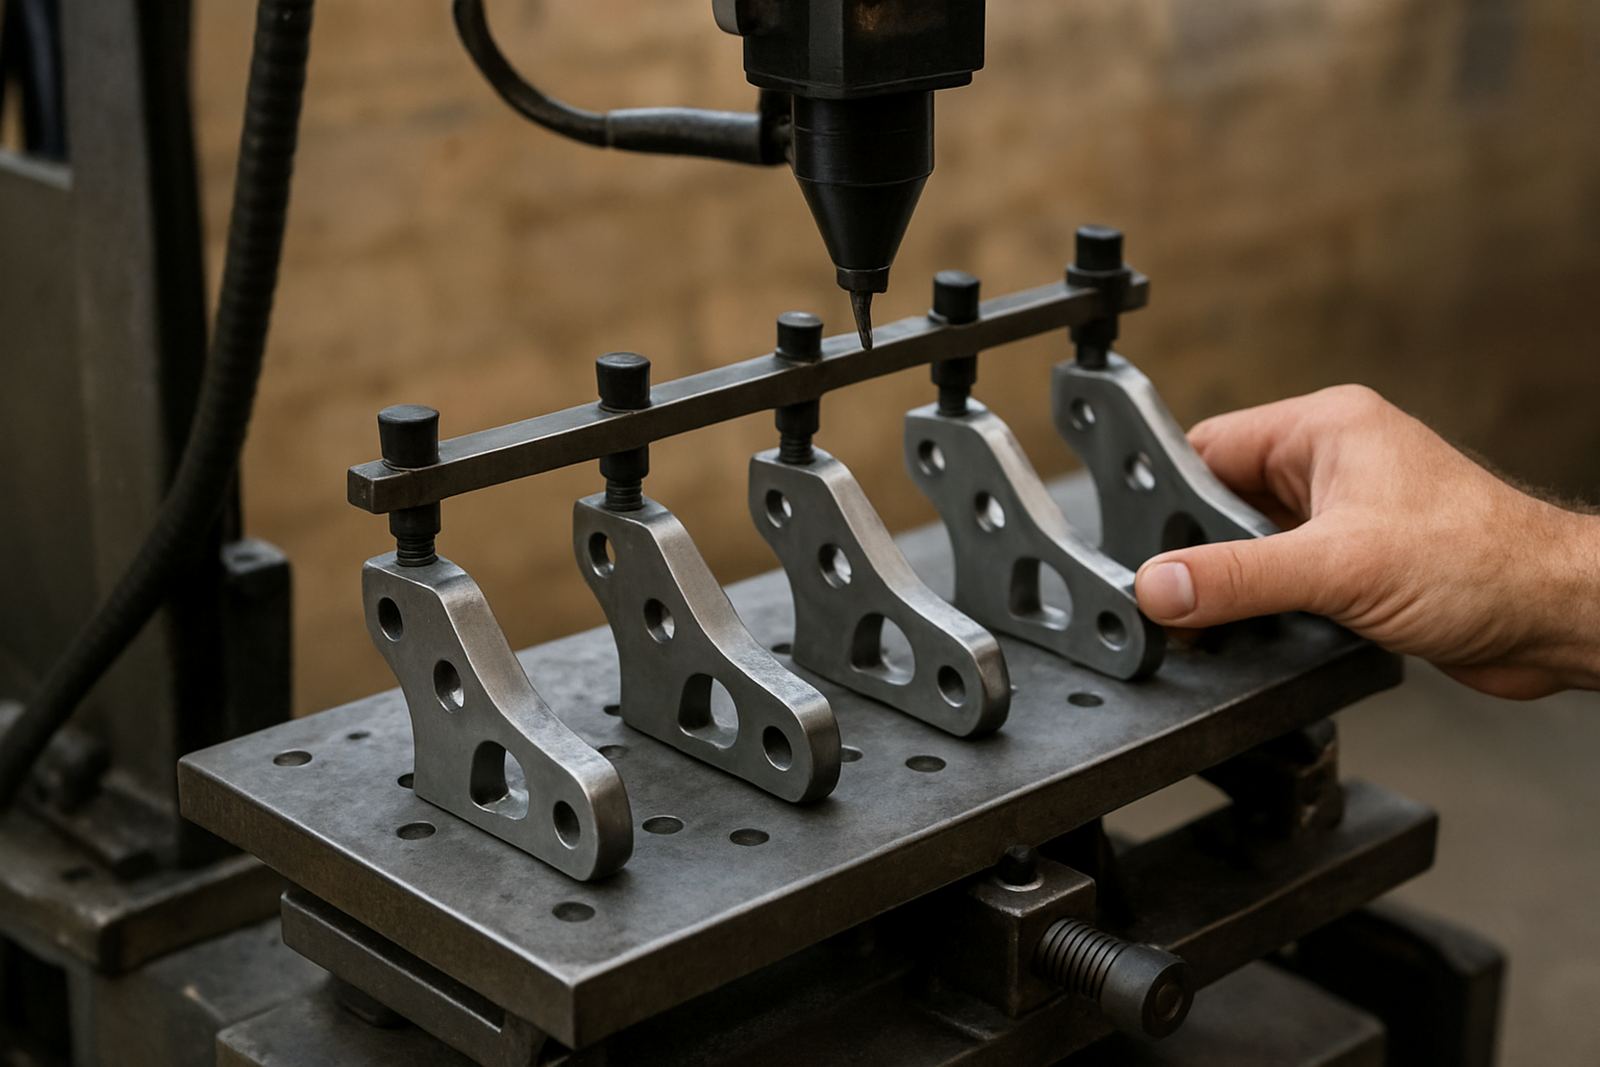
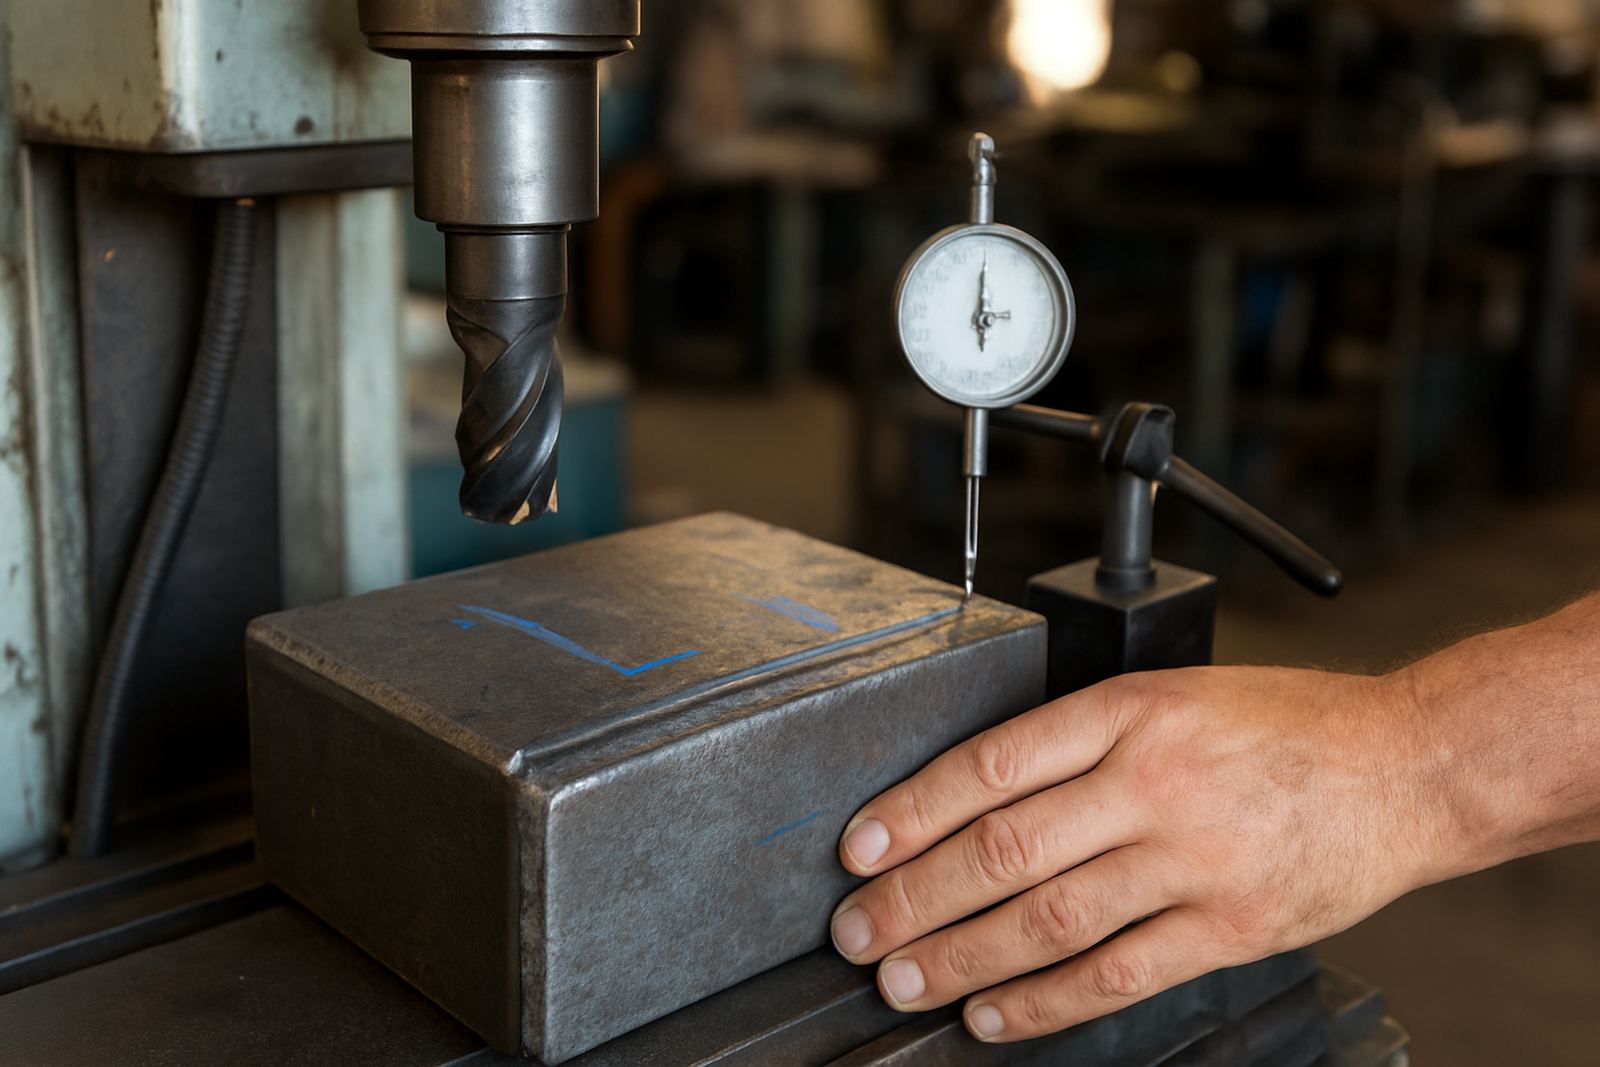
In practical terms, remachining after repair is about returning the part to its original geometry, or to a new usable size if the application allows it. A bearing seat may need to be turned back to size. A mould face may need a skim cut. A broken edge on a production tool may need to be ground, milled or lightly machined so the profile is correct again. Without that follow-up work, the repair can be strong but still unusable.
Jobs that should be measured before the torch starts
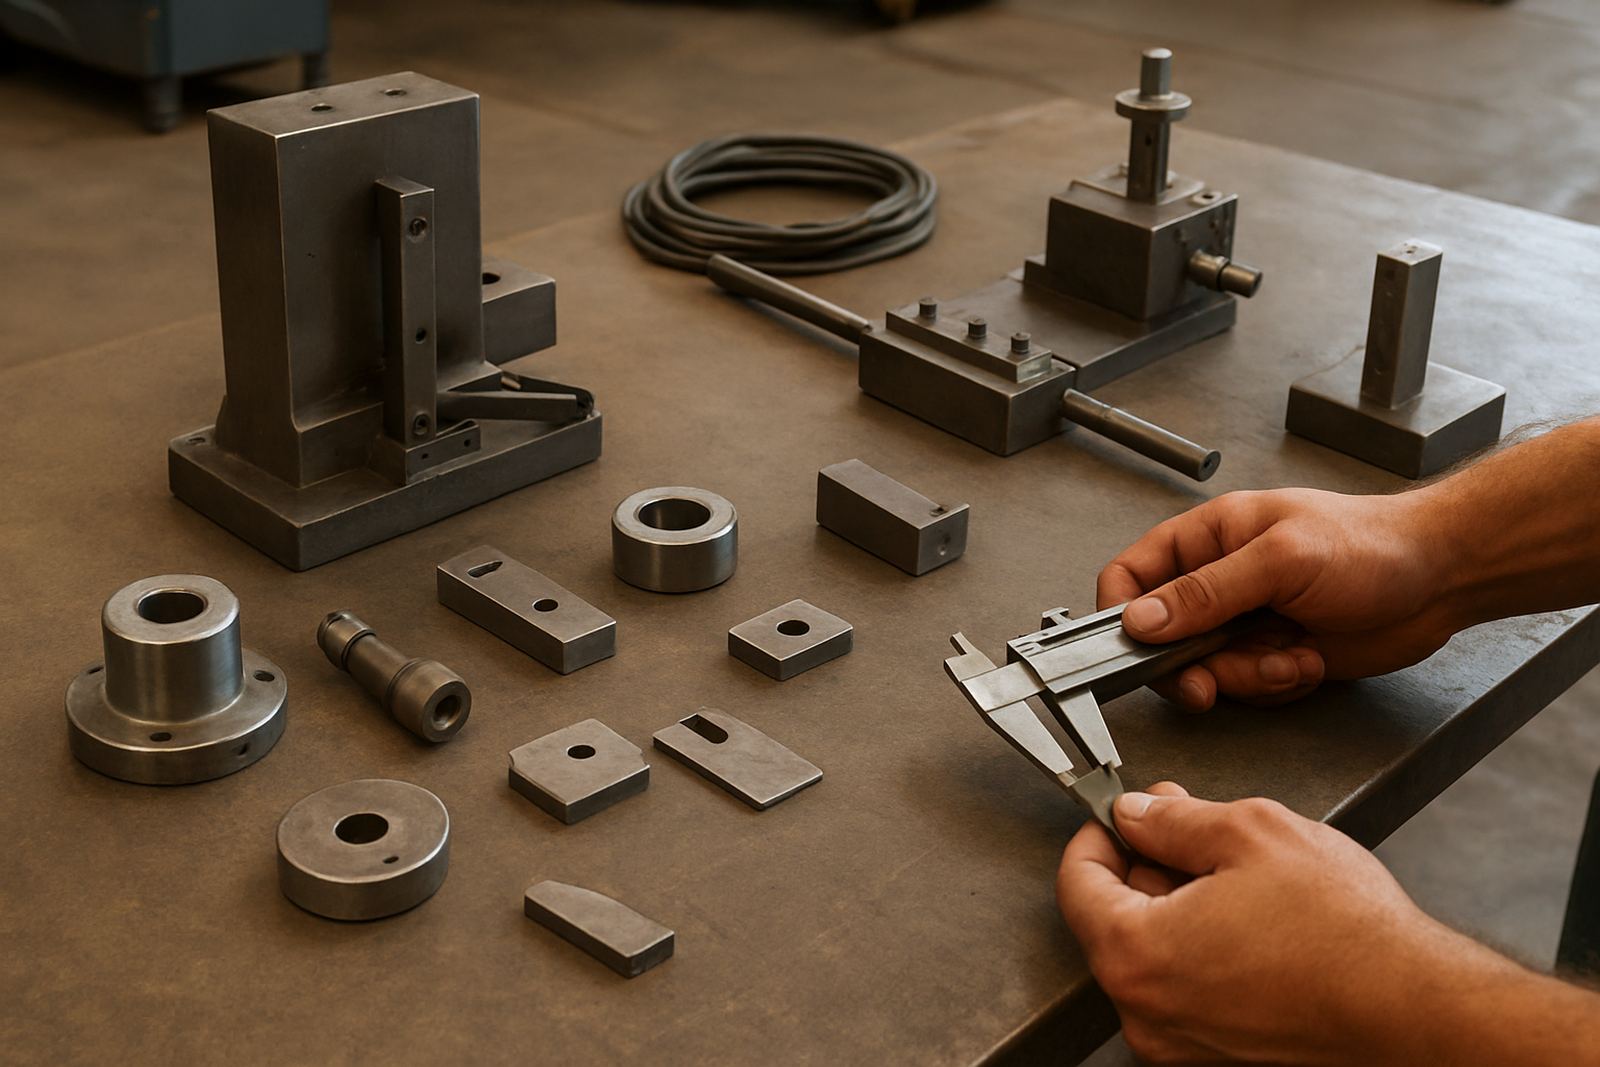
The best time to plan remachining is before the repair begins. That starts with measuring the damaged area properly, checking what surfaces must remain untouched, and confirming whether the final size is fixed or can move within a tolerance band. If the job is for a pump part, a machine shaft, a die insert or a precision spacer, the follow-up machining may matter as much as the weld itself.
- Measure the worn or broken area in more than one place, not just at the obvious damage.
- Identify critical fits such as bores, shoulders, seal lands, threads and locating faces.
- Confirm whether the part must return to the original drawing size or can be adjusted slightly.
- Check whether any heat-sensitive features nearby need protection during repair and machining.
- Ask how much extra material should be left for finishing, usually based on the machining method.
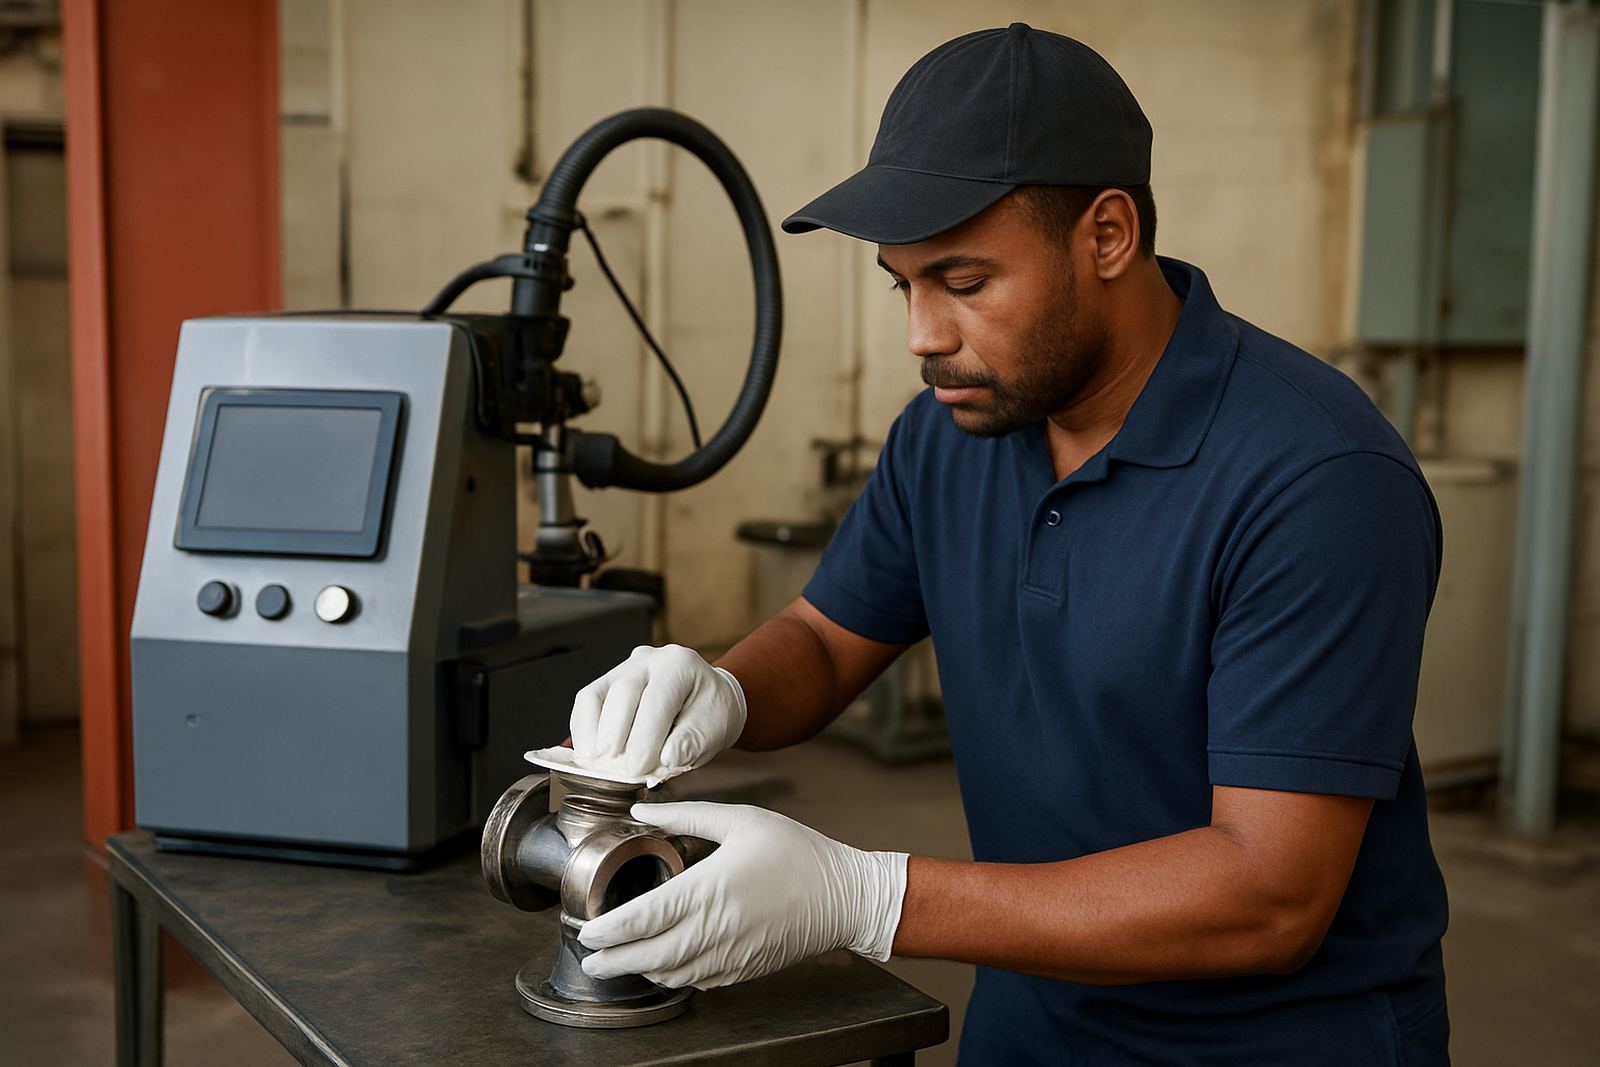
A good example is a Centurion workshop job where a stainless spindle had worn at a sealing section. The weld repair restored the body of the spindle, but the final seal surface still needed machining to a smooth, accurate finish. The welding fixed the damage, yet the last cut determined whether the part would run properly under load.
How to leave enough material without creating more work
One common mistake is to weld too little and then discover there is not enough material to machine back to size. The opposite problem is also common: too much build-up means extra machining time, more tool wear, and a higher risk of removing too much from a part that already has a limited service life. The aim is controlled allowance, not excess.
For small precision repairs, the allowance can be very slight. On larger items, the machinist may need a more generous margin to clean up distortions or re-establish roundness. The right answer depends on the part, the alloy, the section thickness and the finish needed at the end. On thin components, even a fraction of a millimetre can matter because the surface may move during clamping or cutting.
- Agree the final machining method first: turning, milling, grinding, boring or hand finishing.
- Set the repair size around the final job, not the other way around.
- Allow for heat movement and clamping pressure during machining.
- Keep a record of the repaired dimension and the target finished size.
Different materials need different finishing plans
Not every material behaves the same after repair. Stainless parts often need careful finishing to avoid surface damage and preserve corrosion resistance, especially on equipment used near the coast where humidity and salt in the air can punish poor workmanship. Aluminium can cut cleanly but may distort if the clamping setup is not right. Tool steels used in moulds and dies may require more attention to hardness, profile and edge condition after welding.
For a repaired mould corner, the machinist may need to match a sharp internal radius exactly so the mould still releases correctly. For a worn aluminium housing, the finish cut may need to respect wall thickness so the part does not become weak. On batch work, the challenge is consistency, because one repaired item that is slightly different from the rest can cause a production delay.
In Pretoria and Midrand, many repair jobs come from plants that cannot afford long stoppages. If a line is down and a part is being couriered between site and workshop, clear notes on the required finish save time. The more the workshop knows about the end use, the better the repair can be planned around the machining that follows.
Tolerances, fit-up and the checks that stop returns
Remachining after repair should end with a proper inspection, not just a visual check. The repaired area has to be measured against the actual fitting requirement. That may mean diameter, flatness, concentricity, thickness, squareness or surface condition. If the part is going back into a machine, the fit-up should be checked in the same way the client will use it, or as close to that as possible.
This is where small errors show up. A face can look level but still be out by a fraction. A shaft can be smooth but slightly oversized. A threaded repair can be strong but not true enough to assemble without damage. Good finishing work prevents the part from coming back with the same complaint a week later.
- Check the repaired area after machining and again after a test fit if possible.
- Use the original mating component or an accurate sample where available.
- Confirm surface finish on seals, sliding sections and bearing fits.
- Record final sizes for repeat jobs, especially on batches and recurring breakdown items.
A practical way to plan the job from the start
The easiest repairs are the ones planned as a complete sequence: inspect, repair, machine, measure, fit and release. When those steps are separated too late, the result is usually delay. A workshop in Centurion handling job-shop work for Pretoria East, Rosslyn or even further afield can avoid wasted trips by asking upfront whether the part will need finishing after the weld. That simple question often decides the whole turnaround time.
For clients, the key is to send clear information with the part: what failed, where it fits, what the acceptable finished size is, and whether the part must be back in service by a fixed date. For workshop teams, the key is to leave enough material, keep the repair straight and communicate what finishing is still needed. On urgent jobs, that can make the difference between a usable repair and a part that has to be redone.
Remachining after repair is not an extra step at the end. It is part of the repair itself. When it is planned properly, the finished component leaves the workshop ready to work, not just ready to be admired.