Why Inspection Starts Before The Weld Is Finished
Inspection is not something we leave for the end only. On precision work, the first check begins as soon as the part comes in, because an edge crack, worn face or distorted section can change the whole repair plan. In our Centurion workshop we see everything from small stainless fittings to mould inserts and thin wall components, and each one needs a different approach. If a part has been handled by courier from Durban, Gqeberha or Polokwane, we first check for transport damage, oil, rust and any previous repair marks.
The aim is simple: make sure the welding process suits the part, the material and the tolerance required. A quick look is never enough on its own. A bracket may look sound, yet still be out of square by a fraction that causes trouble later in fitting or assembly. That is why inspection begins with the job card, the sample part, and the client’s own notes where available.
Visual Checks That Catch The Obvious And The Hidden
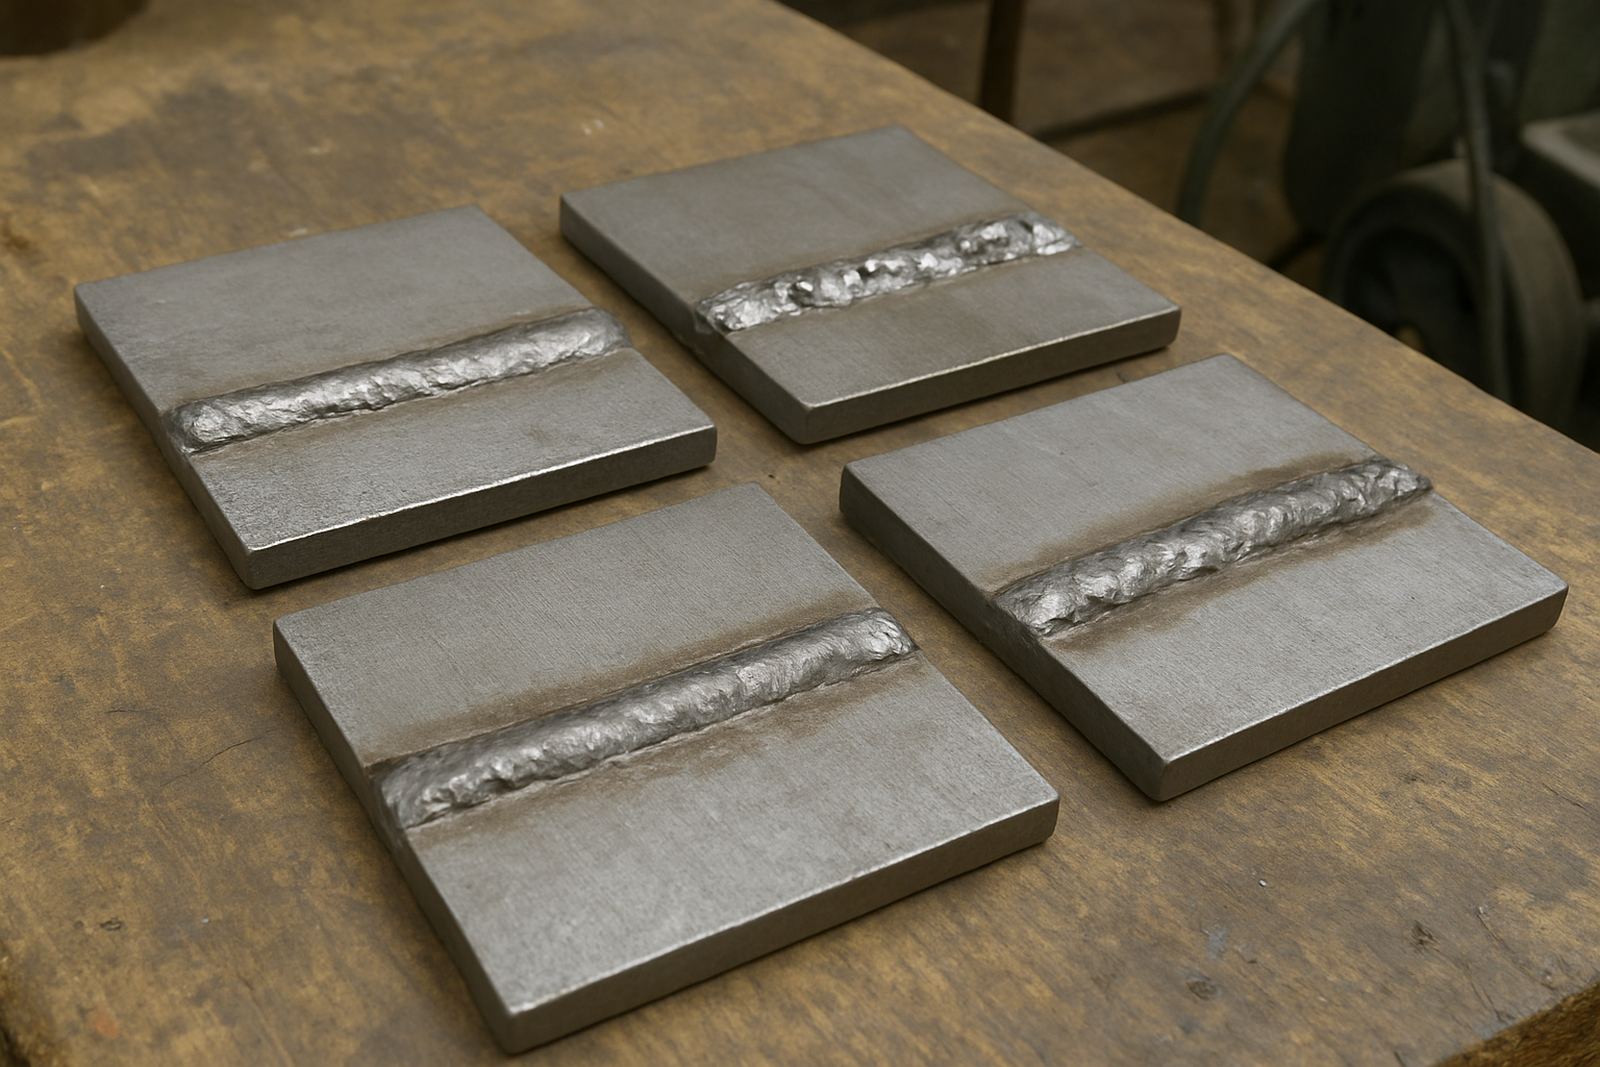
Visual inspection sounds basic, but it is one of the most useful steps in the workshop. We look for hairline cracks, porosity, heat staining, surface contamination, undercut and any sign that the parent material has been stressed. On aluminium repairs this matters even more, because oxidation and previous filler material can hide poor prep work. On stainless parts, a clean finish can still conceal a repair that is too shallow or not properly blended.
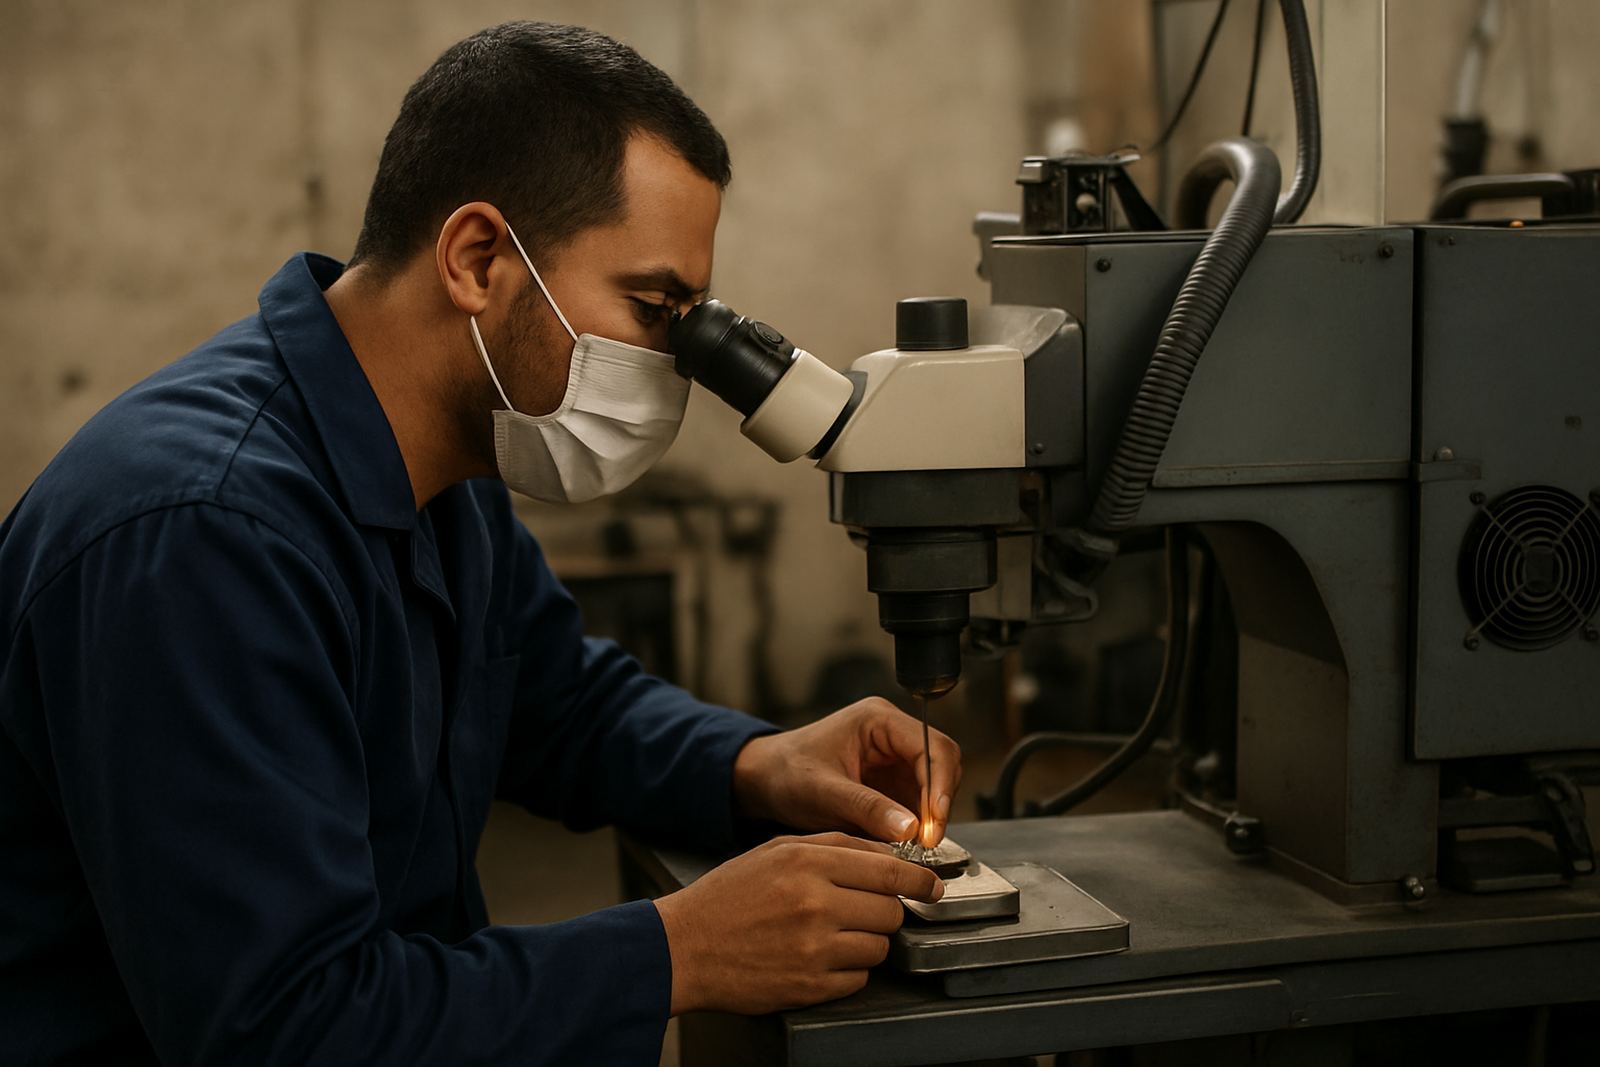
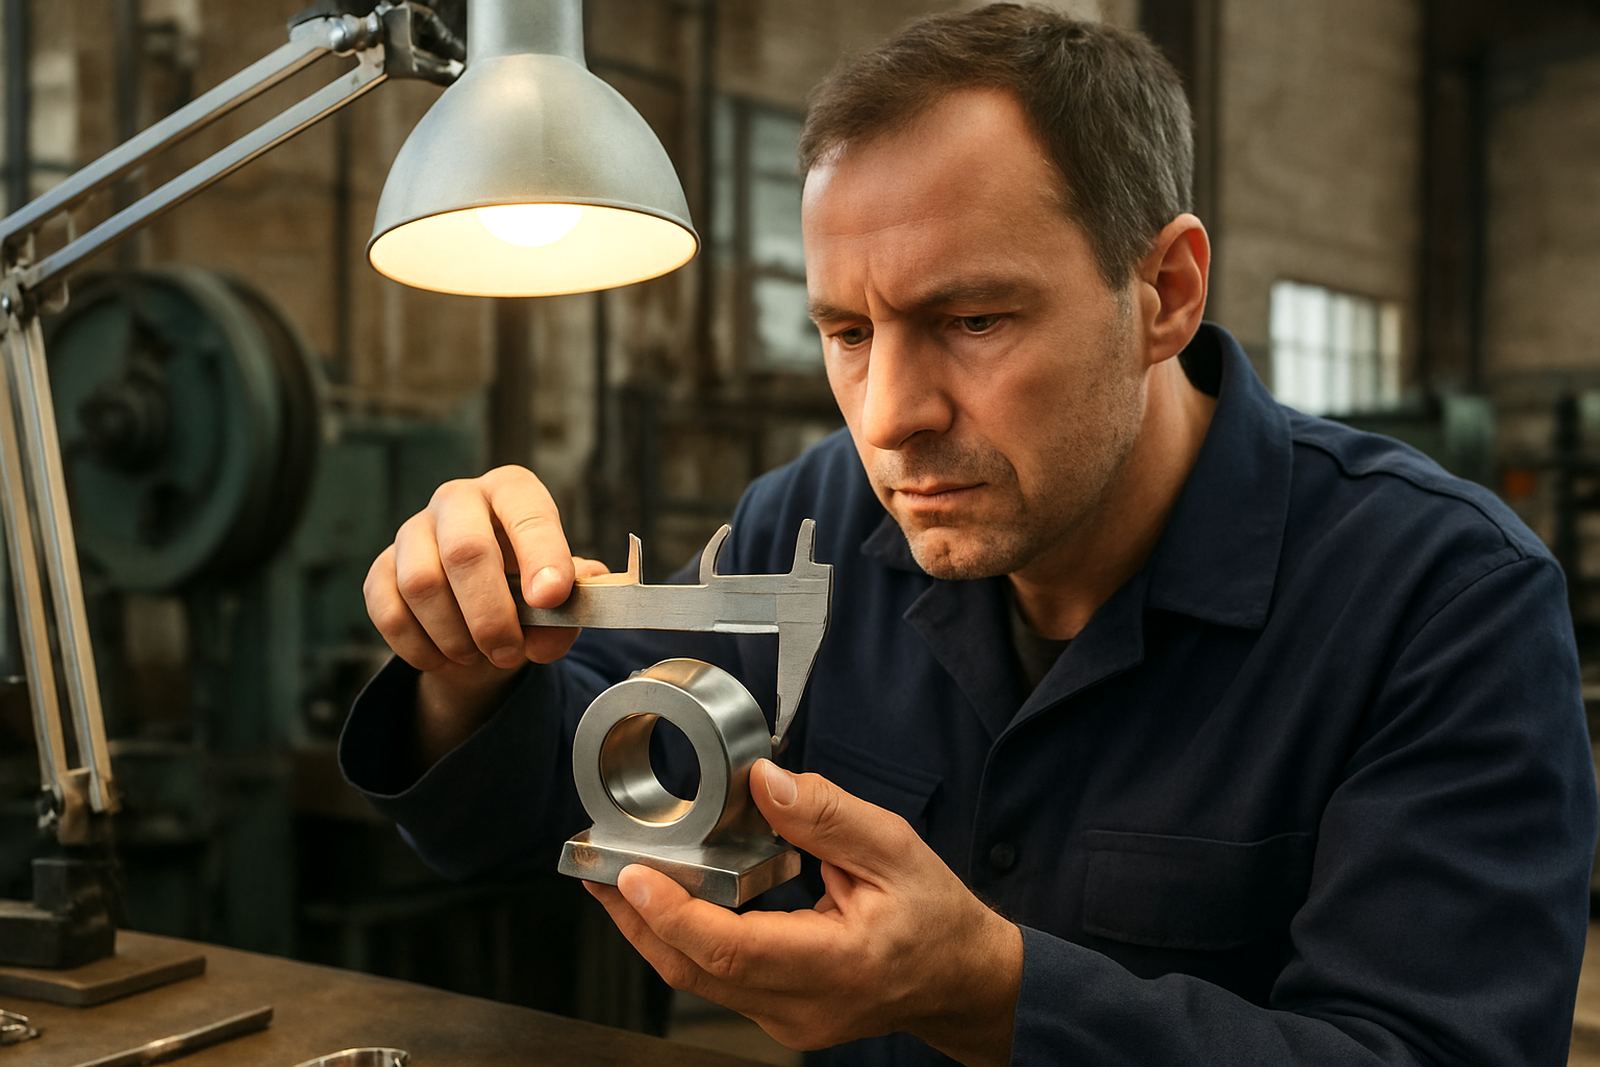
We also check the repair area under good lighting and magnification where needed. Small parts for toolrooms, packaging machinery and production lines often need that extra close look because the defect can be smaller than a fingernail but still affect the final fit. If there is movement in the part, we test that too. A cracked hinge pin or worn lug may need crack repair first, then edge build up or part restoration.
- Look for visible cracks, dents and wear lines
- Check surface contamination such as oil, scale and rust
- Confirm the repair zone is fully filled and blended
- Test for distortion, looseness or heat damage
Dimensional Checks Keep The Part Within Tolerance
Once the weld is complete and the part has cooled, we move to dimensional checks. This is where we compare the repaired section against the drawing, sample, or the dimensions supplied by the client. Depending on the job, we may use callipers, micrometres, gauges, straight edges and reference blocks. The choice depends on whether we are dealing with a mould and die surface, a thin section component, or a restored fitting that must line up with other equipment.
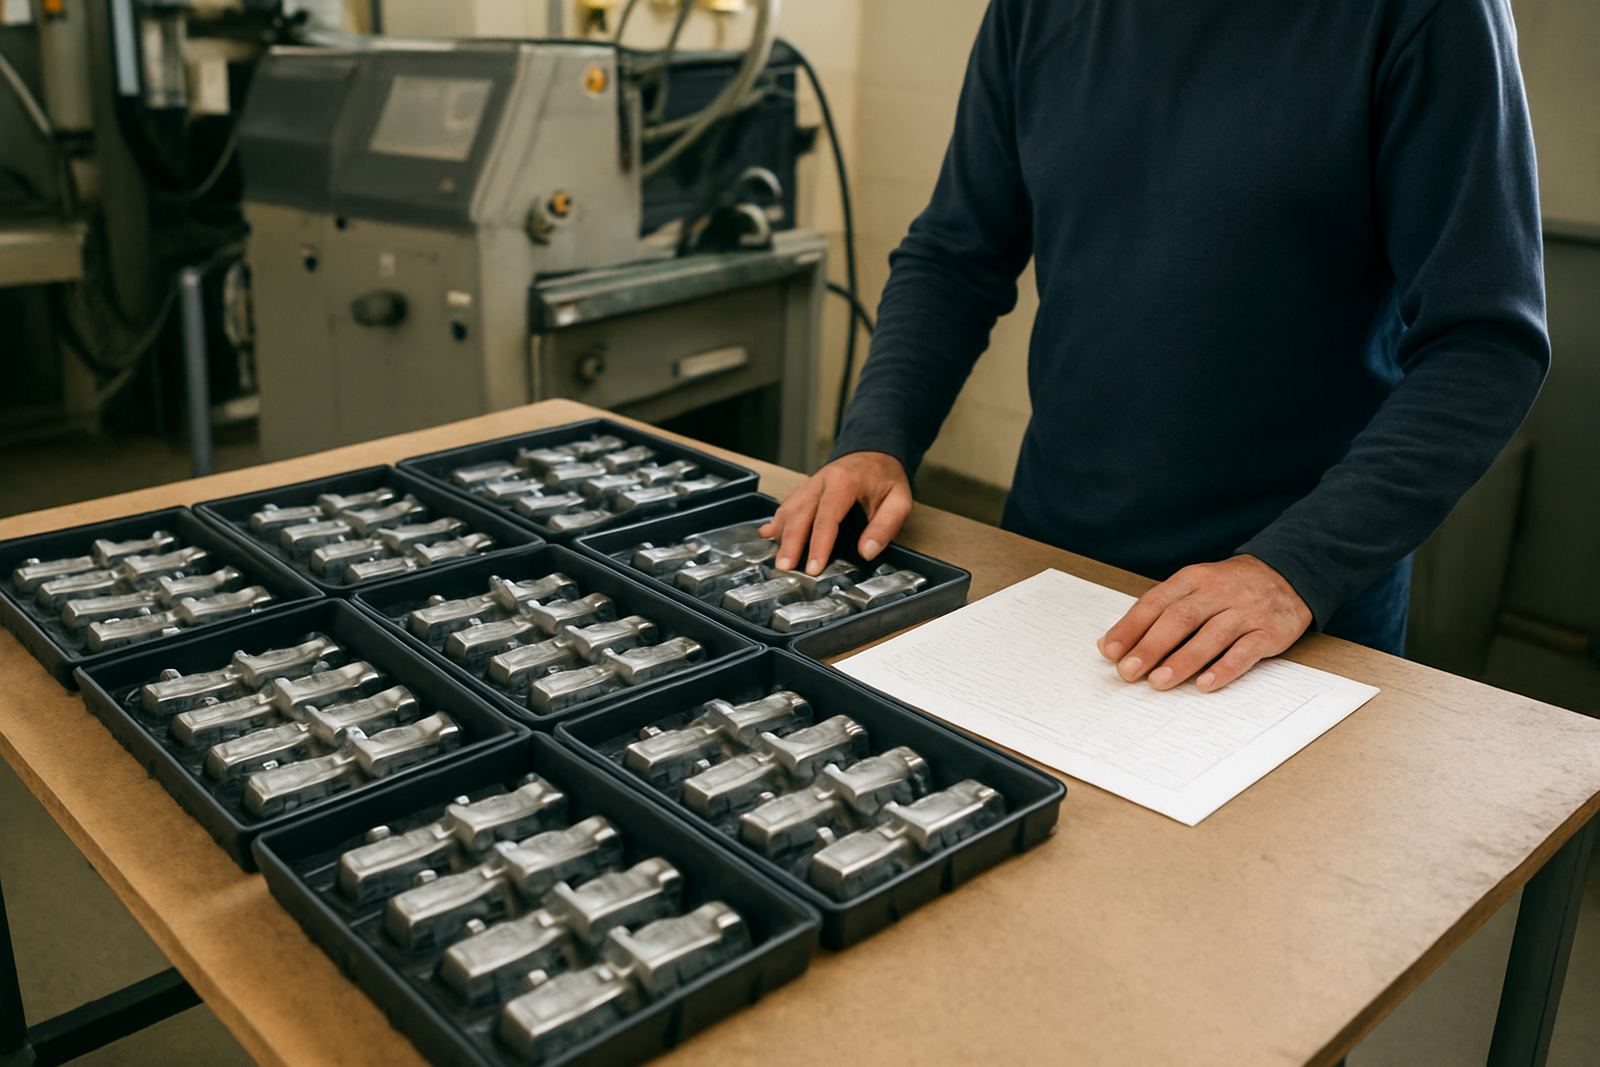
For batch jobshop welding, the same measurements are repeated on each piece so the output stays consistent. If one part in a batch is drifting, we pick it up early and adjust the setup before more pieces are finished. That saves time and avoids rework. In Pretoria East, for example, a machine shop might send ten worn guide pieces for repair. If one comes back 0,3 mm off, it can stop installation. Careful measurement avoids that kind of problem.
- Confirm length, width and thickness after welding
- Check hole positions, edges and mating faces
- Measure against the original part or supplied drawing
- Record any deviation before final sign-off
Material Behaviour Matters During Inspection
Different metals behave differently after welding, and inspection needs to respect that. Stainless steel may show colour change around the repair zone, while aluminium can move more with heat and needs careful checking for warping. Thin section work is especially sensitive because the part may look neat yet still be pulled slightly out of shape. In some jobs, the weld itself is only part of the answer. The real issue is whether the material around it has stayed stable enough for service.
We also pay attention to how the part was used before the repair. A component from a humid area near the coast may have hidden corrosion under the surface. A part from a factory that runs through load-shedding may have wear from repeated start-stop cycles. These details matter because they affect whether the repaired section will hold up in daily use. Good inspection does not just ask, “Does it look fine?” It asks, “Will it still fit and work next week, and next month?”
Final Release Means A Real Sign-Off, Not A Guess
Before any part leaves the workshop, it goes through a final release step. This is where the visual and dimensional findings are checked together, then compared with the job requirements. If the part is for a critical machine, mould, or production tool, the release is stricter. We confirm that the surface finish is acceptable, the size is right, and the repair area is ready for service without extra dressing by the client unless agreed upfront.
At this point the part is cleaned, labelled and prepared for collection or courier dispatch. For clients using our Midrand collections or Jet Park service, this helps keep turnaround clear and organised. A release note or job record can also help when a maintenance team needs to match the repaired part with the rest of the assembly. It is a small step, but it prevents confusion on site.
- Verify the repaired area against the job request
- Confirm finish, fit and function before release
- Clean and identify the part for collection or courier
- File the job details for repeat work and traceability
A Pretoria Example: When Inspection Saves A Delay
One local example is a small production site in Centurion that brought in a worn stainless part from a filling line. The piece looked serviceable at first glance, but the visual check showed a thin crack near the mounting point. After welding, the dimensional check revealed that the mating face had lifted slightly under heat. It was only a small shift, but enough to stop the part from seating correctly. We corrected it before release, and the client avoided a shutdown the next morning.
That is the point of proper inspection. It is not about finding fault for the sake of it, it is about protecting the next stage of work. In job-shop work, the part must go back into service with confidence. Whether it is one piece or a full batch, careful checking saves time, money and a lot of frustration later.
What Clients Should Send With A Part For Faster Inspection
The more information we have at the start, the better the inspection can be. A clear description of the problem, a sample if available, and any measurements that matter to the fit all help us assess the job properly. If the part has a known wear point, say so. If it must match another component on site, give us the reference size. That is especially useful for prototype joining and restoration work where the original drawing may no longer be on hand.
When you send a part from Rosslyn, Pretoria East, or further afield by courier, pack it so the damaged area is protected. Loose parts in a box can rub against each other and confuse the inspection, or add new marks before we even begin. A simple wrap and label goes a long way. It makes the whole process quicker and more accurate, and that helps us return the part ready for the next step.