
Why Thin Section Repairs Fail So Quickly
Light-gauge parts do not forgive poor prep or too much heat. Once the parent metal is thin, even a small pause in the wrong spot can cause burn-through, edge collapse or distortion that throws the whole part out of tolerance. On brackets, covers, shrouds and precision components, the problem is often not the crack itself but the heat affected area around it.
In a job-shop setting, thin section work needs close control from the first inspection. The team has to check thickness, fit-up, contamination and whether the part has already been repaired before. Stainless, aluminium and mild steel all behave differently, and if a part has seen vibration, corrosion or repeated load, the damage may extend further than it first appears. That is why a quick patch job often becomes a bigger repair later on.
Set-Up Matters More Than People Think
Good thin section repair starts before the torch is switched on. Clean metal gives better control, so paint, oil, oxide and dirt must be removed properly. For aluminium, oxide removal is especially important. For stainless, contamination from carbon steel tools can cause trouble later, especially in humid areas like Pretoria East and Johannesburg where surface oxidation can show up quickly if the part is stored poorly.
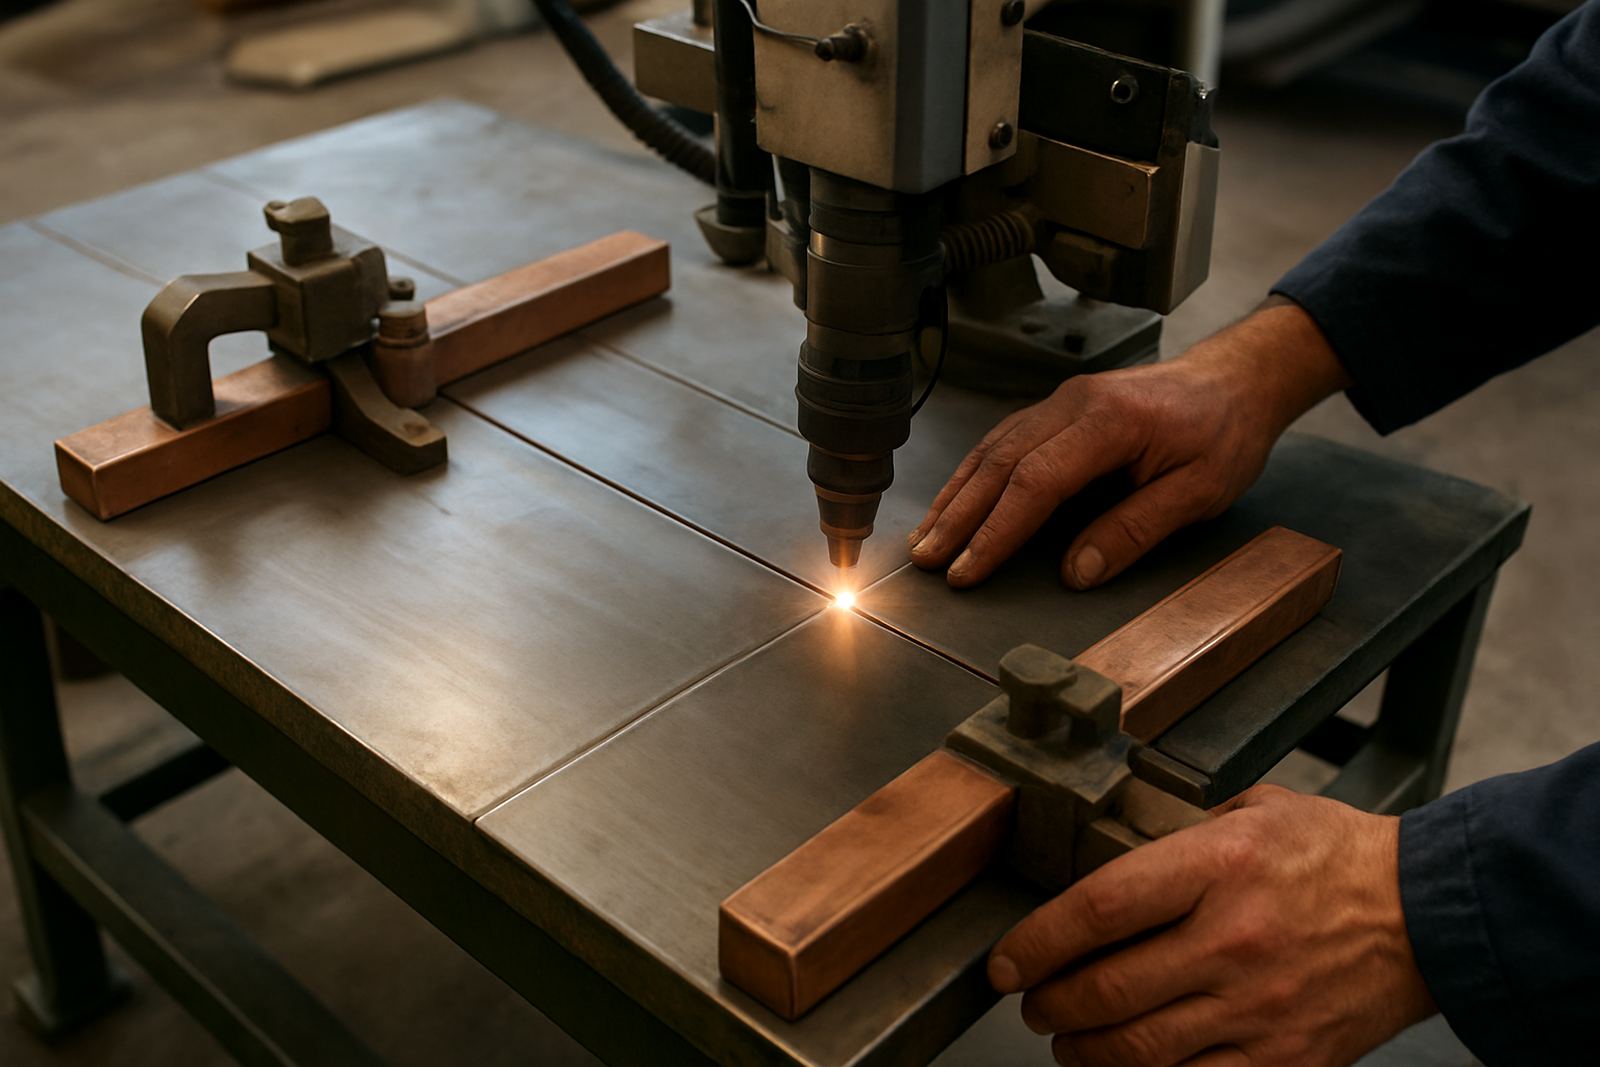
Clamping is just as important as heat control. A part that is not supported properly will move as soon as the weld pool forms. That movement creates distortion and sometimes a crooked repair that will not fit back into the machine or assembly. On small parts, a simple copper backing, heat sink or well-positioned clamp can make the difference between a clean repair and a reject. It is the boring prep that saves the job.
- Degrease and clean the repair area on both sides if possible.
- Use backing or heat sinks to pull heat away from thin edges.
- Clamp in a way that holds the part in its working shape, not just on the bench.
How To Avoid Burn-Through On Light Gauge Material
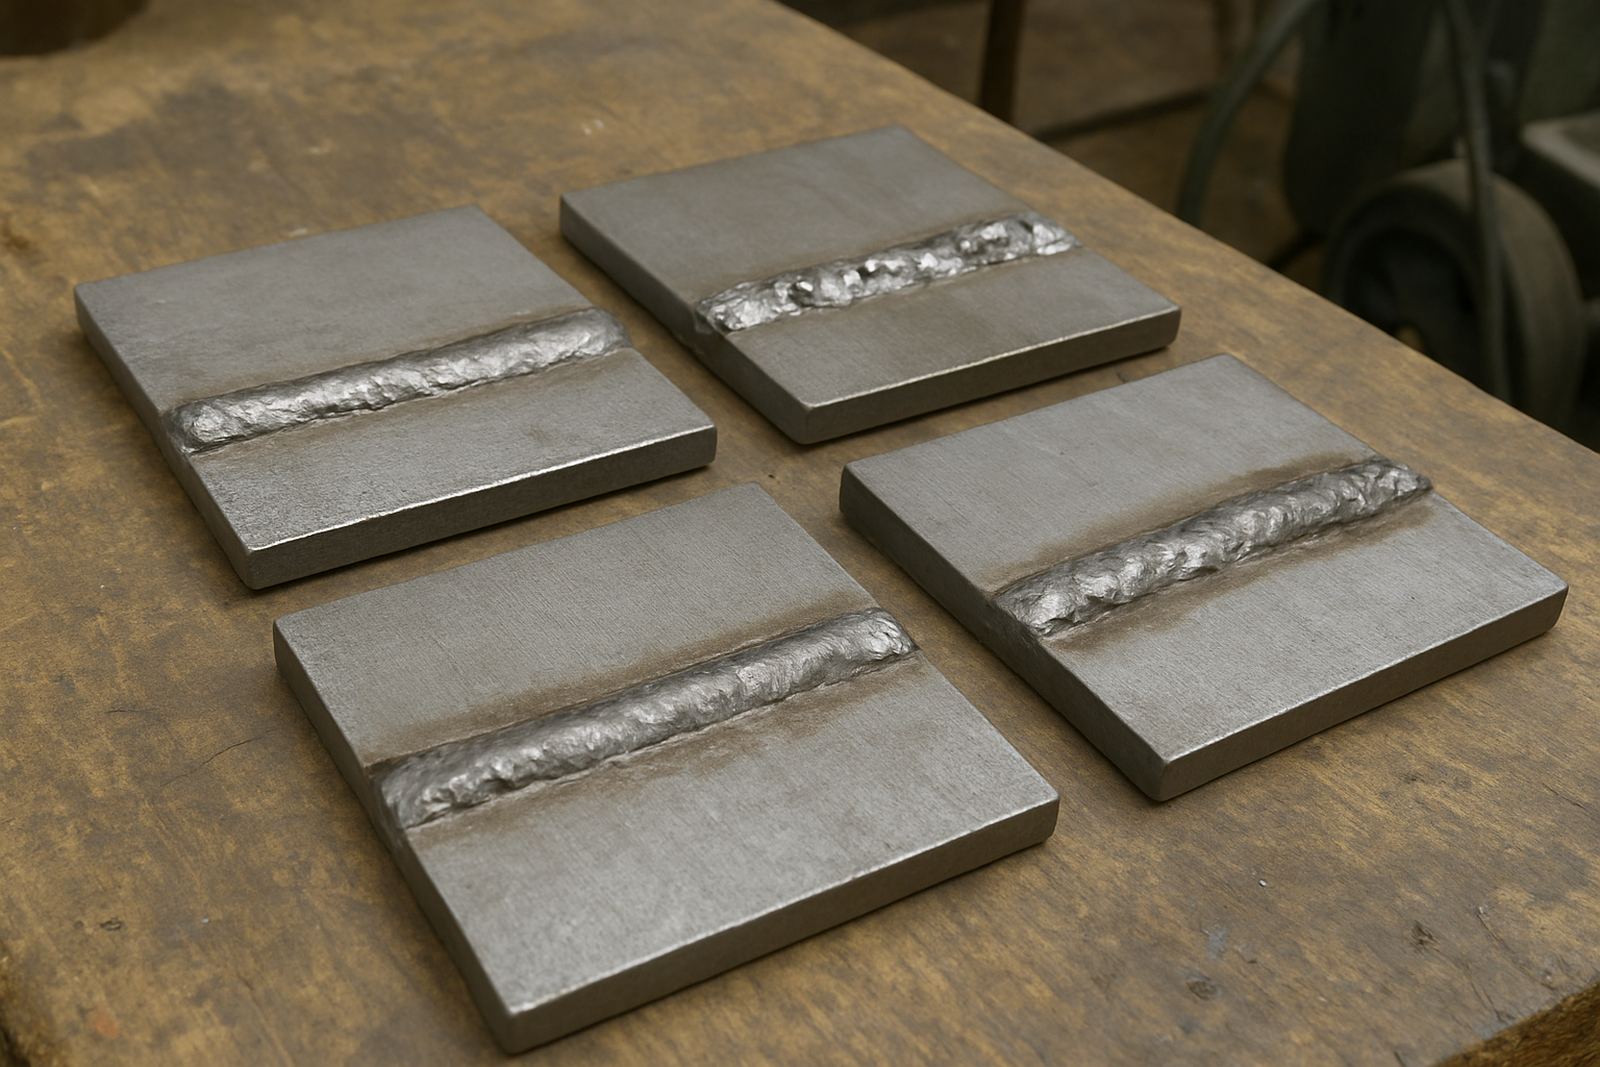
Burn-through happens when the heat input is higher than the metal can carry. Thin sections need short, controlled welds with enough pause between each point for the material to cool. A skilled operator will often stitch the repair rather than run a long bead, building the area back up in steps. That approach takes more time but it keeps the material intact.
In a Centurion workshop, the biggest mistake is often rushing a small part because it looks simple. A 0.8 mm cover or a thin stainless flange can be more demanding than a thick bracket because the margin for error is tiny. Laser welding is useful here because the heat can be placed exactly where it is needed, with less spread into the surrounding metal. But the process still needs a steady hand and proper settings or the part can still warp, no matter how modern the equipment looks. If the fit-up is poor, even a good repair will struggle.
- Use short weld lengths instead of one continuous pass.
- Allow cooling time between sections to control the heat build-up.
- Keep the joint gap tight so the weld does not drop through.
Controlling Distortion On Repairs That Must Still Fit
Many thin section repairs fail not because the weld is weak but because the part no longer fits. On assemblies that must line up with a mating panel, bracket or guide, distortion can be a bigger issue than strength. To control this, the repair sequence should be planned around the part’s shape, not just the crack line. Tack, check, repair, check again. That basic discipline saves a lot of rework.
For long edges or narrow lips, heat should be balanced from one side to the other where possible. If one area is built up too quickly, the part can pull toward the weld and stay there. In batch work, especially when several similar parts come through from Rosslyn, Jet Park or Midrand, keeping one proven method for each thickness range helps the workshop stay consistent. It is also worth remembering that load-shedding can interrupt cooling cycles and handling schedules, so parts should be protected from sudden temperature changes and moved carefully between steps.
- Repair in stages and confirm fit during the process.
- Balance heat across the section instead of working one side only.
- Use fixtures, stops or template checks on parts with tight dimensions.
Material-Specific Points For Stainless And Aluminium
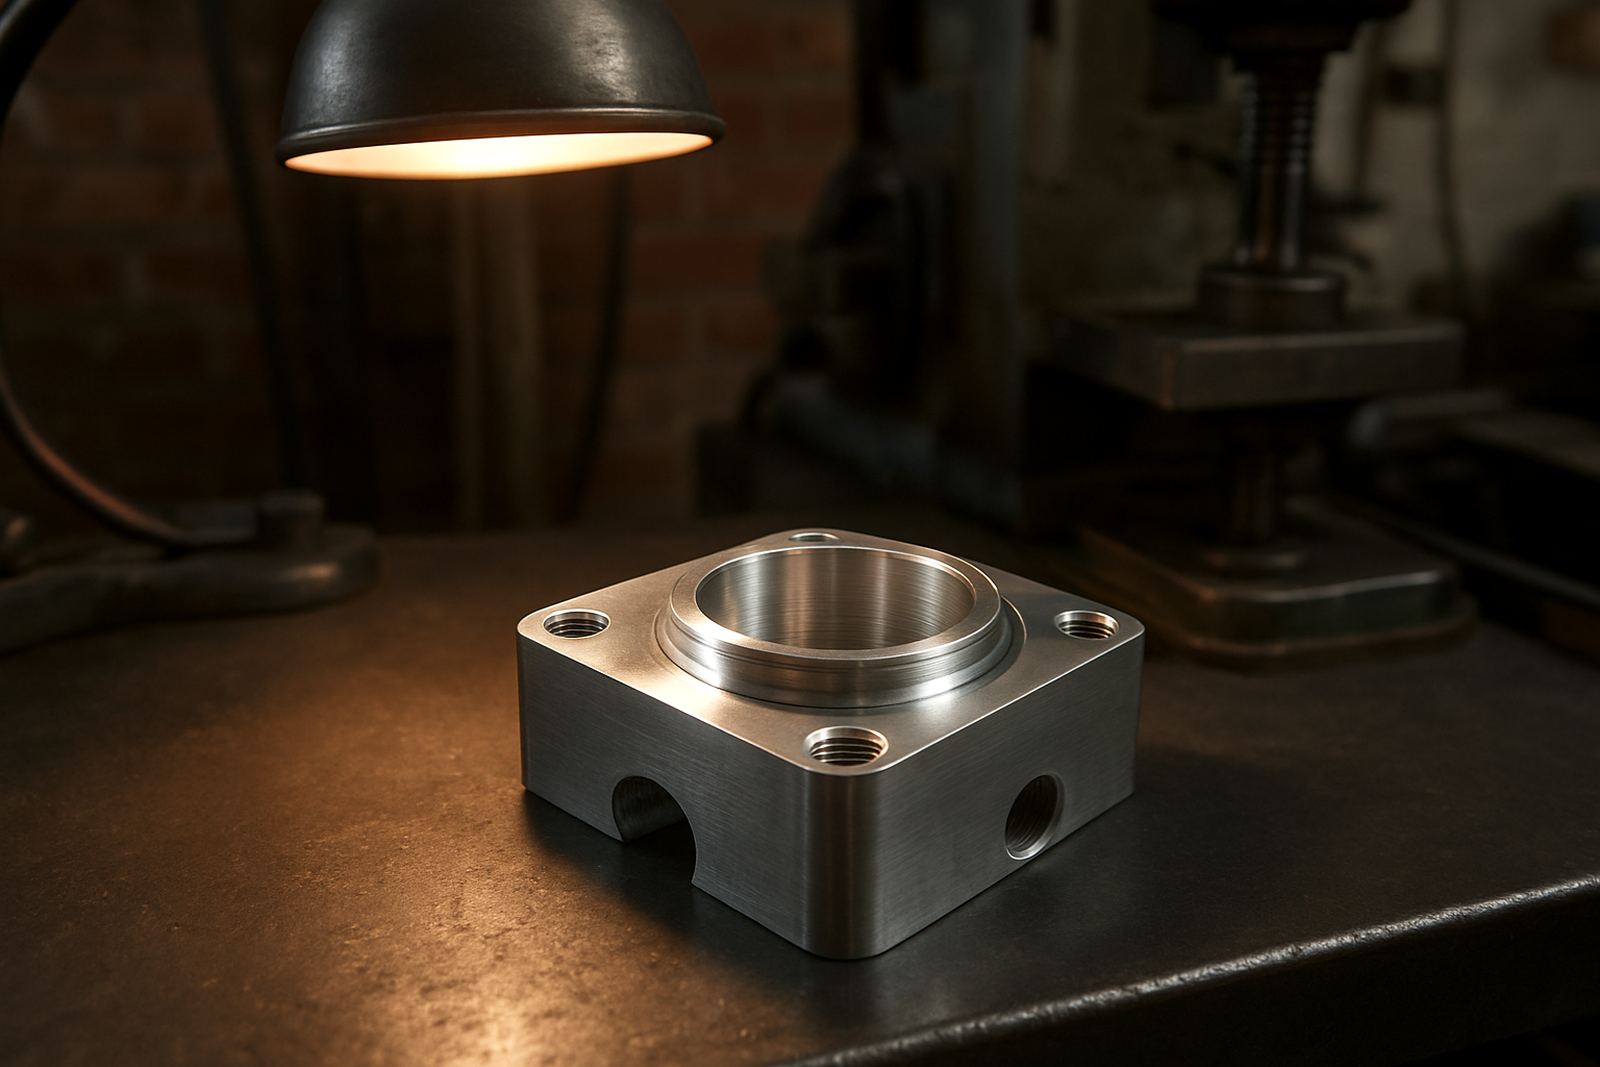
Stainless and aluminium each bring their own issues. Stainless thin sections need clean preparation and careful heat control so the repair does not discolour, crack or distort around the joint. On parts used in food, medical or coastal environments, a neat finish matters because corrosion resistance can be compromised by poor workmanship. Aluminium needs even more care because it conducts heat quickly but also softens fast, which can make it look stable right up until it suddenly opens up. That is where experience counts.
For both materials, the repair should suit how the part will be used after welding. A decorative trim, a structural tab and a worn part in a machine housing all need a different approach. If the part is part of a production line or a mould, the final dimensions must be checked before it leaves the workshop. In some cases a minor typo in the paperwork or a missed dimension can cause a full day’s delay at a plant gate, so clear job notes are worth their weight in Rand.
- Keep stainless clean to protect appearance and corrosion resistance.
- Expect aluminium to distort quickly if heat is not kept under tight control.
- Match the repair finish to the part’s final use, not just the crack location.
A Pretoria Example From The Workshop Floor
A practical example is a thin stainless component from a local packaging operation in Pretoria West. The part had a split along one folded edge and could not be replaced quickly because the machine was down and the supplier lead time was too long. The repair needed to hold pressure, stay flat and fit back into the existing assembly without grinding away too much material. The edge was cleaned, supported and rebuilt in small stages with cooling breaks between passes. After that, the part was checked against the mating face before release.
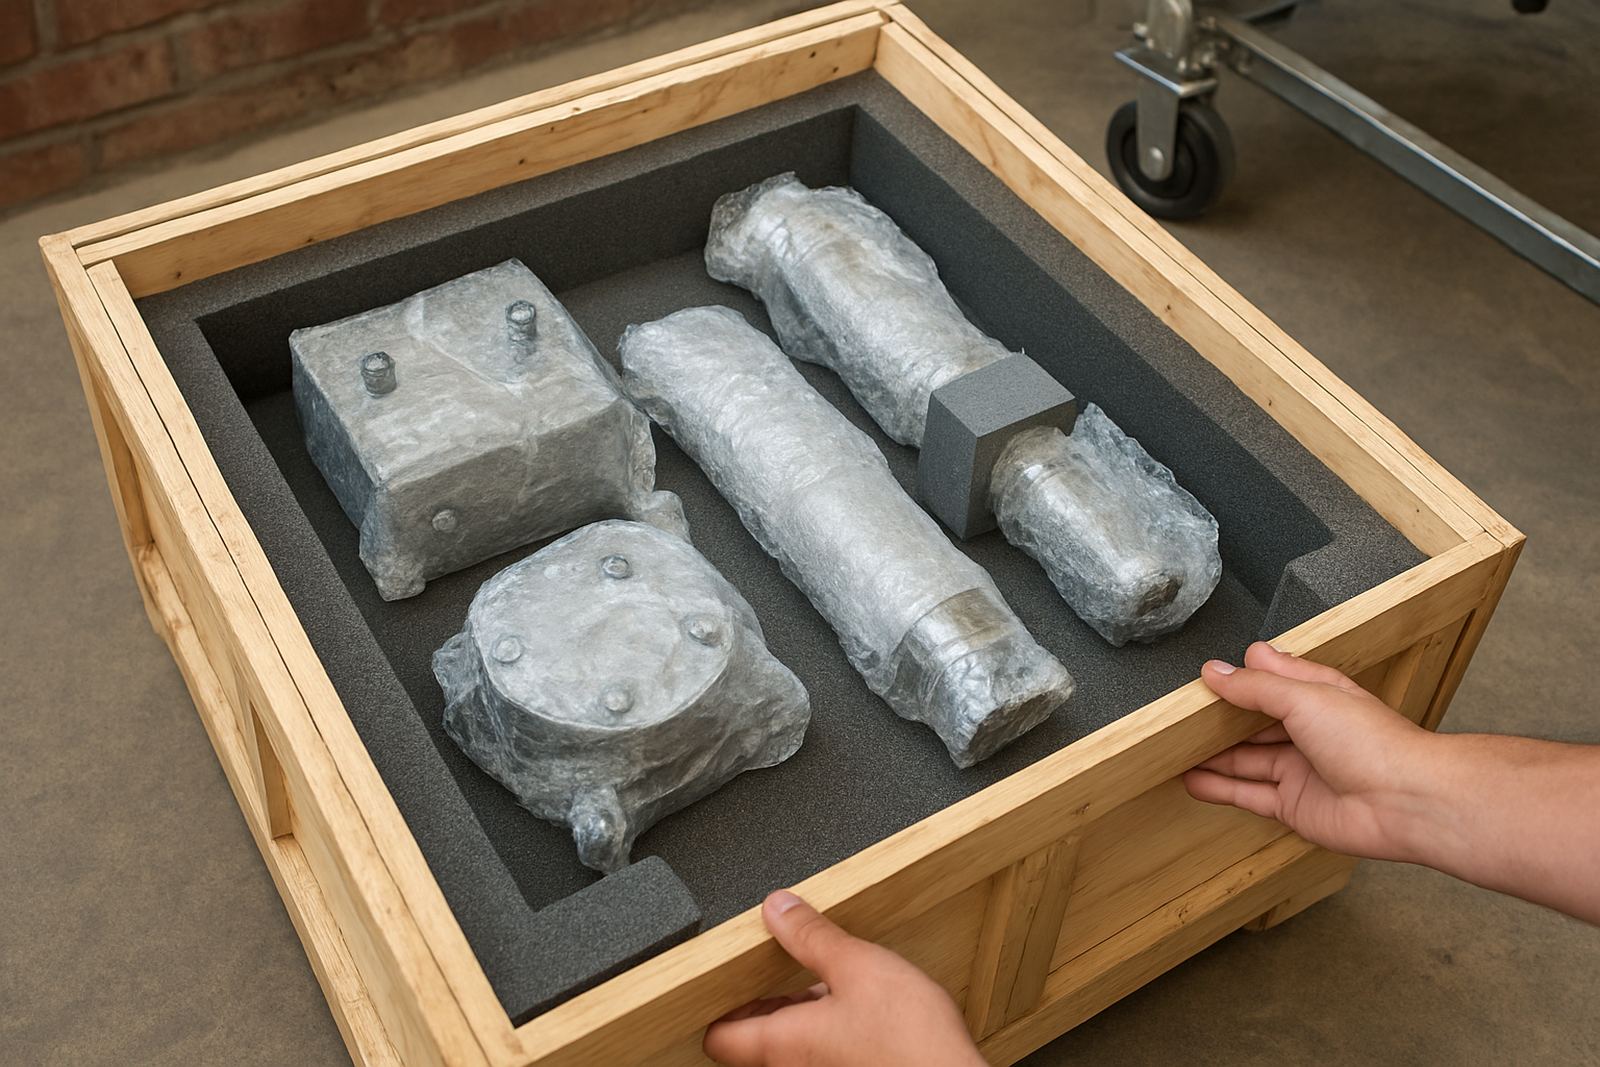
That kind of job shows why thin section repair is more than just joining metal. It is about understanding how the part works in service, how much heat it can take and what the customer can afford in downtime. For a workshop serving Centurion, Pretoria, Midrand and nationwide courier jobs, speed matters, but not at the cost of a warped part or a weak repair. A careful first repair is usually cheaper than sending the same part back for a second attempt.
When thin sections are handled properly, the result is a part that does its job again without unnecessary material loss. That is the point of specialist repair work: preserve the component where possible, restore function and keep the line moving.